Wednesday, 15 May 2013

Altered Fairy Belle Garden Fence


Hello everyone and thanks for stopping by today to see what I have created. This is a piece from KaiserCraft that I have had sitting around for a few months and I wanted to create a little something for my front porch to welcome folks when they come to visit. I have altered this piece using the Prima Fairy Belle paper.


Here is a close up of the base of the piece, using Prima resin piece, and flowers, and the dark blue flowers are from Lavish Laces on Etsy. The other flowers are from Wild Orchid Crafts.
 
 
 I used texture all thorough out the piece by using the Prima wood mask, texture paste, and some of the weathered wood distress ink, and dark chocolate truffle spray from Lindy's Stamp Gang. In this photo you can also see the prima bird and flowers and nest.
 
Here is a close up of the fairys, and you can see some of the texture in the back groud as well, the butterfly is a Prima trinket piece.


 For the bird I used more of the fairy belle paper and distressed it with walnut stain and gesso. The welcome sign is from Jolee's boutique. And I used a vintage doily from my stash behind the bird.


I hope you like my latest project, please feel free to comment or subscribe. thanks again for stopping by today~

Tuesday, 14 May 2013

Gorgeous Altered Items Featuring
Lavish Laces


Today I want to share with you all some items I have created for the DT call for Lavish Laces. I am very excited about this, as you know I adore the laces and trims Jaizella sells in her Etsy shop, and use them all the time!  This was really a labor of love to create using these gorgeous trims, but also it is amazing to use Wild Orchid Craft flowers as well, because Jaizella now sells them in her shop too!
 
Here is my first project. It is an altered candle holder. I used a regular drinking glass for this, and the gorgeous new black gothic style lace Jaizella is now carrying in her shop.  When I looked at this it reminded me of a stained glass window, so I took the opportunity to create one using this lace.
 
 I used my alcohol inks to create the colours in the back ground by dripping different colours on to the glass, then taking a straw and blowing the ink around the surface. This created a wonderful and colourful look on the glass.


Here you can see some of the colour peeking through the lace. After the ink had dried I wrapped the lace around the glass and added some embellishments.
 
In this photo you can see the gorgeous rosette applique from Lavish Laces on the front of the piece. I added some bling mesh and there you have a stained glass look effect! It is a quick and simple project to make for a gift or for any occasion.

 
My second project is a more practical one. It was an old mail wall storage piece I picked up at at thrift store, it was dark brown and rather old and boring looking lol! But I thought this was just the item to help me display my favorite Lavish Laces.


I used the Prima Fairy Rhymes paper for this piece, it was the perfect accompaniment to the beautiful laces. I then created some cardstock holders for my laces to fit into the slots on the piece, here you can see two of them holding the gorgeous lace.

I then embellished the piece with a sewing room theme, and you can see below one of the lace cards being stored inside it.

Here is a full view of the storage piece, it is so handy and now I have my favorite Lavish Laces right at my fingertips!

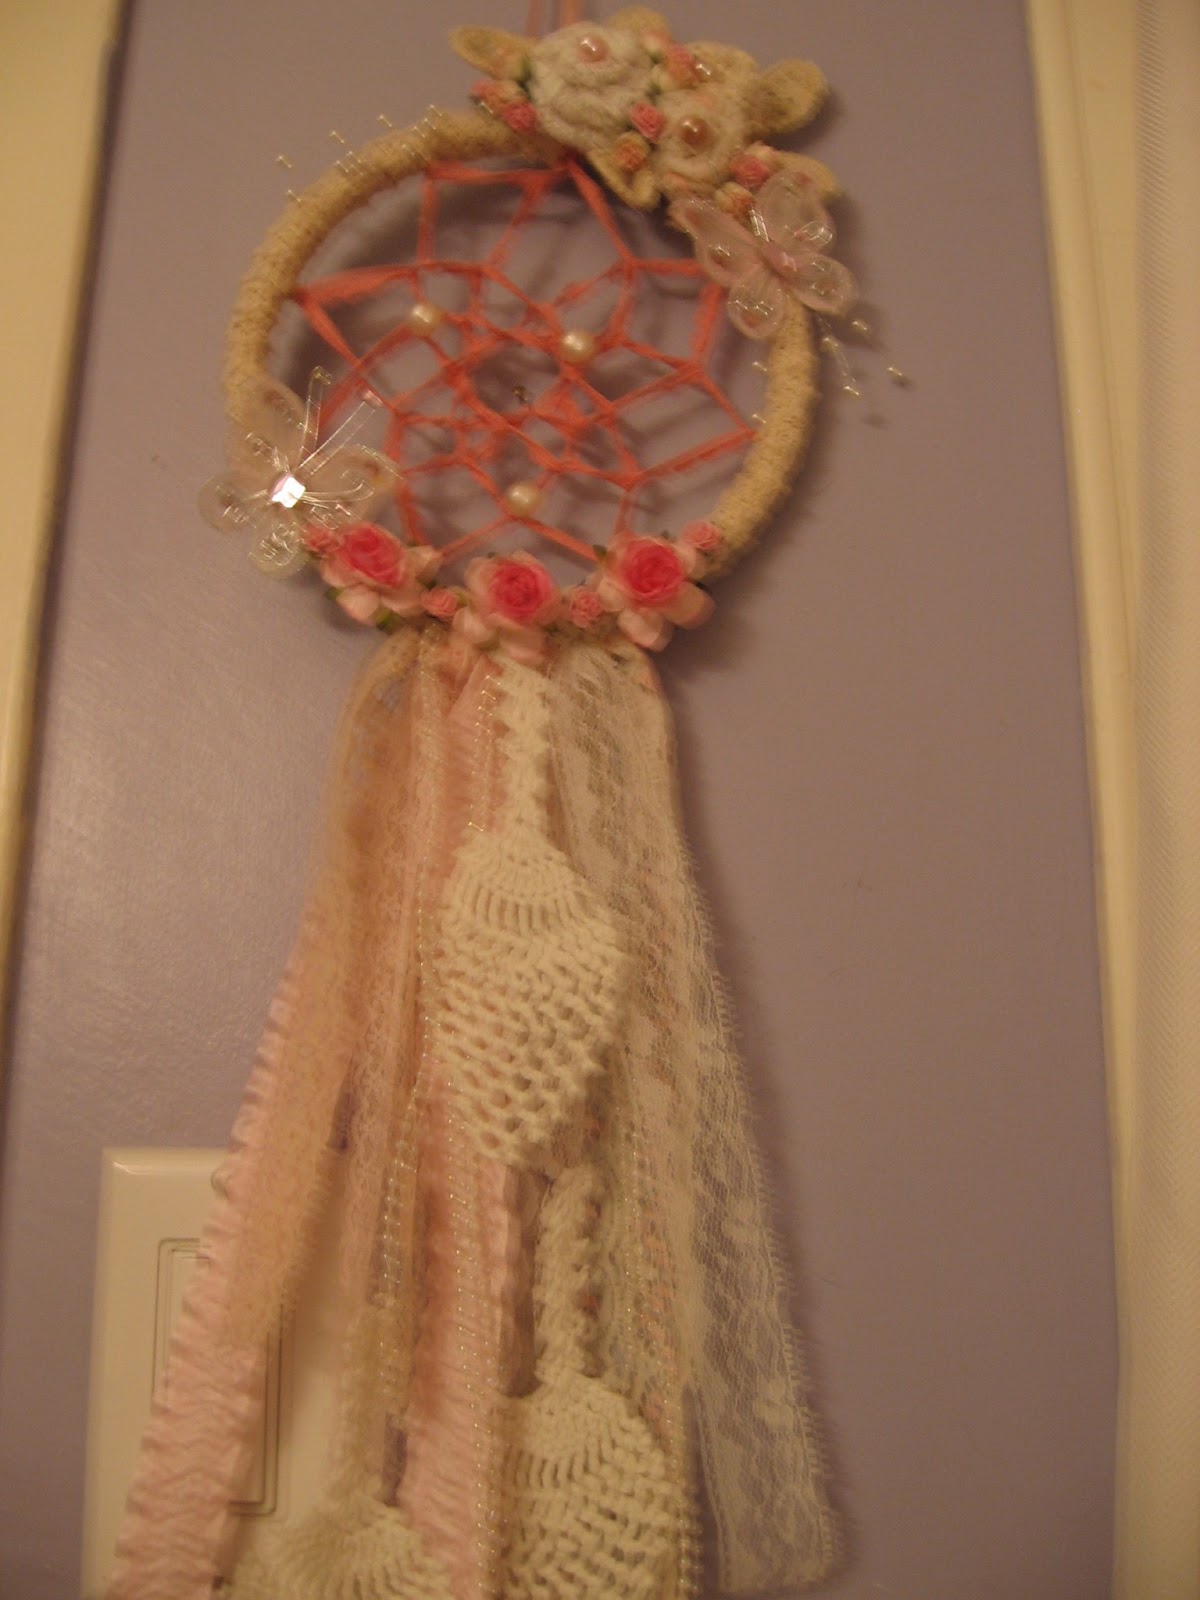
 Next I wanted to make something different and a little more decorative. I love dreamcatchers and I have made them often but I have never used lace and this was the perfect opportunity to do so, it was a lot of fun to create!
Here you see the top of the dreamcatcher, all the weaving in the centre is some beautiful small lace from Lavish Laces, I then added a few pearls. The dreamcatcher is made out of an embroidery hoop.


 I have also used some more of the Wild Orchid Craft flowers that you can get in Jaizella's shop and added some butterflies to create a shabby chic type of look.
Above here you can see a close up of the rolled lace flowers I made using more of the lace from the shop, I added pearls for the centers and of course more WOC flowers as well.
 In the top and bottom picture you can see all the beautiful laces I used at the bottom of the dreamcatcher. I used a vintage doily I had and cut it up to create the look of feathers on it. I also added some iridescent pearl string that Jaizella also sells in her shop.

And Finally a full view of the dreamcatcher. It was fun to create and will be hanging in my craft room now!

 
Thanks for taking the time to look at my projects and don't forget to stop by Jaizella's shop, Lavish Laces. I have a link at the right side of the page there with the Lavish Laces icon, that will take you directly to her shop. Please feel free to comment or subscribe. I love to hear from you!


Sunday, 5 May 2013


Altered Prima Engraver
Storage Box
 
Happy May everyone! Well now that spring is here, its time to get organized and I have decided to have a good old clear out in my Crafty room! I had this piece for quite a while, it was a thrift store find and it was a terrible shade of forest green with gold flowers on it! I decided it was in dire need of a facelift, and the Prima Engraver paper did just the trick! It is a 3 drawer unit with a lid that opens to more storage space. I painted it all black first then applied the paper.


After applying the paper, I used the Prima clock mask on the sides with some Maroon modelling paste, love how it turned out! Then I went crazy with the clock theme and added lots of gorgeous Prima and Crafty Emblies goodies to this side.

 
This side I wanted to have a system to keep notes, so I painted 3 clothes pins in black and added the Prima Mechanicals Roman Numerals to them, at the top is a Prima Junkyard lantern adorned with some of Ingvild Bolme's mini junkyard findings. You will see another Crafty Emblies Clock with wings there and the Prima wood ruler.


Here is the front, I used a Michaels Key there and also you can see the scalloped edge, which is the Prima Wood again, and I glued it on and painted it black to give the top dimension.  The corner pieces are Prima Resin, and I also used the Mechanicals again with the roman numerals as well. The centre piece is a Crafty Emblies cog, with a Prima resin piece and an Engraver clock brad for the centre.
 
Here is what the inside looks like when the lid is open, I am keeping my Vintaj and Alcohol inks in there.


Close up of the drawers, more Prima and Tim Holtz goodies!


 A few more photos!


I hope you like this project, please feel free to comment or subscribe, I love to hear from you! Thanks for stopping by!


Tuesday, 30 April 2013

Altered Ladies Vanity Storage Box

Altered Ladies Vanity
Storage Box
 
Hello everyone! Well, here we are at the end of April already and another month is behind us. I am looking forward to May and seeing all the beautiful springtime colours! I am still in the midst of organizing my craft room, and this piece I want to share with you today is for storing my metal embellishments in. I used a box from Dollarama I got on my last trip there, I love the wood boxes from there, they are such a great price and good quality.
 
I decided to create a ladies vanity look to this piece, I wanted it to seem like the Lady had just been there and run out for a fun night on the town and left her dressing table in slight disarray as she was in such a hurry lol.
 
Here you can see the top of the box, I used a wood piece to create a picture frame, I cut out the image of the Vintage lady and used glossy accents over it to give it a glassy look. the metal corners and filigree pieces are from ButterBeeScraps.


Here is a side view of the whole box, you can see I used the Prima Lyric paper, and the "art is.." mask for the script on the sides and top.
 
I used a Tim Holtz piece on the front and the word "love" is also from the Lyric paper. the chain is from my stash, and the flower is from Recollections. Other flowers I used are from Wild Orchid Crafts.

 
Here is another close up of the top, the Resin pieces are from DiscountPaperCrafts on Etsy.


Here is a few more pictures for you to see :)


I hope you have enjoyed seeing my project, if you have any comments or questions please just ask, I do love to hear from you! Feel free to subscribe as well. Wishing you all a happy month of May! xx

Sunday, 14 April 2013

Altered Steampunk Clock
April DT project for Crafty Emblies
 
 I chose to alter a clock. Now this clock has gone through quite a transformation, as the original clock was only the top part and the face has been removed and replaced with a gorgeous CE wooden Roman Clock Face .


I added a wooden candle stick to the base to give the clock some height and, you can see the CE pocket watch, cameo and fancy cog there along with some Wild Orchid Craft Flowers, chains from my stash, Tim Holtz film strip, pen nib and light bulb from my stash as well.


. The paper is from Graphic 45, French Country, and Prima Lifetime Collection.


I also added another bulb from my stash to the top of the clock for even more height, along with some more gorgeous WOC aqua flowers.


 Here is a close up of more of the embellishments, the #8 is from Prima Engraver, as is the word "cherish".  the key and bird are from my stash, the hanging lantern is another Prima Piece.
 
And again, a full shot of the finished piece. The wings are also from CE, I altered them with the Prima paper and words, added chain to them and some tiny wood flowers with pearls in the centre.

 
Here you can see a close up of the  CE roman numerals which I altered slightly by covering them in foil tape, and the CE cogs and gears I used for the #10.....


Thanks for stopping by today, feel free to leave a comment or subscribe, I love to hear from you!


Friday, 29 March 2013

Altered Wooden Stained Glass Window
 
 Here is a lovey wood window from my stash, that I have altered here to show you!
This is one of my favorite new pieces and when I got mine I immediately started to get ideas! So here is what I came up with....
 
 
I had lots of fun altering this, I used glass bead texture paste and regular modelling paste mixed with a bit of black acrylic paint to give it the stone grey colour, then used 2 types of a brick mask and some Lindy's Mica Spray, I used "Frolic in the Forest Black". The "glass" is a piece of acetate with alcohol inks I dabbed on and used a straw to blow around the sheet. Then, I attached the acetate to the back of the window with some hot glue, to give the look of stained glass. I took my inspiration from an ancient church I visited when I was in Scotland a year and half ago, Rosslyn chapel, it was this beautiful stone grey colour. hope you like.. :)

 
Close up of Window. The metal pieces are from ButterBeeScraps on Zibbet :)
 
Let me know what you think, I love to hear from you!


Tuesday, 19 March 2013


SteamPunk Lady with Gears
from Leaky Shed Studio
 
 
Here is a fun project I have been working on, this is a chipboard die cut from Leaky Shed Studio I purchased, and I just love her, isn't she amazing?  I did lots of layers of embossing powder in several different colours, and added some of the Prima JunkYard Findings to her gears, and even added one as an earring for her.  I used some copper chain to giver her a necklace and some trimmings, she looks great and was a quick and easy way to add demension to any project.  I really love these chip board pieces made by Leaky Shed Studio, so you will see more crafty items coming up featuring their products soon.  Check out their website for lots of great items  http://www.leakyshedstudio.com/
Thanks everyone!