Saturday, 22 June 2013

June Design Team Project for
Kitty's Scrap Post Digital Kit
"June Bride"
 
Happy June everyone! This month I would like to share my DT project for Kitty's Scrap Post. Luisa makes the most amazing digital kits, which are for sale on her blog, you can find it here; http://kittylicious11.blogspot.ca/
 
This month the theme was June Bride, and let me tell you this kit is amazing! I really love how shabby chic it is. I chose to create a desk caddy out of an old wood box my hubby gave me, and I also altered some peat pots to keep all those crafty goodies inside...take a peek...
 
Top of the box, here you can see how the little peat pots fit nicely inside... I used lace from Lavish Laces around the box, and the black lettering for "create" is from ScottyPorkChop on ebay.
 
Side view of the box. I just love this peeled paint look on this paper from the June Bride kit! It really makes the box look old and tattered. I added some texture paste and used the prima brick mask on this side as well.
 
On this side you can see the gorgeous June Bride in a Prima frame surrounded by Wild Orchid Craft flowers. I rolled back the paper in the middle and used a zipper from my stash to create this look in the centre. The vintage lock is also from the paper you can see it peeking out from the open zipper at the top. To finish this side I added a beautiful pink cameo and more flowers.

 
Here you can see the third side of the box, this says hope, and I used a gorgeous vintage lady photo from the June Bride kit there on the left hand side she is just divine! The bird and junkyard metal findings are from Prima.


 On this side I have used some more modelling paste with a script mask as well as the Prima raindrop mask. You can also see a Tim Holtz plate with the word "play" inside it. The cherub and wood clocks are also from Prima.


This is the inside and top of the box. You can see another gorgeous piece from the kit, I love the vibrant colours and the birds on this piece its just so beautiful!


Here are some close ups of the little peat pots! you can see on the front of them I have cut out the tags you get with the kit, they fit perfectly on them! I added some vintage lace, doilies and wood letters and numbers to finish off the look.


I have numbered the peat pots, just for fun! The numbers are from ScottyPorkChop on ebay and etsy!


Thanks so much for stopping by today, and don't forget to check out Luisa's digital kits on http://kittylicious11.blogspot.ca/  they are gorgeous!!  Also keep an eye out for the July kit coming out July 1st.


Tuesday, 4 June 2013

Altered Fairy Belle Clock
Featuring Wood Laser Cut Fairies from
ScottiePorkChop on Ebay
 
 
Here is a project I am very excited about! This clock was a thrift store find from a couple of weeks ago, and it has literally transformed into something fun and beautiful!  It was a very dull dark green in colour originally, and I brightened it up using some white acrylic paint, and the Prima Fairy Belle paper, some vintage lace and goodies from my stash and some amazing wood laser cut Fairies from ScottiePorkChop on Ebay!
 
This is one of my most favorite paper lines and the wood fairies fit right in perfectly with it, they really added that touch that the clock needed, and also they give a 3D effect to make things stand out more as well.  I have also used some scrabble tiles to spell out the word Fairy, and used some vintage lace to string it along the front of the clock.

 
Here you can see a close up of the clock face. The words Fly, Pixie and Pink, inside the clock are also from ScottiePorkChop http://www.ebay.ca/sch/m.html?item=121104478617&ssPageName=STRK%3AMEWNX%3AIT&_ssn=scottieporkchop&_pgn=2&_skc=50&rt=nc
I just love how the add more interest and dimension to the piece

 
I have used the original clock hands that came with the clock and just added a bit of white gesso to add that shabby look to them. Inside the clock you can see some butterflies that I cut from the paper collection to appear as though they are in flight, and the word "fly" from ScottiePorkChop fit in perfectly here!

 
This little lady is flying around the top of the clock, her colours fit in perfectly with the shades I have used on the clock.

 
Here you can see one of the lovely vintage looking Fae cuddled up to the roman numerals VI, I just love her look!


Here is another lovely little lady standing on top of some vintage resin shutters (from Prima) isn't she beautiful?

 
Another Gorgeous little lady!


Here is the top of the clock, I used a ceramic cherub and large metal key. The flowers are all from Wild Orchid Crafts 

 
And finally another full view of the clock which stands 18 inches high.

 
or on Etsy:
 
Please leave me a comment or subscribe if you wish, I love to hear from you!


Monday, 3 June 2013

Vintage Grunge Box
 
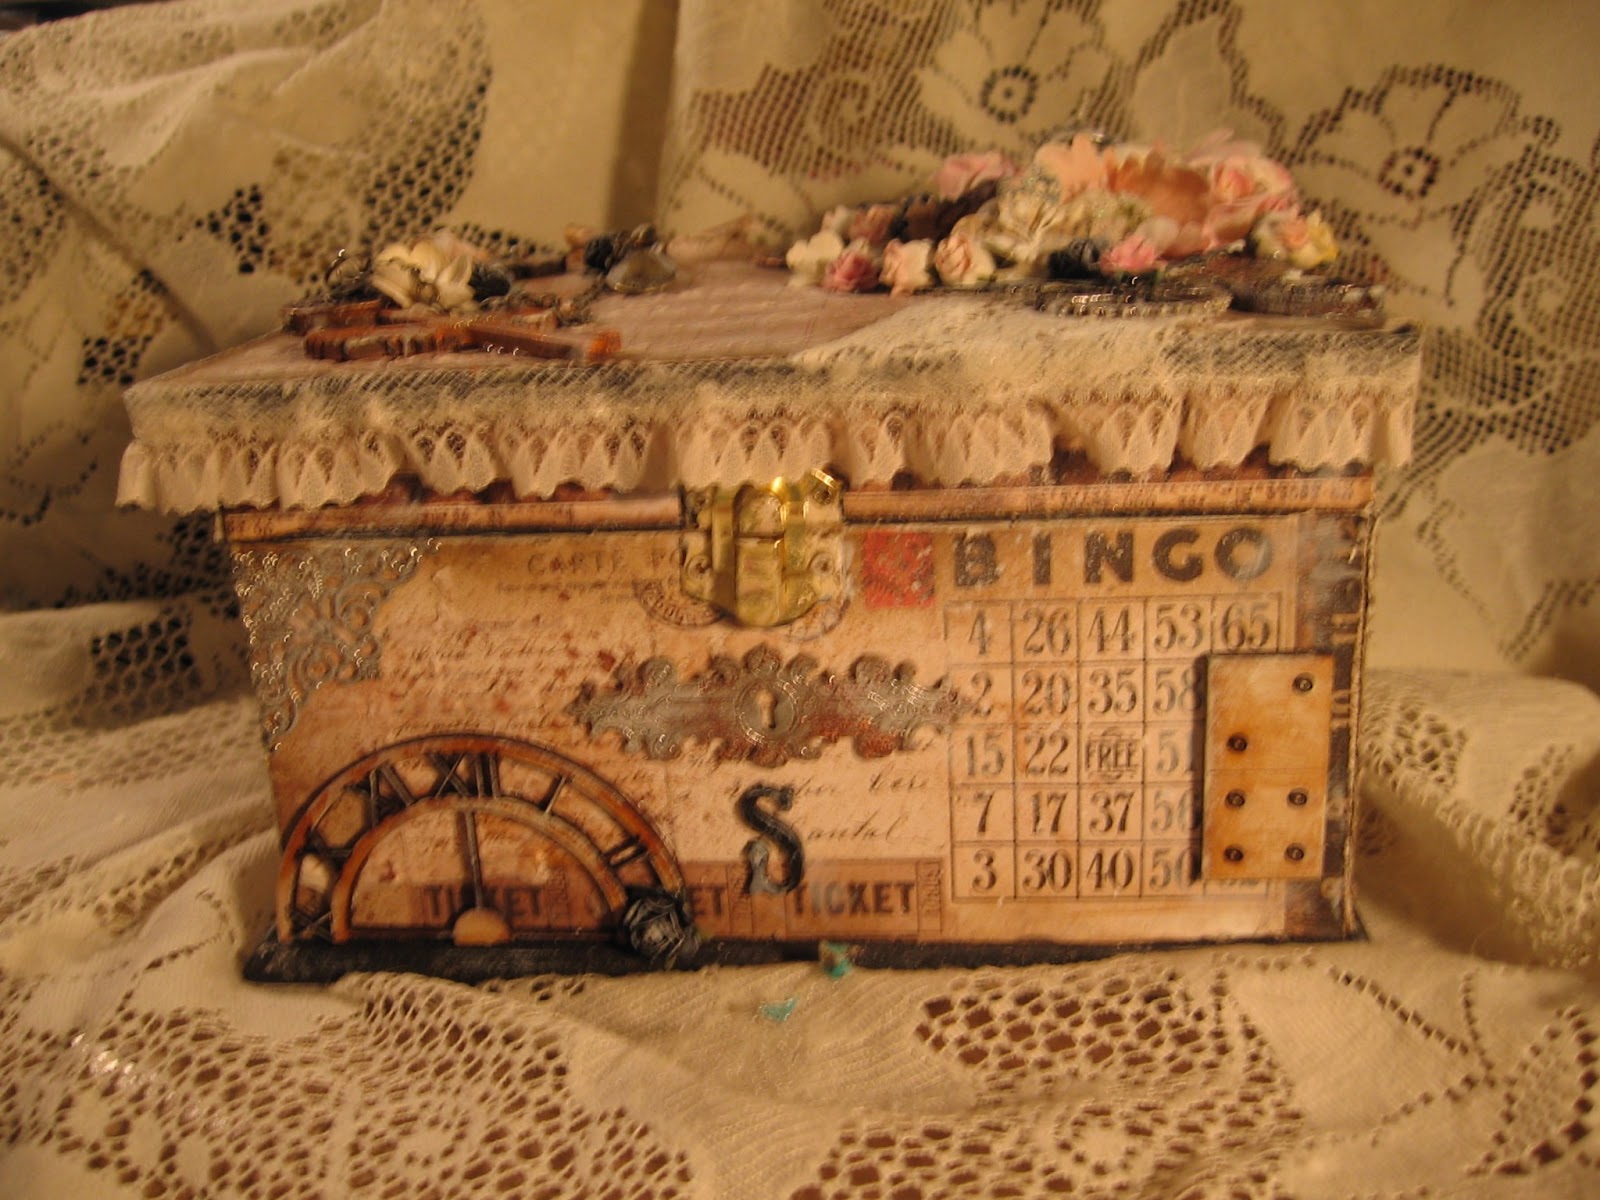
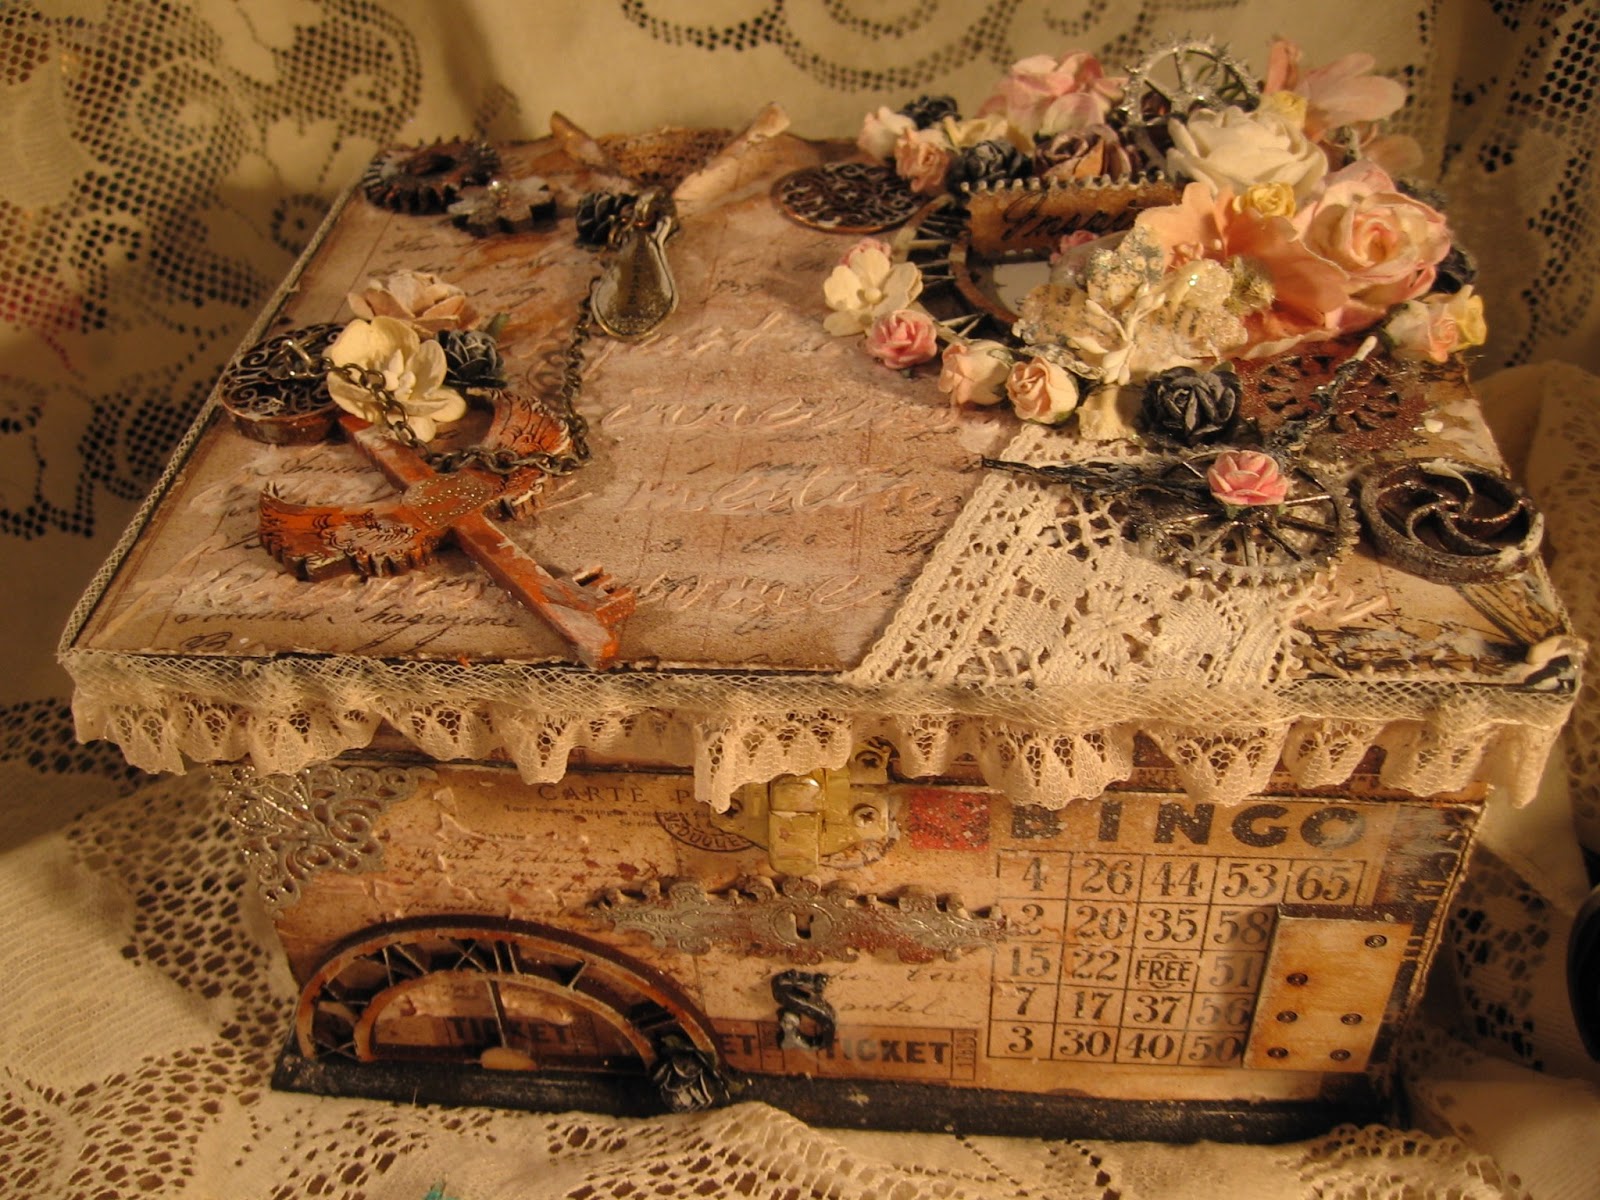
Here is a little something I have created using the Prima Engraver paper. It is one of my favorite paper lines to use, and really captures that vintage feeling that I was looking for. The box itself is a Dollarama find! I love Dollarama, they have great wood pieces there to alter, and if you live in Canada, defiately go and check them out, they have a great craft section!
 
 
I painted the box black to begin with, then added the paper, distressed it and the edges with Vintage Photo distress ink. You can see by this photo below, I tore the paper at the top and rolled it back. I love this look it allows you to give the project more depth. I used a vintage doily in the background and added a Prima zipper pull. The wooden key is from Crafty Emblies and I used my Vintaj inks to colour it and make it look rusty, then added the chain to connect the zipper and the key to each other. the top of the key has a ButterBeeScraps(on zibbet) metal filigree piece in copper with a Tim Holtz metal fastener on it, which the chain is attached to.

 Close up of the key, you can also see I used the "art is.." stencil on the box as well. The flowers are all from Wild Orchid Crafts.


The wood and chip board gears are from Leaky Shed Studios (got them from Discountpapercrafts on etsy) and from Crafty Emblies.
Wooden clock face and "inspire" sentiment from Crafty Emblies, you can also see the metal Prima clock face peeking out. The little light bulb is from my hubby's workshop!


Close up of the gears here, adn you can see some Prima flowers  and clock hands mixed in too.

Side view, here I used another filigree piece from ButterBeeScraps. The lace is all vintage from my stash.

Side View again, I also used the Prima brick mask to add more texture.

Full view. I really love how this turned out, it did capture that Vintage Grunge look I was going for.


Top view, you can see all the detail here, again the lace is vintage, I went into my hoard vault for this one! lol

Thanks for stopping by and taking a look, please feel free to comment or subscribe, I love to hear from you!

Wednesday, 15 May 2013

Altered Fairy Belle Garden Fence


Hello everyone and thanks for stopping by today to see what I have created. This is a piece from KaiserCraft that I have had sitting around for a few months and I wanted to create a little something for my front porch to welcome folks when they come to visit. I have altered this piece using the Prima Fairy Belle paper.


Here is a close up of the base of the piece, using Prima resin piece, and flowers, and the dark blue flowers are from Lavish Laces on Etsy. The other flowers are from Wild Orchid Crafts.
 
 
 I used texture all thorough out the piece by using the Prima wood mask, texture paste, and some of the weathered wood distress ink, and dark chocolate truffle spray from Lindy's Stamp Gang. In this photo you can also see the prima bird and flowers and nest.
 
Here is a close up of the fairys, and you can see some of the texture in the back groud as well, the butterfly is a Prima trinket piece.


 For the bird I used more of the fairy belle paper and distressed it with walnut stain and gesso. The welcome sign is from Jolee's boutique. And I used a vintage doily from my stash behind the bird.


I hope you like my latest project, please feel free to comment or subscribe. thanks again for stopping by today~

Tuesday, 14 May 2013

Gorgeous Altered Items Featuring
Lavish Laces


Today I want to share with you all some items I have created for the DT call for Lavish Laces. I am very excited about this, as you know I adore the laces and trims Jaizella sells in her Etsy shop, and use them all the time!  This was really a labor of love to create using these gorgeous trims, but also it is amazing to use Wild Orchid Craft flowers as well, because Jaizella now sells them in her shop too!
 
Here is my first project. It is an altered candle holder. I used a regular drinking glass for this, and the gorgeous new black gothic style lace Jaizella is now carrying in her shop.  When I looked at this it reminded me of a stained glass window, so I took the opportunity to create one using this lace.
 
 I used my alcohol inks to create the colours in the back ground by dripping different colours on to the glass, then taking a straw and blowing the ink around the surface. This created a wonderful and colourful look on the glass.


Here you can see some of the colour peeking through the lace. After the ink had dried I wrapped the lace around the glass and added some embellishments.
 
In this photo you can see the gorgeous rosette applique from Lavish Laces on the front of the piece. I added some bling mesh and there you have a stained glass look effect! It is a quick and simple project to make for a gift or for any occasion.

 
My second project is a more practical one. It was an old mail wall storage piece I picked up at at thrift store, it was dark brown and rather old and boring looking lol! But I thought this was just the item to help me display my favorite Lavish Laces.


I used the Prima Fairy Rhymes paper for this piece, it was the perfect accompaniment to the beautiful laces. I then created some cardstock holders for my laces to fit into the slots on the piece, here you can see two of them holding the gorgeous lace.

I then embellished the piece with a sewing room theme, and you can see below one of the lace cards being stored inside it.

Here is a full view of the storage piece, it is so handy and now I have my favorite Lavish Laces right at my fingertips!

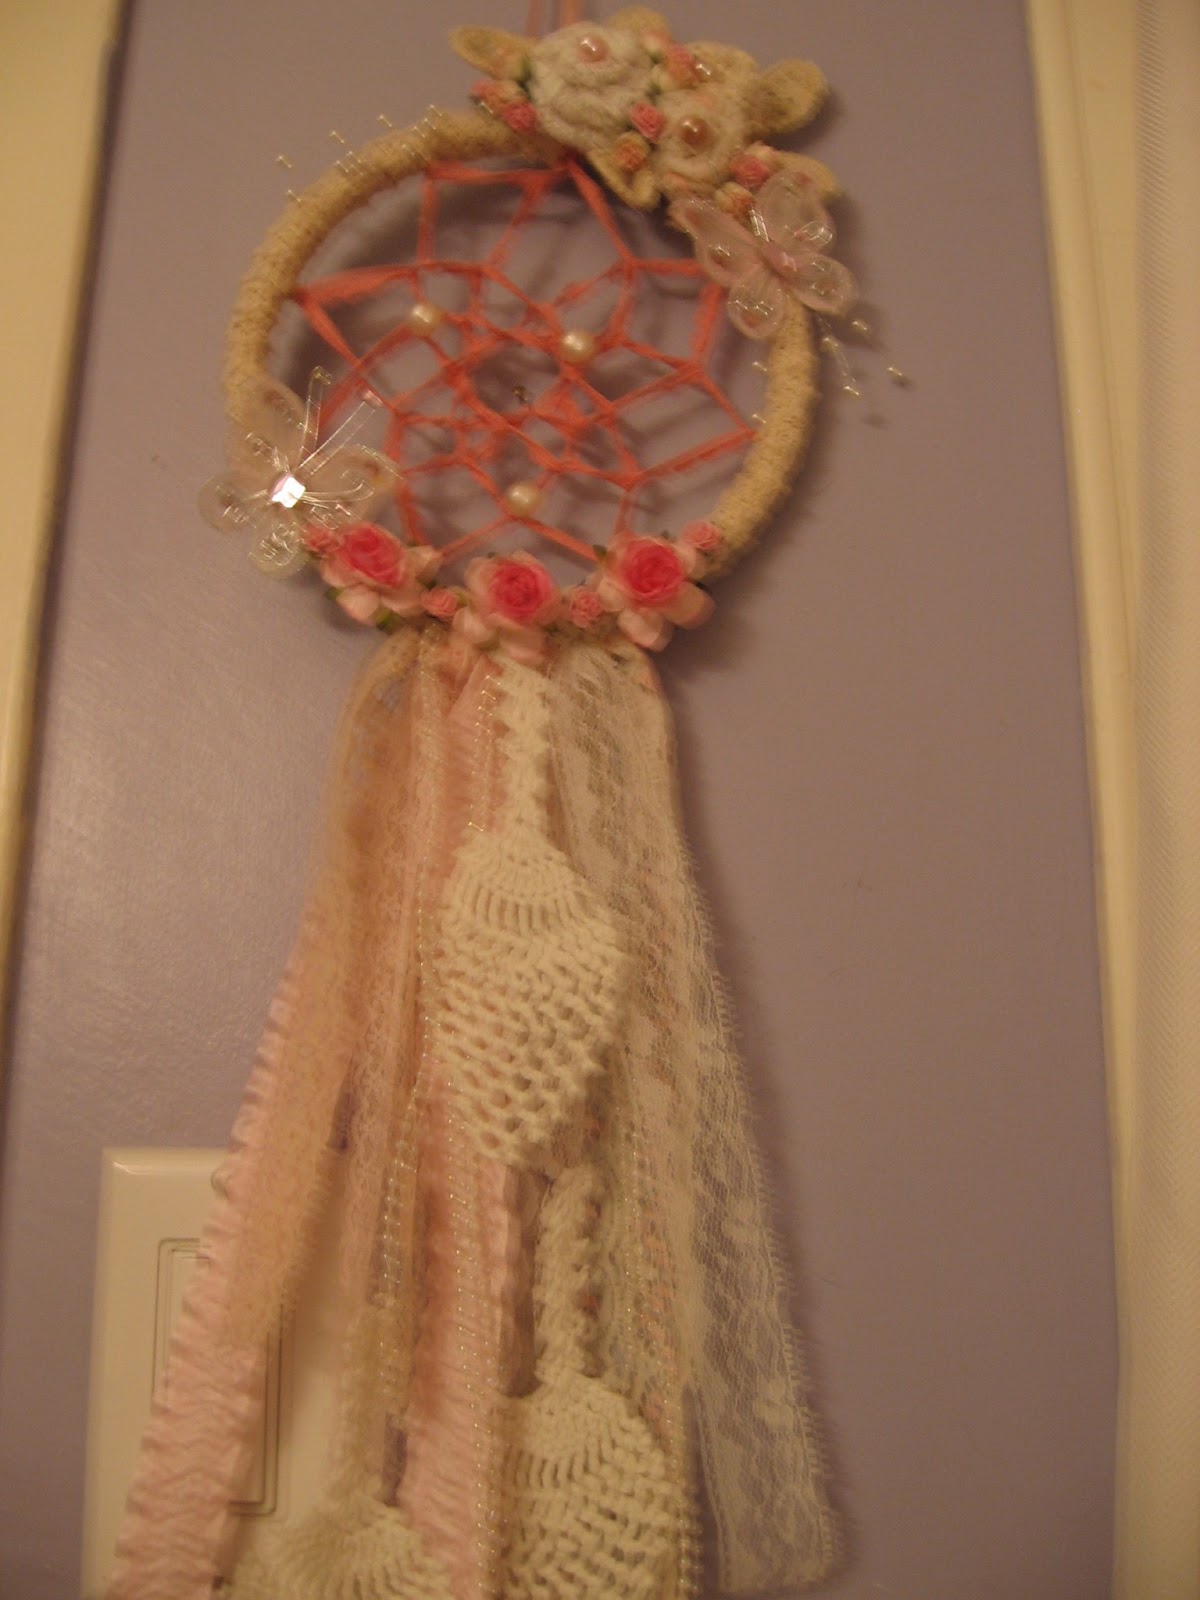
 Next I wanted to make something different and a little more decorative. I love dreamcatchers and I have made them often but I have never used lace and this was the perfect opportunity to do so, it was a lot of fun to create!
Here you see the top of the dreamcatcher, all the weaving in the centre is some beautiful small lace from Lavish Laces, I then added a few pearls. The dreamcatcher is made out of an embroidery hoop.


 I have also used some more of the Wild Orchid Craft flowers that you can get in Jaizella's shop and added some butterflies to create a shabby chic type of look.
Above here you can see a close up of the rolled lace flowers I made using more of the lace from the shop, I added pearls for the centers and of course more WOC flowers as well.
 In the top and bottom picture you can see all the beautiful laces I used at the bottom of the dreamcatcher. I used a vintage doily I had and cut it up to create the look of feathers on it. I also added some iridescent pearl string that Jaizella also sells in her shop.

And Finally a full view of the dreamcatcher. It was fun to create and will be hanging in my craft room now!

 
Thanks for taking the time to look at my projects and don't forget to stop by Jaizella's shop, Lavish Laces. I have a link at the right side of the page there with the Lavish Laces icon, that will take you directly to her shop. Please feel free to comment or subscribe. I love to hear from you!