Showing posts with label Finnabar. Show all posts

Sunday, 26 February 2017

Fun Mixed Media with ScraPerfect

 Good morning everyone, Kim here today with my next DT project for ScraPerfect. This time I have created a mixed media paint brush!


I started off with a wood blank from Fernli Designs and some old computer and electronic bits from my husbands workshop.
 
 
I first covered the wood blank in white gesso.

 
Then it was time to get out the Best Glue ever and start to glue down my
pieces. As I mentioned, these are old bits from my husbands workshop that he no longer needs and I glue them down so they fit on top of the piece nicely.


Once they are all glued down, I got out my Lindy's Stamp Gang and Ranger Distress Ink sprays in colours I liked and started to layer on colour, drying each layer in between.


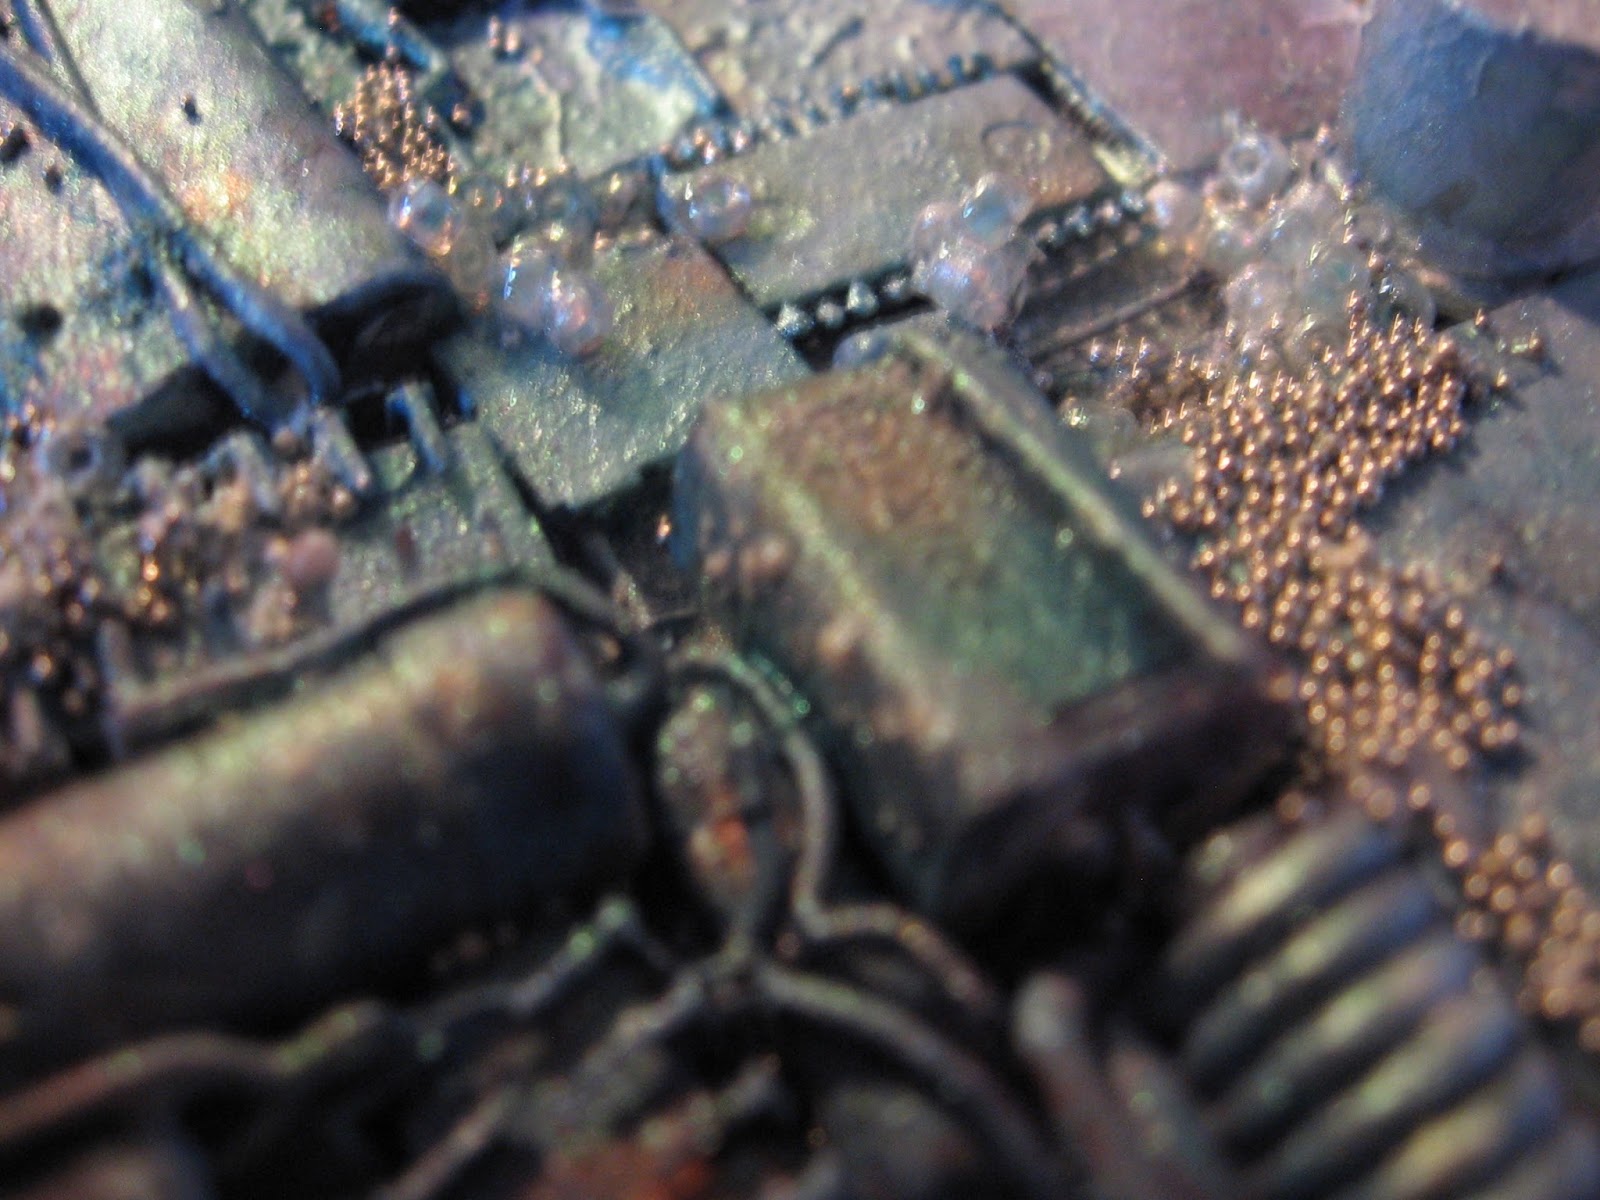
 Once I was happy with the layers of colour, I got the Best Glue Ever out again, and this time I used it to glue down tiny micro, and mini micro beads for added texture to the piece.


Here is a couple of close up's of the beads!


I set the brush aside to dry and now I will work on the letters for the front of the brush. The letters are also wooden, and from Fernli Designs. I gave them the same spray treatment and then used BGE again so that I could use some of the Transfer Foils from ScraPerfect.
 
 
Once the glue dries a bit and becomes tacky, then it is time to lay the foils down on top of the letters.
 
 
I choose purple and silver foils to pick up on the colour tones on the brush.
 
 
You can see in the photo below how it came out, I just love the shimmer the foils give!
 
 
.....and here is the final outcome!


I hope you have found some inspiration here today and will check out the ScraPerfect store for all the items I used on my project.
Thanks for stopping by!


Saturday, 15 October 2016

Fernli Designs Dream Catcher

 
Good morning Fernli fans, Kim here with my next project for Fernli Designs.
This time I have created a dreamcatcher with tons of great items from the Fernli Store.
 
I started off with the Circle Layers and used two of the larger circles to be the base for the dream catcher. I used some Prima twine in a neutral beige colour and wove my dreamcatcher first. Once the weaving was done, I used the same twine to wrap around the base of the circle. This gave the circle lots of thickness and stability. After I was finished with this I set the circles aside and started to work on the pieces I would attach to the dreamcatcher.


I looked up on Google images for a photo of a peacock feather and tried to do my take on what they would look like, I did take some artistic licence here!  I love the Prima paints they have so much shimmer to them and went on the wood so easily.


Once the feathers were complete, I move on to altering one of the Fernli keys next.

 
I used a key from the  Ornate Key Mix 5 (Set 1). I altered it with some of the Finnabar rust paste.
I layered on the rust paste and also gave the key a bit of light turquoise paint in spots so it would pick up on the colours of the peacock feathers and other embellishments I used on the dreamcatcher.
 
You can see in the photo below how they look together.
 
 
Now it was time to decorate the dreamcatcher. As I mentioned, I did 2 of the circles up to look like dreamcatchers. I glued a smaller one to the large one and this gave it a lot of dimension.
 
 
For the smaller dreamcatcher, I used a free butterfly image I printed off of the internet and added some glossy accents and glitter glass to its wings. I then used a Prima Relics & Artifacts resin doll to attach to the centre of the butterfly. I painted the little doll up in browns and blues to match the other embellishments.


I also added some flowers from my stash and also some micro beads and a pearl centre to the largest flower beside my  butterfly doll.


For the larger dreamcatcher, I used the Wings Type 2 and a wooden heart from the off cuts and miss cuts bag.  I used more of the Prima paints in coordinating colours and lots of flowers and micro beads as well for some fun texture.


Finally I strung up some beads from my stash with some clear fishing line and tied the key and the feathers to the bottom of the dreamcatcher.


I hope you like my project today, and will give this one a try. There are lots of tutorials on YouTube for weaving your own Dreamcatcher, and Fernli Designs can provide the rest of the goodies!
Thanks so much for stopping by today, please visit my blog for more info on this project and all of my Fernli Designs makes.
Kim :)

Monday, 27 June 2016

Altered Photo Frame For The Prima PPP Challenge

 
 Hello friends! I am so excited to try out this months Prima PPP Challenge over on the Prima Blog.


This month the colours of the PPP are playing off of Pantone's colors of the year, of which there are two this year. You can see below the colour story for which I took my inspiration for this project.
 
 
Let's get started with my photos and how I created my project!
I started off with a simple wooden frame which I got from Michaels.
 
 I am using the Prima French Riviera paper line for this project as well and lots of other gorgeous Prima goodies!


I cut three different papers to fit over the frame, distressing them and then inking them up with Prima's chalk edgers.  Once that was completed, I glued the papers down to the frame.
 
 
I used my tried and true Prima script stamp (that I have had for ages!) and added some inky script to the frame. 
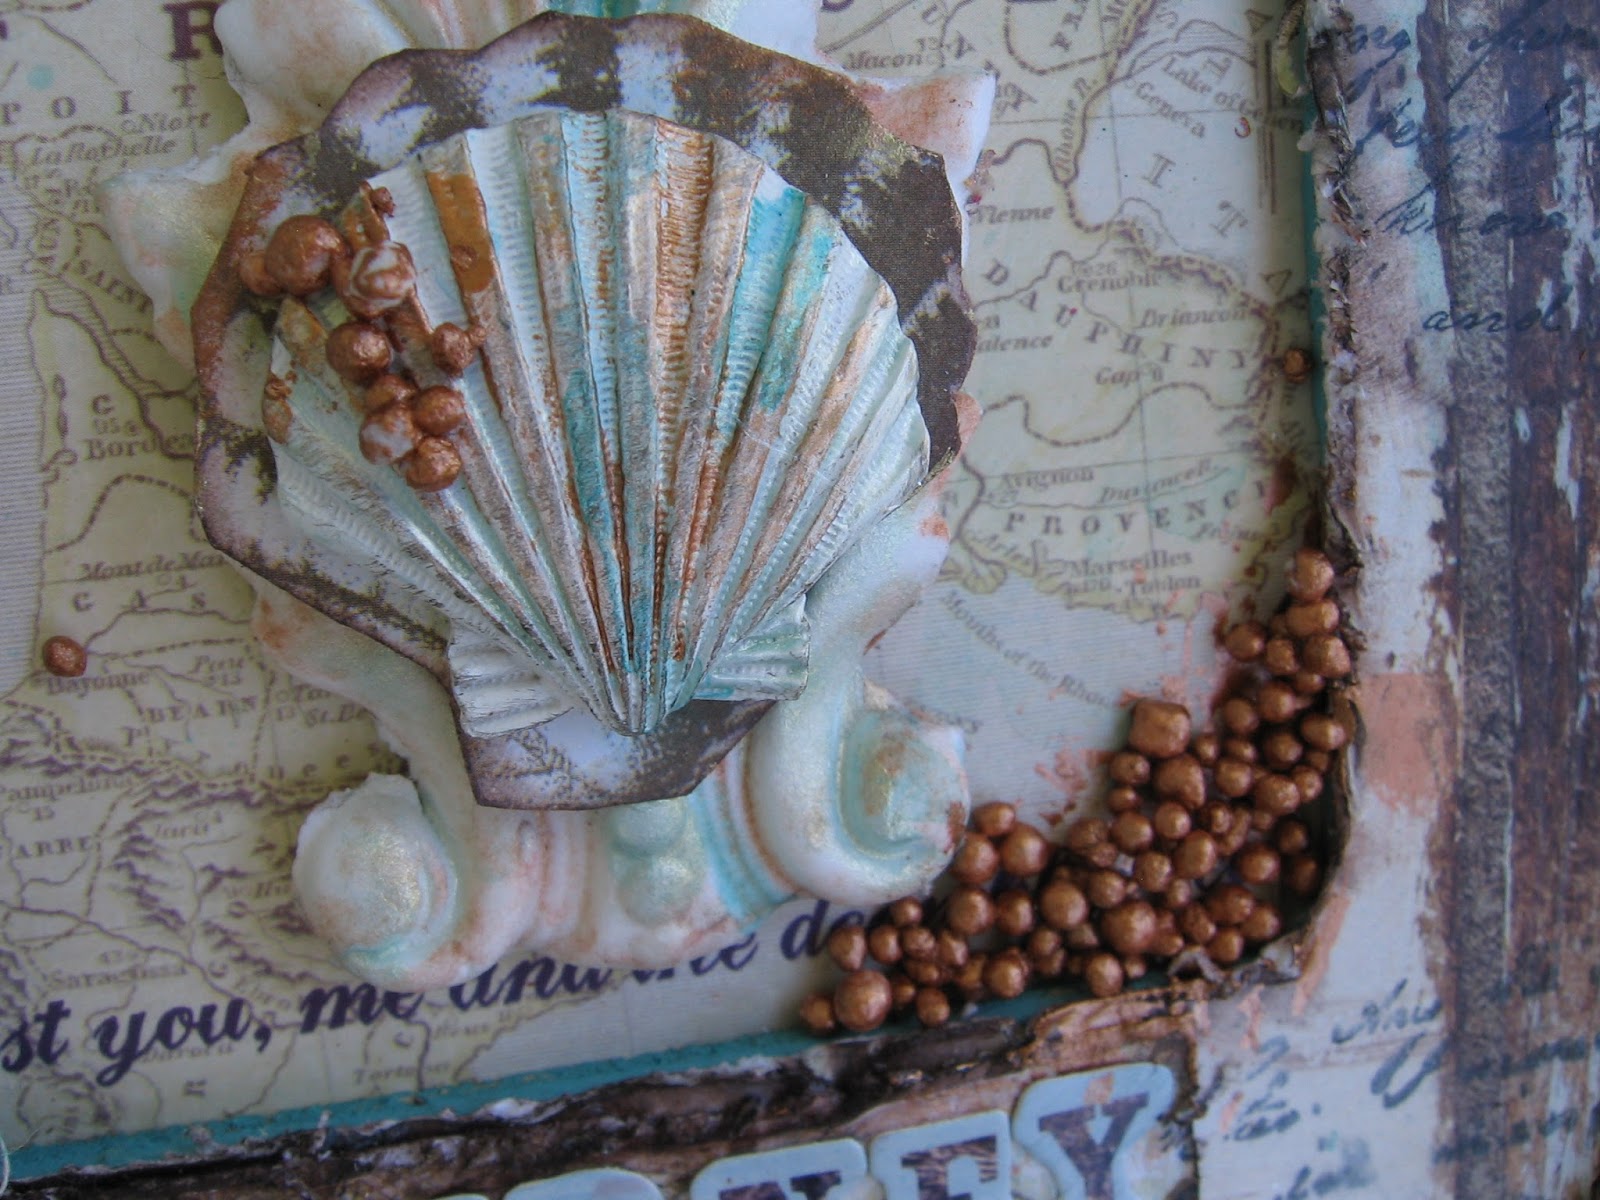
Then, it was time to work on my embellishments. I am using lots of the IOD moulds that I made using some Prima air dry clay. I painted the pieces with some of the Finnabar Art Alchemy paints in blue-gold and brass hardware, in keeping with the colour tones of the mood board.

 
 I love how the IOD moulds came out, they are my new favorite thing to play with!
Next, I got out my Fairy Belle vine flowers and gave them a coat of gesso to lighten up the green leaves. I also sprayed some water on them after the gesso was dry and then added more of the Art Alchemy paints to them to pick up on the colours.
 
 
Now it was time to play with my Art Stones! I used the same Brass Hardware paint and painted the stones, mixing them up until I was happy with the coverage.

 
I added the stones to some spots on the frame, after I glued down my embellishments. I used lots of Prima goodies on my frame, including the Sea Shells from the Shabby Chic Treasures, and some Prima Mechanicals as well.
 
 
I also added lots of gorgeous Prima Flowers too! I touched them up with some of the painted Art Stones, and also gave them a spritz with water and some Caramel Alcohol Inks to bring out the centers of the flowers. Thanks to Prima Designer Miranda Edney for that tip! I saw her do it on a Live with Prima Class, and I just love how the flowers came out!


I added some pearls from my stash and wound them in and around the embellishments, adding some Aqua Alcohol Ink and spritzing with water as I went.
 
 
Another of the gorgeous IOD Moulds!


....And again here is a look at the finished product! I also did add some letters from the paper line to spell out "Journey" on the frame.


I hope you have enjoyed my project today. I had so much fun with the Prima PPP challenge!! I hope you will pop over to the Prima Blog and check out the monthly challenges they have over there.
Thanks so much for stopping by!