
Hello Fernli Designs fans! I have a fun project to share with you today and some exciting news!
First the news! I have been asked by Lou, the owner of Fernli Designs to work full time for her for the next 6 months, and I am so happy!! I start in January, and I am excited and thrilled to be working with such a great company as Fernli Designs. I have done guest work for them in the past and always been thrilled with their amazing products.
Now onto my fun little project #25 Stardust Way. Some of you may remember I did an altered house not too long ago, which you can find here
I decided my little house needed a neighbour on the next street over, and this tall fairy house from Fernli Designs fit the bill quite nicely!


I started the house off with some lovely Christmas themed paper from Kaisercraft, called Christmas Wishes, which you can find HERE
I love this paper, its so pretty, lots of pastels in pink, aqua and whites all my favorite colours.


I papered all of the outside and the inside as well. This paper is so gorgeous! As you can see in these photos, I also added some Fernli 5 Pointed Stars which I painted white and then glittered with some Martha Stewart glitter. You will see more of these stars around the house as we go along on our little house tour! Some white resin frames, an ornament from the paper collection and more Stickles added a bit more glam to the outside of the house.


I used the ornament sheet for the walls inside, and as you can see, I also added a pink bottle brush tree, which I decorated with some pearls and Stickles in the Diamond colour. I also added a battery operated light to give off some nice warm glow at night time.


Now on to the roof. I started off with some white chalk paint for the roof, then took some lace pieces from my stash and layered them on the roof. I then added some soft aqua fuzzy trim to pick up on the aqua in the paper, and then I added some beaded bridal appliques to each side.


The finishing touch to the roof, was more of the 5 Pointed Stars, which I stacked one on top of the other, varying in size. I painted and used two different kinds of glitter on them, then glued them with hot glue together and placed them on the roof. I also used some glittered holly leaves and berries from a Christmas Pick I got at Michaels.


I added a seam binding bow to add more shabby goodness!

I added some beautiful beaded trim around the edge of the roof, from Kraftsupplies4U.

Here you can see another star with the house number, which is a brad from my stash. I used some white Chinese braid around the door, which I sprayed with some Prima Bloom spray in Soft Teal, so it would match the house colour.
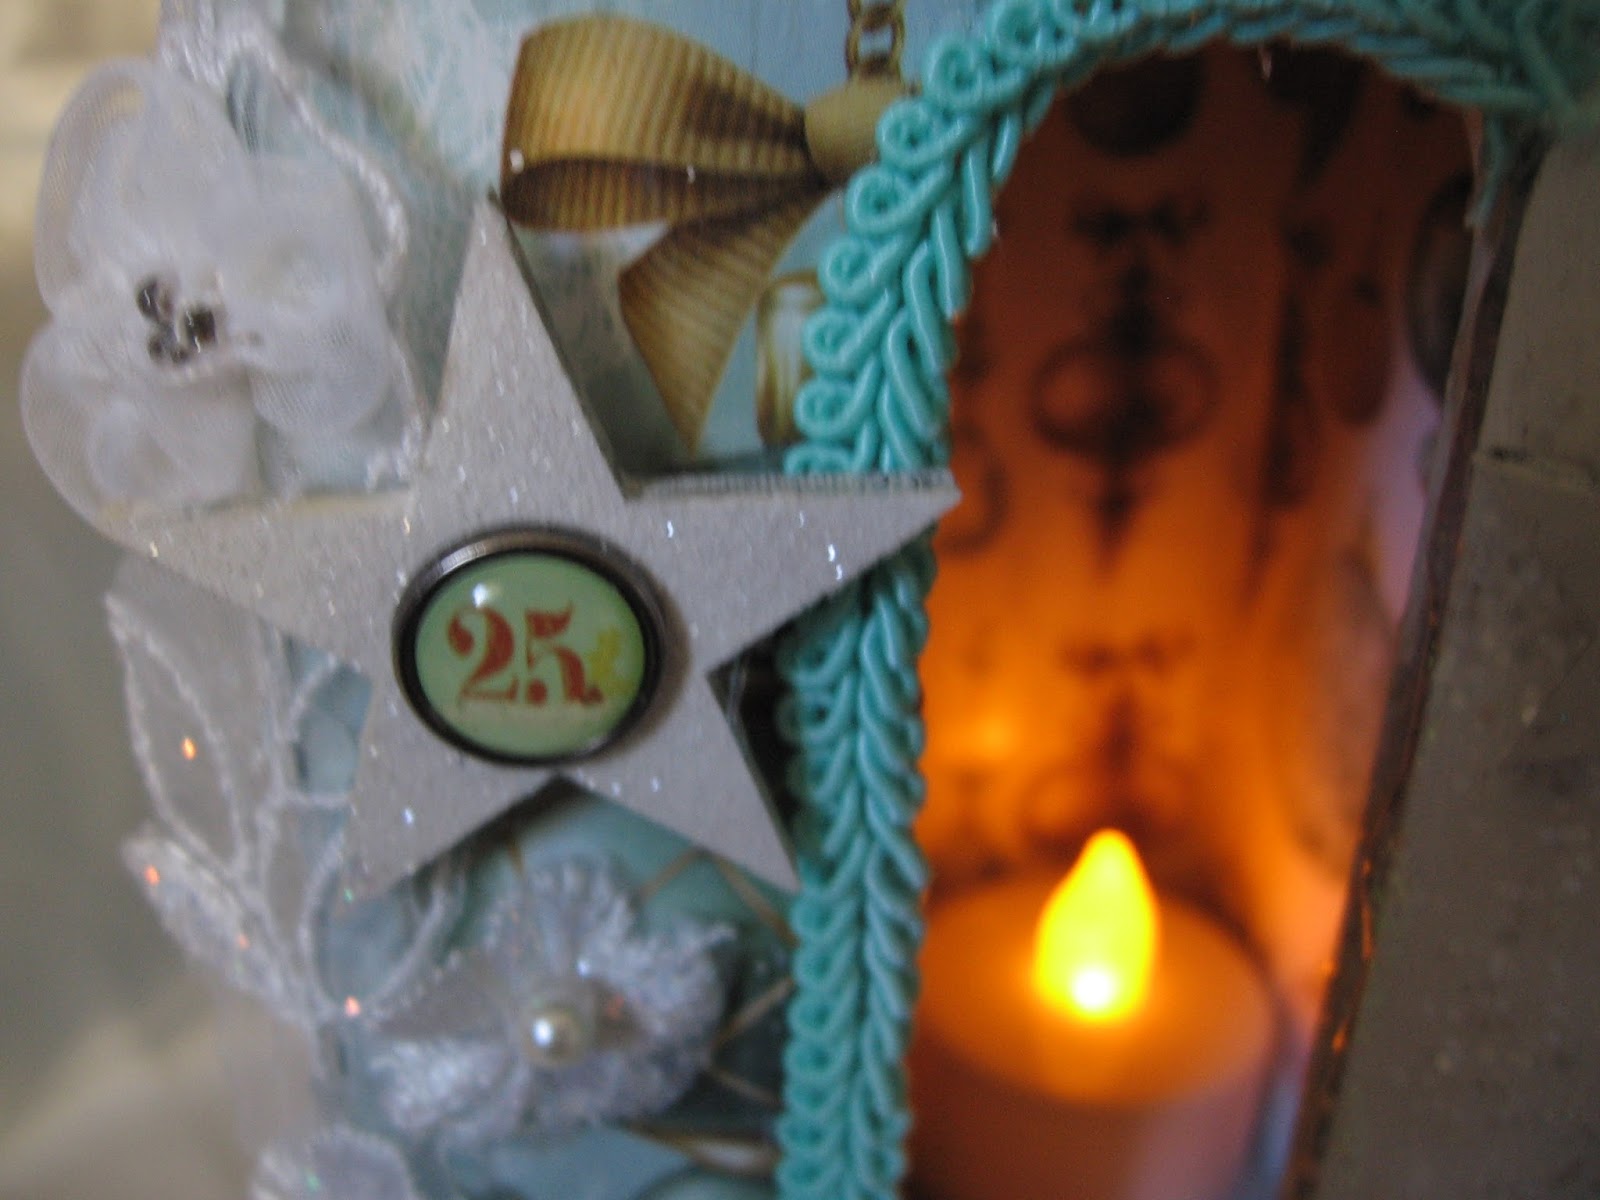
The house comes with a door, which I painted in the same white chalk paint, glittered and added another star and pearl door knob.


I added another resin frame and cut another little image from the paper line to place above the door, and topped it off with one of the tiny stars from the 5 Pointed Star Set.

The last little touch I did on the house was add some lovely flower trim from my stash, I love this trim it looks like flowers growing on a vine. I added more Stickles to the leaves and petals to pick up on the sparkle!


Here is a couple of more shots of the house!


I hope you have enjoyed my project today and found some inspiration here today. Please check out the Fernli Designs Christmas Challenge which you can find by joining the Fernli Designs Facebook Group and then go to the It's Christmaaaaaassssss!! Challenge!
Thanks so much for stopping by today and don't forget to check out the Fernli Designs Store for all these items and lots more too!


