Showing posts with label shabby chic. Show all posts

Tuesday, 11 February 2020

Lavender & Lace Paper Bag Mini Journal White Rose Crafts DT


Good morning friends, Kim here with my next DT project for White Rose Crafts. This time I have created a mini paper bag journal using the Lavender Hills paper from the WRC Shop. 


I used a larger piece of coordinating paper from my stash to wrap around the whole journal for the cover, and gave all the pages and ephemera some Milled Lavender Distress Oxide to colour the edges of the papers.

For the actual journal part, I started off with 5, 2 pound bags I purchased from a friend's live sale. I folded the bags in half and then I covered each of the bags in the paper.


Once that was done, I was able to use the Lavender Hills Die Cut Ephemera Sheet and the 12 x 12 Ephemera sheet to decorate the inside of the journal.


I used the larger ephemera pieces for journaling cards for the opening of the paper bags, which makes wonderful side pockets in the journal.


I added some of the Craft Creations Lilac Bows for decoration along with some fussy cut pieces from the Ephemera sheet.


I also used some of my Tim Holtz Paper dolls from my stash and some of the small talk sentiments to the journal. I bound the journal with some white embroidery floss, it worked great!


The ends of the bag, when folded, make great tuck spots for more of the ephemera!


I created pockets on the front and back of the journal using more of the gorgeous paper and ephemera.


I added some lace to the edge of the journal as well, you can see there is tons of room in this little book for photos or writing.


I also used some of the Delicate Flower embellishments on the front of the journal.


I finished off the journal with some hand dyed bridal trim from my stash and some Want To Scrap Adhesive Pearls in Lavender.


Thank you so much for stopping by today, I hope you have found some inspiration here!
Please pick up all the goodies I have used at the WRC Shop, and use the code Kim 15 at the check out to get 15% off your order!


Monday, 14 October 2019

Altered Gift Bag ScraPerfect DT


Good morning friends, Kim here with my next DT project for ScraPerfect.
This time I have altered a paper bag to hold some lovely items for happy mail.


I started off using the Best Glue Ever on my Rice Paper image, you don't need much of the glue as it holds so well.


 Once the image was applied, I stared to layer on some laces and trims, also using the Best 
Glue Ever.  The lighter and thinner laces hold quite well with BGE, though it does take a bit longer to dry, but it holds very well.


I also used BGE for the epoxy gold circles to ensure they stayed down on the lace.


And here is my finished bag, all ready for filling with some lovely happy mail for a friend.


I hope you have found some inspiration here today, thanks for stopping by!

ScraPerfect Products Used

Tuesday, 27 August 2019

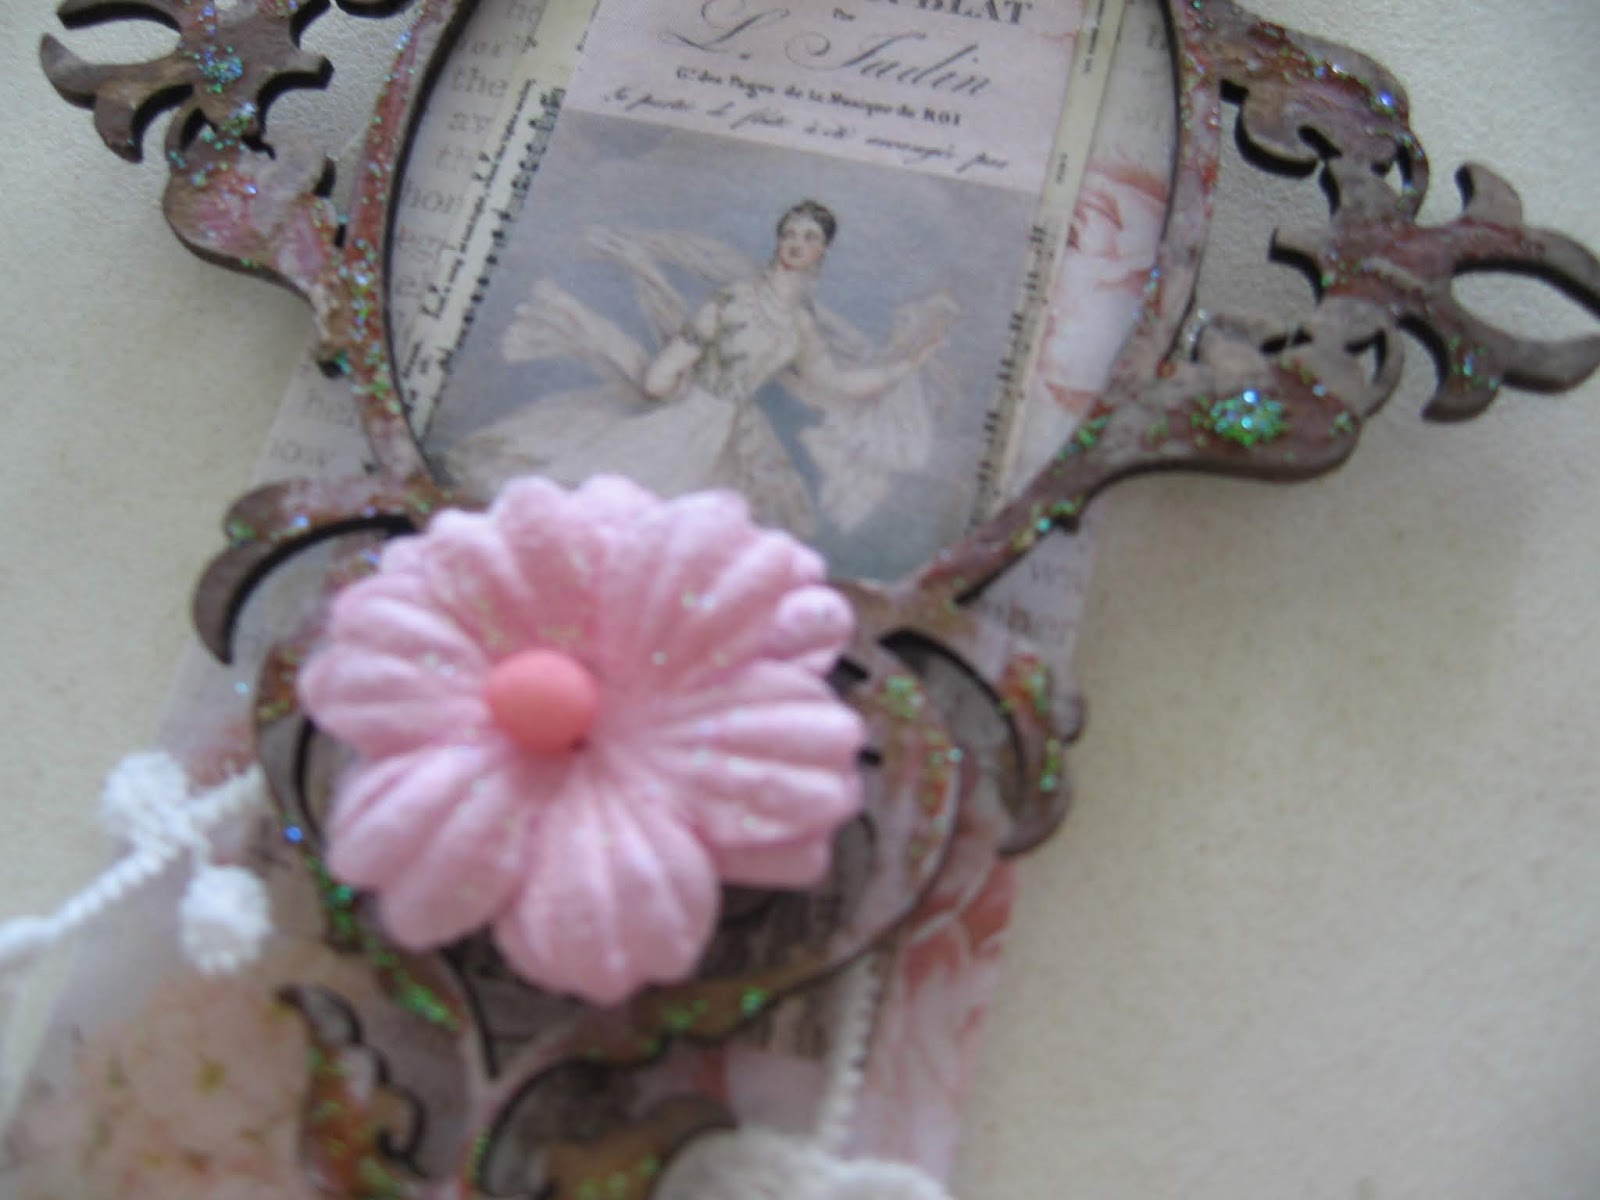
Shabby Opera Beauties Paper Clips White Rose Crafts DT


Good morning friends, Kim here with my next DT Project for White Rose Crafts.
This time I have altered some large paper clips that were sent to me by a friend. I just loved them and wanted to use lots of fun WRC goodies to alter them.


I started off with the Juliet Paper from Scrapberry . I love this paper its so pretty and shabby and has lots of little images that work great for altering this type of thing.


I layered the paper first and added some laces to soften them.


I added some Recollections flowers to add some pink prettiness to them as well.


My last step was to add some Dovecraft Glitter glue to the frames to make them sparkle!


I love how they came out and I will be adding them to an upcoming journal soon.


Thanks for stopping by today, I hope you have found some inspiration here.

White Rose Crafts Products

Tuesday, 20 August 2019

How To Create Your Own Ribbon White Rose Crafts DT


Good morning friends, Kim here with my next DT project for White Rose Crafts.
This week the team is celebrating all things Tim Holtz!  
I have a good selection in my stash of Tim Holtz items, thanks to the WRC shop.
I decided this week to play with his Stampers Anonymous Stamps and the Distress Oxides and make my own ribbon.  
Here is how I did it!


I started off with some of my favorite colours of Distress Oxides, Victorian Velvet, Vintage Photo,
I ripped strips of muslin fabric for a blank base, but you could use some printed fabric or any cotton fabric for this project.


I stamped several different images on each of the strips and on some of them, such as the one with the Union Jack from the Euro Elements Set, I used a subtle colour for that and then the darker, vintage photo on top, which is the post card stamp.


I loved the effect of layering the stamps on top of each other.


Because I used the Distress Oxides, the stamping came out quite chalky looking, and if you choose you can give the ribbon a light spritzing with water to make the images more faded looking, as the Oxides are water soluble so water will make the images run a bit. To me that would be a wonderful look if you are going for a more vintage and tattered vibe.


I just love how these came out! This is the first time I have stamped with the Oxides on fabric and they worked amazingly well.


I plan on using my new ribbons on some upcoming WRC projects so stay tuned for that!


Thanks for stopping by today, I hope you have found some inspiration here.

White Rose Crafts Products Used

Wednesday, 14 August 2019

How To Make A Snippet Roll With The Best Glue Ever ScraPerfect DT


Good morning friends, Kim here with my next DT project for ScraPerfect.
I have created a snippet roll this time, and had lots of fun making it.


I needed at spool for my snippet roll, and didn't have one, so it was the Best Glue Ever to the rescue!
I am using a toilet tissue roll and two ends from a spool of ribbon.


I used vintage hymnal paper to cover all the pieces using The Best Glue Ever. The no clog writing cap, makes this easy for the glue to get to where it needs to be.


Once the pieces were covered in the paper, I used the Best Glue Ever to attach them all, by running a bead of glue around the edge of the tissue roll and attaching the two ends.


I added some trim to the edge and decorated the top of the spool with flowers and lace.


Now it was time to attach the fabric of the snippet roll.  
I decorated the fabric with images, vintage laces, ribbon roses and snippets of doilies.


Once I finished the roll, I rolled it up around the spool. Now it is ready to find its way to its new home, for someone to enjoy.


I hope you have enjoyed my project today and will check out the ScraPerfect Store!
Thanks for stopping by!


Sunday, 14 July 2019

Tag Making with The Best Glue Ever ScraPerfect DT


Good morning ScraPerfect fans, Kim here with my next DT project. 
I am doing a tag swap in a Facebook group, and was tasked with making 5 tags for it. 


The Best Glue Ever made the job so much easier!
I used the glue to put all my tags together.


It was also helpful in making my tag embellishments.


I also used The Best Glue Ever on some chipboard, which I layered under my sentiments to make them pop up on the tags.


I used paper from Prima and Tim Holtz for the tags.


This little beauty also has a Tim Holtz paper doll on it, and I used The Best Glue Ever to attach his wings!


I hope you like my project today, and found some inspiration here.
 I had so much fun making these tags.

Please check out the ScraPerfect Store to get your bottle