Showing posts with label Stamps. Show all posts

Tuesday, 20 August 2019

How To Create Your Own Ribbon White Rose Crafts DT


Good morning friends, Kim here with my next DT project for White Rose Crafts.
This week the team is celebrating all things Tim Holtz!  
I have a good selection in my stash of Tim Holtz items, thanks to the WRC shop.
I decided this week to play with his Stampers Anonymous Stamps and the Distress Oxides and make my own ribbon.  
Here is how I did it!


I started off with some of my favorite colours of Distress Oxides, Victorian Velvet, Vintage Photo,
I ripped strips of muslin fabric for a blank base, but you could use some printed fabric or any cotton fabric for this project.


I stamped several different images on each of the strips and on some of them, such as the one with the Union Jack from the Euro Elements Set, I used a subtle colour for that and then the darker, vintage photo on top, which is the post card stamp.


I loved the effect of layering the stamps on top of each other.


Because I used the Distress Oxides, the stamping came out quite chalky looking, and if you choose you can give the ribbon a light spritzing with water to make the images more faded looking, as the Oxides are water soluble so water will make the images run a bit. To me that would be a wonderful look if you are going for a more vintage and tattered vibe.


I just love how these came out! This is the first time I have stamped with the Oxides on fabric and they worked amazingly well.


I plan on using my new ribbons on some upcoming WRC projects so stay tuned for that!


Thanks for stopping by today, I hope you have found some inspiration here.

White Rose Crafts Products Used

Tuesday, 6 November 2018

Mixed Media Card for White Rose Crafts


Good morning friends, Kim here today with my next DT Project for White Rose Crafts.  This time I have used lots of items from White Rose Crafts to create my card. This week White Rose Crafts is giving thanks from our family to yours with a free randomly selected Hunkydory Christmas Card Kit (RSP $3.99) with every order over $10 (before shipping charges are applied). No code needed.


I started off with the Tales of You and Me paintable paper from Prima for the background. This pad is currently out of stock in the store, but they do have the Salvage District Paintable pad which would work great instead!   I used some of the Distress Oxides in Vintage Photo, Tumbled Glass and Evergreen Bough and a water brush to create the watercolour background with the paper.

I also coloured my texture paste with Tumbled Glass Distress Oxide and used a number stencil from my stash to give texture to the background.


I used a Tim Holtz Alpha stamp set I got from the White Rose Crafts Store and used some letters and numbers to add interest the the background.  I used all my left over pieces of paper that I cut off to make the background fit and tucked them behind my Tim Holtz paper dolls. I also added a doily and some embellishments from my stash to finish off the card.


A scripty Recollections Flower added some fun to the card!


As a finishing touch, I added some of the Doodles Paper Playground Sparkle Blend in Candy Cane to add more texture and sparkle.

I mounted my background on the Neenah Card and Envelope Set Parchment, it has a matching envelope as well, so it makes it easy for card making!


I hope you like my card and have found some inspiration here today!
Thanks for stopping by!

Tim Holtz Alpha Stamp (Out of Stock)
Prima Tales of You and Me (out of stock)


Friday, 17 June 2016

Stamping Fun and Cardmaking with Joggles Design Team

Good morning Joggles fans! I am very excited to share this months project with you. This month I am featuring stamps from Joggles. I am an avid stamper, and these stamps are just amazing, and stamp very clear and sharp images. I have made a couple of cards so lets get started!
 
 
Here is a list of supplies you will need.
 
 
Other Supplies
Coloured Card Stock of Your Choice
Ribbon or Twine
Embellishments for decoration
Gems
Glue
Joggles Twinkling H20's -Guatamalan, Sunflower,Wisteria, Key Lime
Sharpie White Marker
Stickles
Your Choice Coloured Inks
Dimensional Tape
Stickles in Crushed Pineapple
Spiced Marmalade
 
On to the cards now! First is a fun card with The Bird Ernest Stamp. I love this little guy, he is so friendly looking. I used my black StazOn Ink to stamp him then I got out my Twinkling H20's and gave him a water colour look.


I used a fine brush for his beak and little feet, and used the Sunflower colour to make them a lovely sparkly yellow tone.
 
 
For his body, I did a mixture of two colours. Don't be afraid to mix colours when working with water colours, they will blend nicely with the water, just have fun and play! I used the Guatamalan and Lime tones for this body and the Wisteria for his chest.

 
Once little Ernest was dry, I cut him out of the cardstock and set him aside to dry. Now it was time to get my back ground done. I chose some lighter tones of inks to stamp the background, using the Tropical Re-Leaf stamp from Joggles. I really love this stamp, its very airy and ethereal looking.

 
I used various soft colours, in pink, pale blue, and yellow, and matched the background cardstock to the yellow ink.

 
I also cut a band in the yellow, and used the Message in a Bubble Believe stamp on top of it. Next, it was time to get Earnest out and add some dimensional tape to the back of him so he stands out on the card.

 
For some final touches I added some gems from my stash....
 
 
.....and some fun ribbon, twine bow and flowers to finish the card off.


Here is the finished card. I love how it turned out!

 
I also created a second card using lots of Joggles stamps. I started this one off by using some Distress Inks in Abandoned Coral and Spiced Marmalade.  I cut out a circle for the moon, and added some glue dots to stick it down temporarily. I used the inks all over the card until I was happy with the colour, then used my stamps to create a scene on top.
 
 
I used some Crushed Pineapple stickles for some glitter, and coloured the moon yellow with my alcohol markers. For a final touch, I added some white dots to the house, flowers and leaves and a bit of twine and a metal key.
 
Its so fun to play around with Joggles Stamps, let your imagination be your guide!
I hope you have enjoyed my cards today and please check out all the great items Joggles has in stock!
Thanks for stopping by!


Friday, 16 October 2015

A Purrfect Day Featuring Newtons Nook Designs

Good morning friends!  Today I have a fun card to share featuring the stamps of Newton's Nook Designs. I recently purchased them and I am truly in love! I am totally a crazy cat lady, and these stamps really are fun and inspiring.
 
I created a 5 1/2 x 4  1/4 card on Recollections White Cardstock and designed my own background using fun images from the Newton's Antics Stamp set.
 
 
Newton's Antics is a really great set of stamps, it has lots of little images that really are great for creating your own custom background with. I used several images from the set and used some bright colours of inks to show them off.  I randomly stamped four images around the cardstock until I was happy with the outcome. I added some clear Wink of Stella to the solid images for some glitter.
 
 
Now it was time to turn to my image from the Naughty Newton Stamp set. This set is so cheeky! Being a Kitty Mom myself, I loved that the images really captured the true personality of our furry friends.  This image in particular reminded me of some fun I have had with my kitties!
 
I used my Spectrum Noir Markers to colour.  I used three of the grey tones for the kitty to create  his fur, and added shades of tan and brown for the flower pots.


The earth that has spilled out of the broken pots was created again with my markers. I used dots and started with a light colour for the background, dotting it around and continued with a few more tones, going darker each time until I was happy with it.
I added some tiny silver bling to the centre of the flowers and some Wink of Stella glitter to the leaves and the plant and kitty collar.


For the sentiment of the card, it is again from the Newton's Antics set, I stamped it on white card stock and added a fun little mouse toy beside it.


I added a few sequins and a fun little bow for finishing touches.
I hope you have enjoyed my card today, and don't forget to check out the links below for the stamps I used and more fun things from Newton's Nook.


Other Products Used
Simon Says Stamp Orange Peel Ink
Hero Arts Shadow Ink Red Royal
Spectrum Noir Markers
Stayzon Ink Black
Recollections Cardstock
Sequins From My Stash
Mini Bling From My Stash


Friday, 31 July 2015

Notecards of Joy Featuring Stamps by Rubbermoon!


Hello friends! Kim here today and I have a fun share for you using some of my favorite stamps from Rubbermoon.  I so love the stamps they have in their store, they are made from red rubber, which I prefer to use over the clear acrylic ones. I just find these deep etched stamps work great and always give me a sharp, clear image.


I created two cards today, as I am trying to build up my card stash so I have something for any occasion that pops up.  The first one, I used the Beautiful Balloon Girl by Kae Pea. When I looked at the stamp, I saw her floating up high in the sky and thought it would be fun to add some dimensional balloons to her to keep her afloat! 


I layered some turquoise card stock on a 5 1/2 x 4 /12 inch card, then used some more white cardstock and some Twinkling H2o's watercolour in the same tones as the paper and created a sky background for our girl to be floating in.   I added some bows and glitter to the balloons, and a die cut sentiment to the base of the card. The girl was coloured in with Spectrum Noir markers and topped off her dress with some more glitter. I added some tiny silver bling to the card for some added sparkle.

My next card was totally inspired by the little lady from the Open Arms stamp by Wendy Fedan, and I stamped her out on some white cardstock and coloured her in with more of my Spectrum Noir markers. For the background, I used some white cardstock and ran it through my embossing folder, and it reads the words to the song, "You are my sunshine", which is one of my favorite songs. I used the Love this Face! stamp by Kae Pea for the sun in the sky, and placed some die cut clouds on either side of the glittery face in the sky. The Crooked Chimney house is also one of my favorite stamps and there is a great selection of these houses designed again by the very talented Kae Pea!  I coloured this one in coordinating colour tones and added my joy sentiment.


I added some tiny bling pieces in a sunshine-y yellow for a finishing touch and that completed my card.
I hope you have enjoyed my posts today and I hope it inspires you to make some of these fun cards for your family and friends.
Thanks for stopping by!


Rubbermoon Stamps Used

Other Items Used
Lawn Fawn Dies
We Are Memory Keepers Embossing Folder
Cardstock and Bling From My Stash
Spectrum Noir Markers
Twinkling H2o's From ColourArte


Tuesday, 5 May 2015

 
Good morning, and happy Tuesday!  Today is my day to share my Design Team project for RebeccaBaer.com  I am so thrilled to be part of this amazingly talented team. I am also so inspired by my team mates!  This week I wanted to do something colourful and Springy, so I got out some paints and sprays in all my brightest colours and began to play.
 
I used 2 of my favorite stencils from Rebecca's Store the dragonfly fantasy stencil, and the honeycomb stencil on a 12 x 12 piece of white cardstock. I layered on sprays, paint and a script stamp I had in my stash.
 
 You can see here on the right the finished paper. At the moment it doesn't look like much but I have plans for it!
 
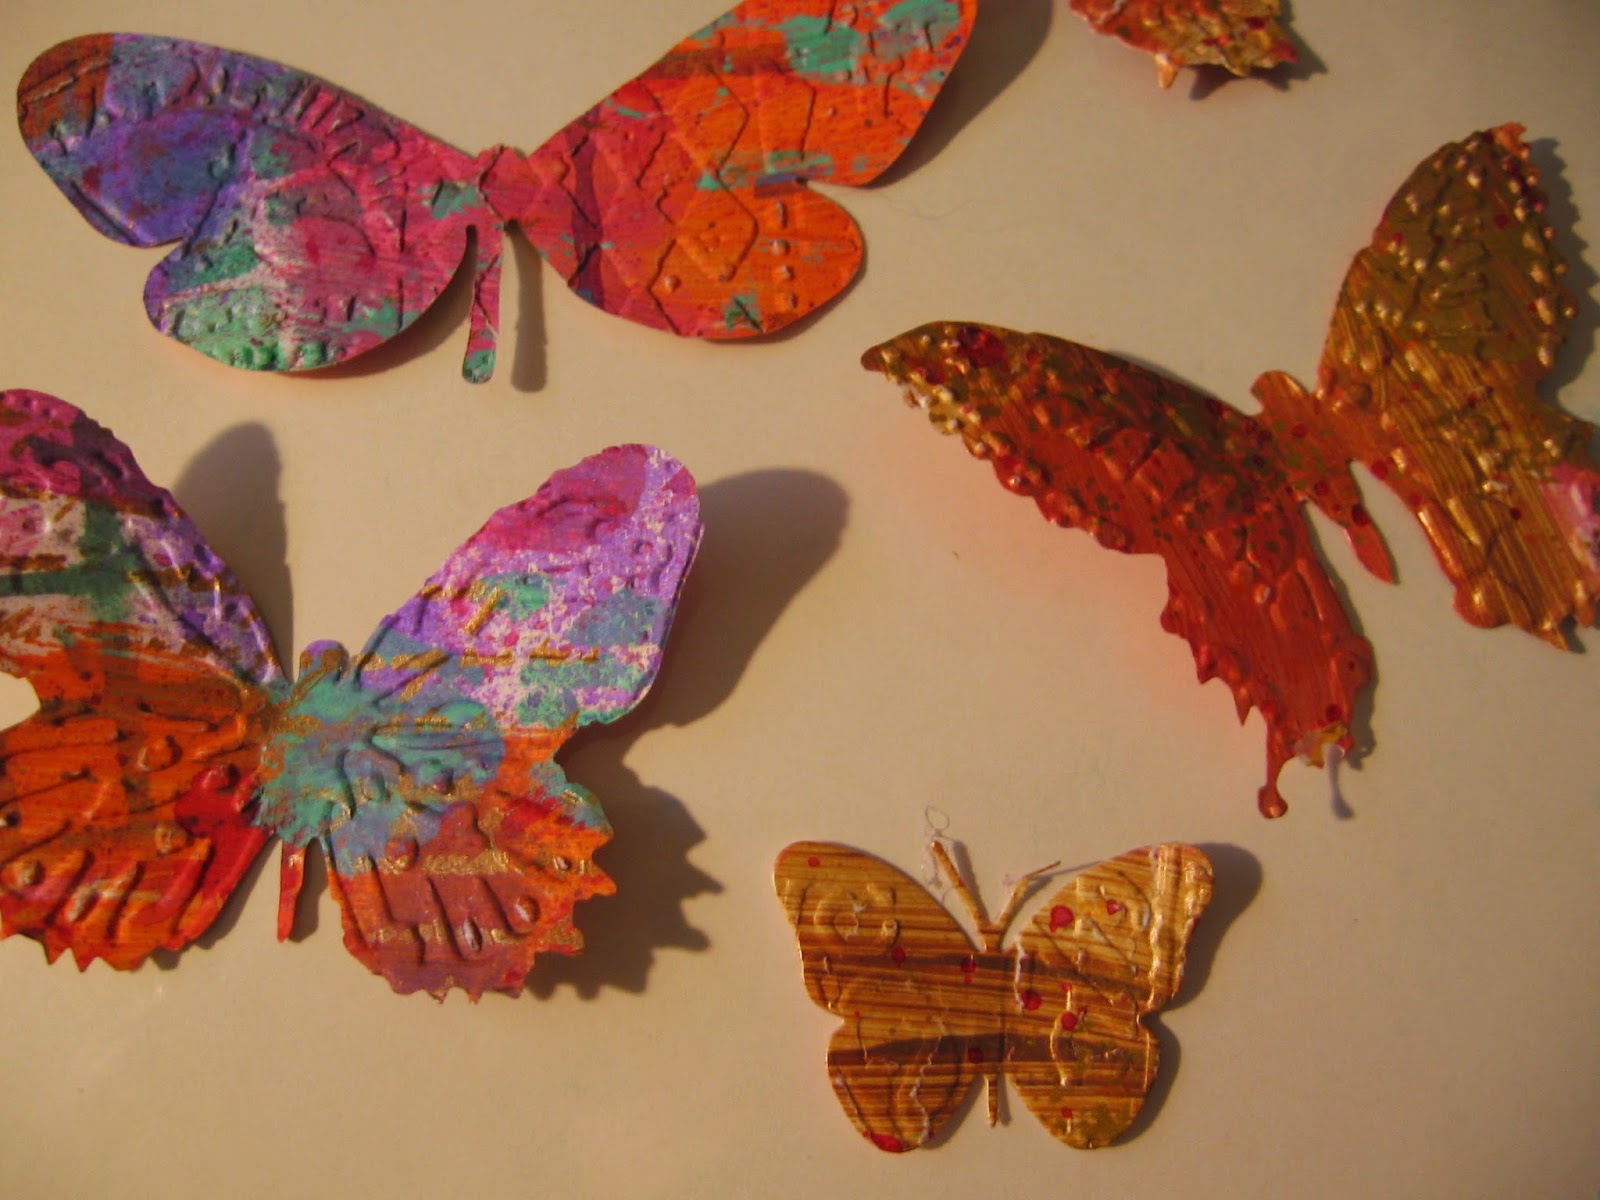
After the paper was done on both sides, I cut the paper down to some manageable sizes, and ran it thru some different embossing folders. Next, I got out some of my favorite dies and placed them on either side of the paper to get a different colour effect. Below right you can see the effect of the embossing and die cutting of the paper. 
I next got out my Distress ink in black to highlight the embossing, and also grabbed my Gilded Stenciling and Stamping Adhesive, which I love. This adhesive is so wonderful! You just paint it on with a brush and let it dry. Once dry, the adhesive is now tacky and will hold your glitter, gilding paper or mica flakes.
 I got out my Distress Glitter and Mica/Glitter mix and added them to the tacky adhesive. It really allowed the butterflies to sparkle!
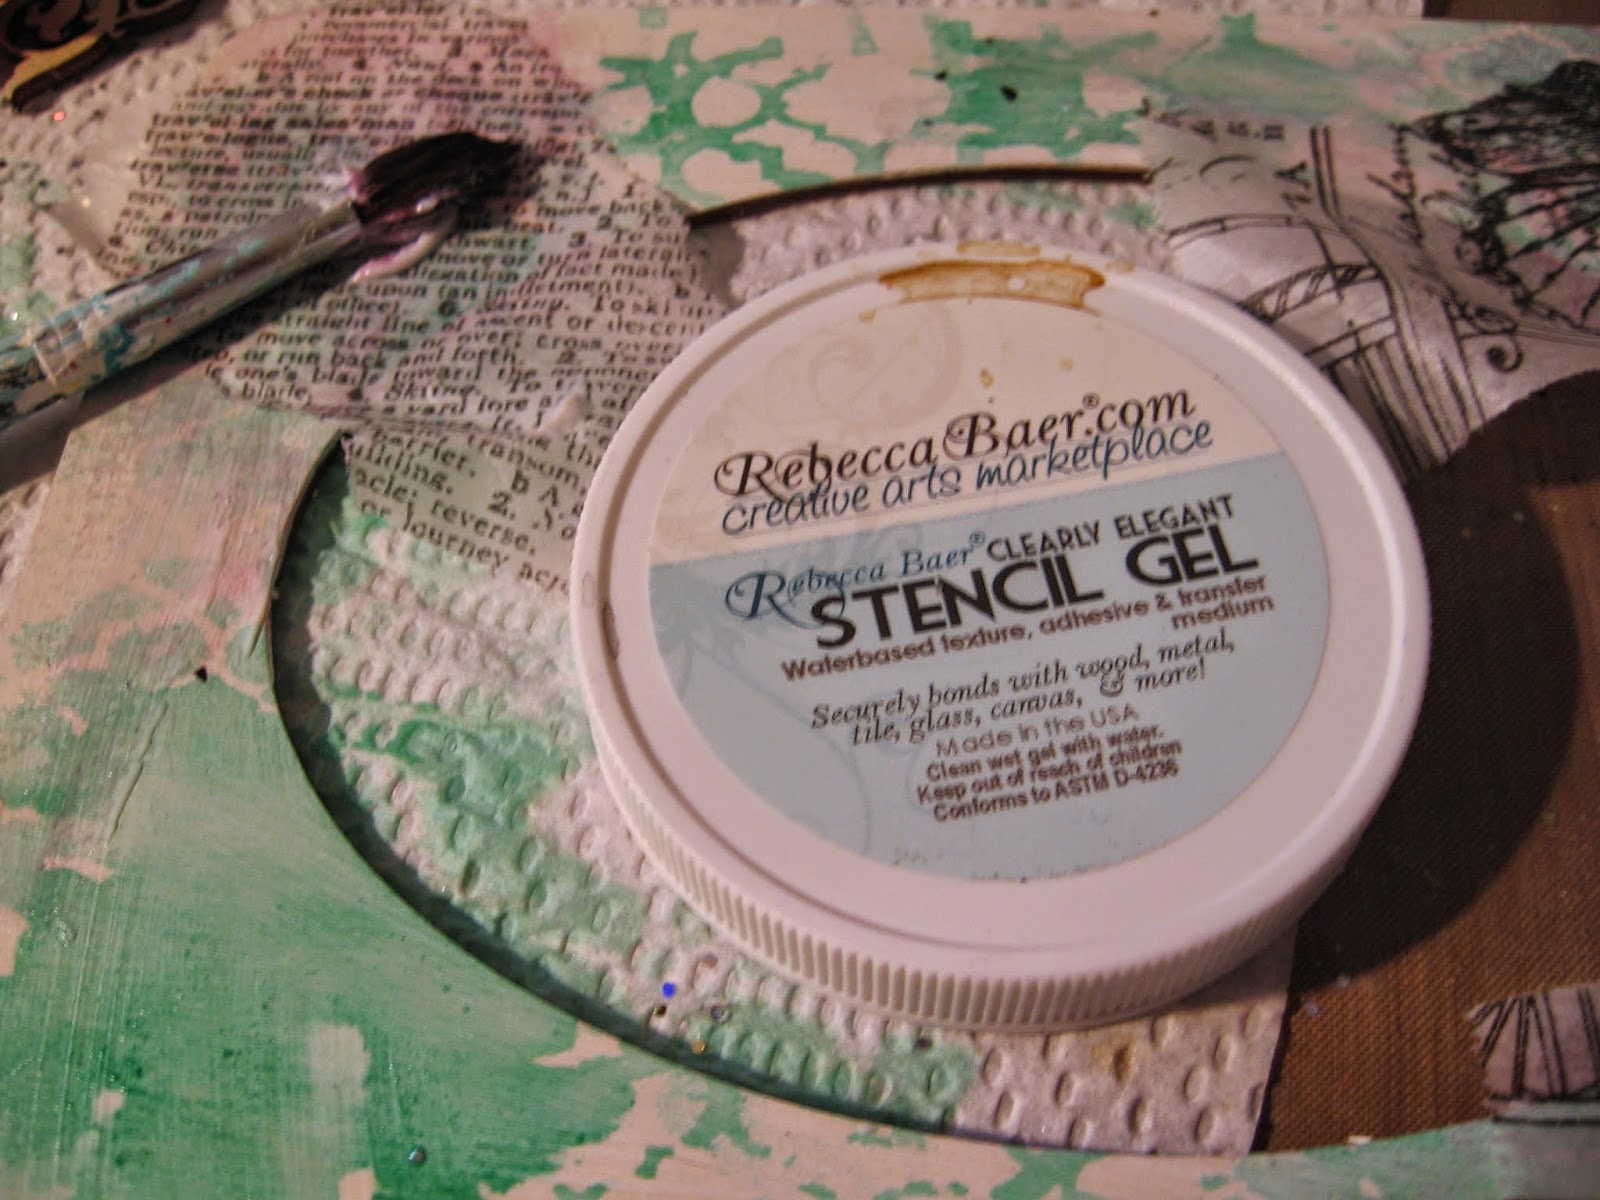
 Now it was time to work on the frame itself. I got out the Marrakech Stencil and some Cracked Pistachio spray. Next I reached for my  RebeccaBaer.com Stencil Gel and some Tim Holtz Tissue paper. I ripped random pieces of the tissue paper all over the frame, the gel works wonders for holding down things like this, it is quick and easy to use, and dries fast.
 Lastly, I used the Heritage Flora Stencil and some white crackle paste over most of the frame. After it dried I added some more light pink sprays to pick up on the crackle effect, you can see the results in the bottom right photo.
Here is the finished product! I am just thrilled with this little frame. It so reminds me of Spring. I had so much fun creating this piece, and I hope I have shown you how versatile these amazing stencils and products from RebeccaBaer.com are.


Thanks for stopping by today!
 
Other Products Used
Prima Metals
Wood Frame and Chandelier from Michaels
Paints from Ranger
Sprays from Shimmerz and Lindy's Stamp Gang
Flowers from Petaloo
Dreamweaver Crackle Paste
Tim Holtz Tissue Paper
Dies from Stampendous, Tim Holtz and Diemond Dies
Distress Ink Black Soot
Distress Glitter
Stampendous Copper Lux Mix