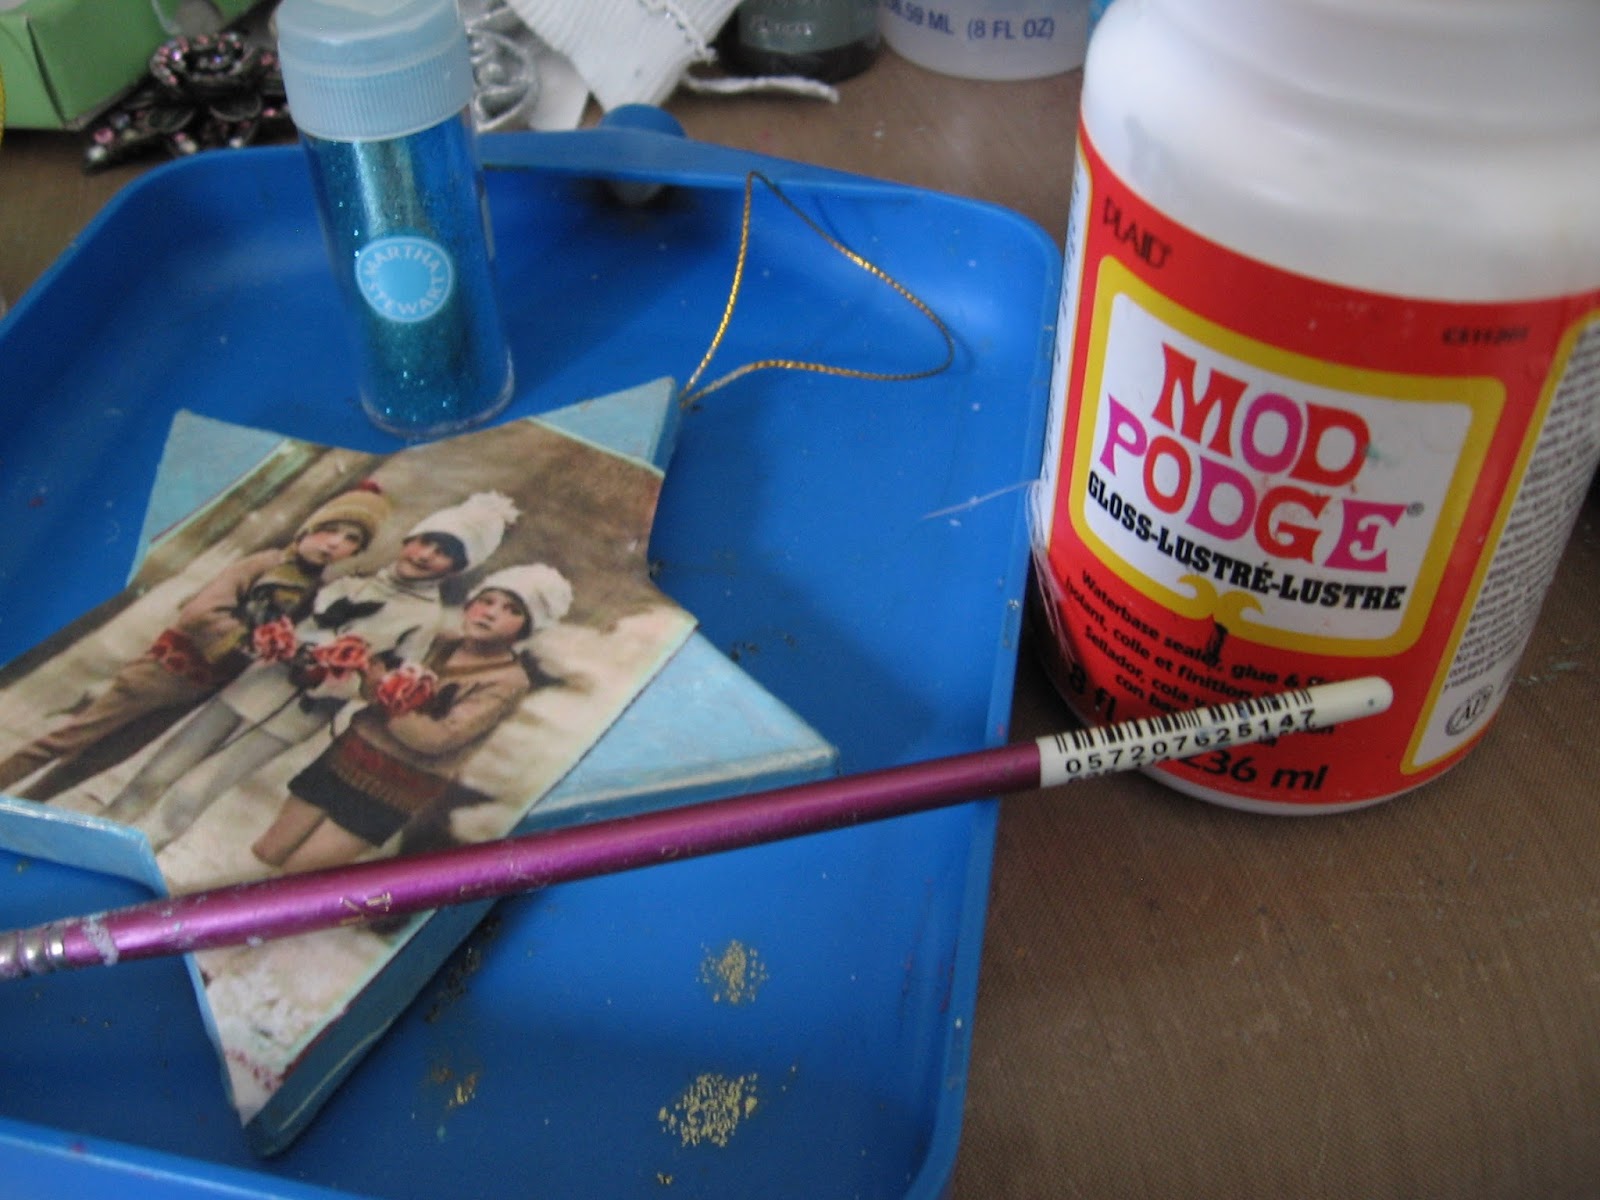
Good morning Joggles fans, Kim here today with my next DT project for Joggles.
I have altered one of the Accordian Books from Joggles this time, and made it into a Shabby Angel themed Mini Album.

Here is a list of products you will need for this project.
Aqua Rose
Light Patina
Prima Colour Bloom Spray Soft Teal
Prima Paint Brushes
Petaloo Flowers
Prima Holly Leaves
Pearls
Laces From Your Stash
Resin Angel
Paper From Your Stash
Glue
Wood or Chipboard Embellishments
Digital Images or Paper Images From Your Stash


So, lets get started! The first thing you want to do is paper your Accordion Book. I used some paper from my stash is some colours that I liked. I used the 6 x 6 accordion book and also used 6 x 6 paper, so it made it very easy to paper. This is a fun project, and there are 10 pages in the book to decorate any way you like.
I used my craft glue to put the paper down first to start my album.

Once you have papered your book, then it is time to start adding the embellishments. I first started by layering on some laces and trims. Once I was happy with the laces on the cover, I added more embellishments and my image.

Now its time to play with our Sticky Snippets! I layered on the sprays, drying each layer in between until I was happy with how it looked.
I used the Distress Spray in Pewter to do a cross hatch effect on the Sticky Snippets.


I used the stars to add dimension and interest to the cover.


I also added some bling from my stash to add a bit of sparkle.

I added some of the gorgeous and sparkly Prima Holly leaves in a rose gold colour to the front of the book, and also added some Petaloo flowers as well.


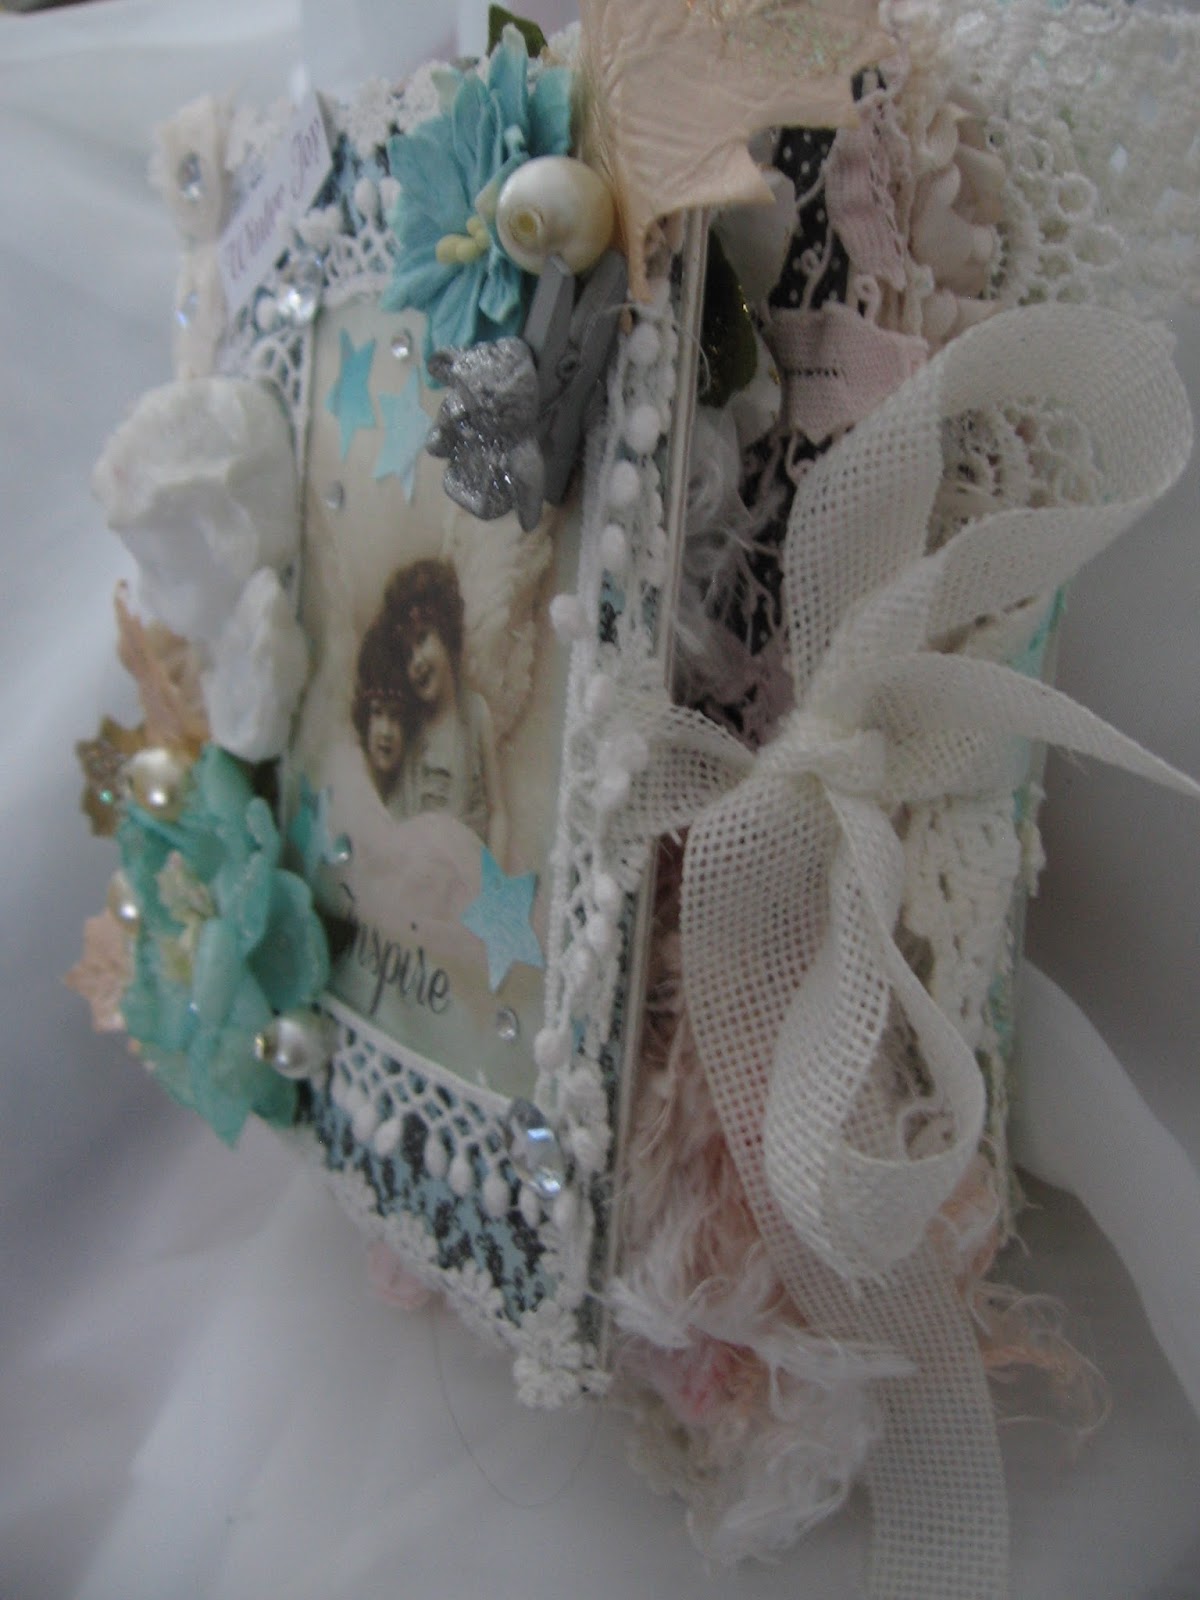
A resin angel, that I added some glitter to, and some pearls and bling from my stash finished off the cover nicely.

Next, it was time to paint up my wood embellishments. I used various colours of the Prima Art Alchemy Paints. There is a wide variety of colours in this line, so use your imagination and get creative! I am using wood from Fernli Designs for this project.

I continued on with my pages, adding laces, trims and more embellishments.

I kept in the same colour tones with each of the pages to keep the theme of the Winter Angels going.


I also added a ribbon tie to the front and back covers by tucking the ribbon under the paper for a good strong hold.

As the book turned out to be so thick with all the embellishments, this was a good solution to keeping it tied shut, but it also gives the option to display it open as well.


I left a couple of the pages blank, as this is going to be a Christmas gift for a friend, and she can add her own touches to it, or some Christmas photos of family and friends if she likes.

I added some laces and trims to the last few pages and she can finish them off to her liking.

Here is the book open, you can see it would make a lovely display for the holidays or any time of year.


I had a lot of fun with this project, and I hope you will give one of the Accordion books a try!
Thanks so much for stopping by today, and please check out the Joggles Store for all the items I used here today!