Showing posts with label Christmas Ornaments. Show all posts

Monday, 12 December 2016

Dreams of A Reindeer A ScraPerfect DT Project

 
Hello ScraPerfect friends, Kim here with another DT project today. This time I have altered a lovely large reindeer for my front door for the Holiday season.
 
I was inspired by this quote I found online.
"To dance with the moon, you need only become friendly with the dreams of a reindeer."
(author unknown)
 
 
For this project, I used one of my favorite crafty combos! The Best Glue Ever and Glitter!!  I used some dollar store snowflakes and "painted" the glue on them, then sprinkled on the glitter.
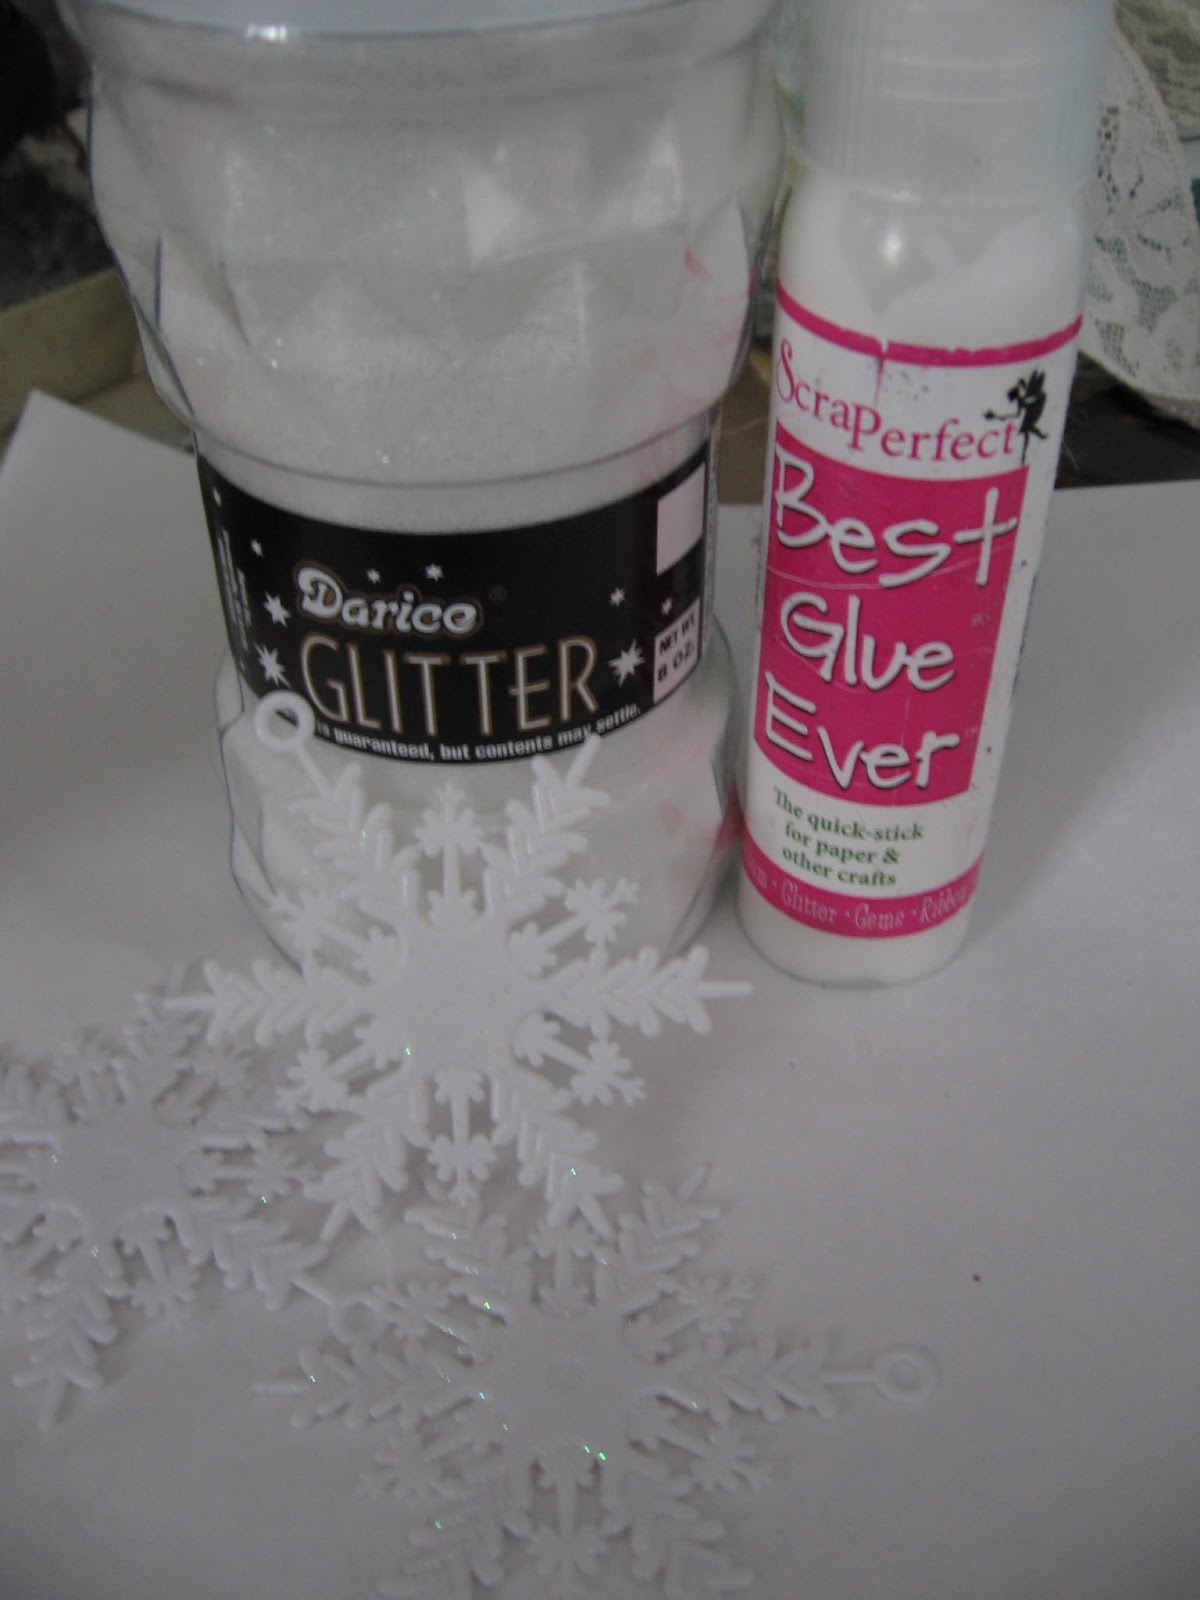
 
 
The result is snowy perfection!
 
 
I did the same with the stars too, and I also used the Best Glue Ever for my bling to make my reindeer extra glittery.


 I added some lace beaded appliques, paper flowers, and some ribbons and trims to decorate up my reindeer.
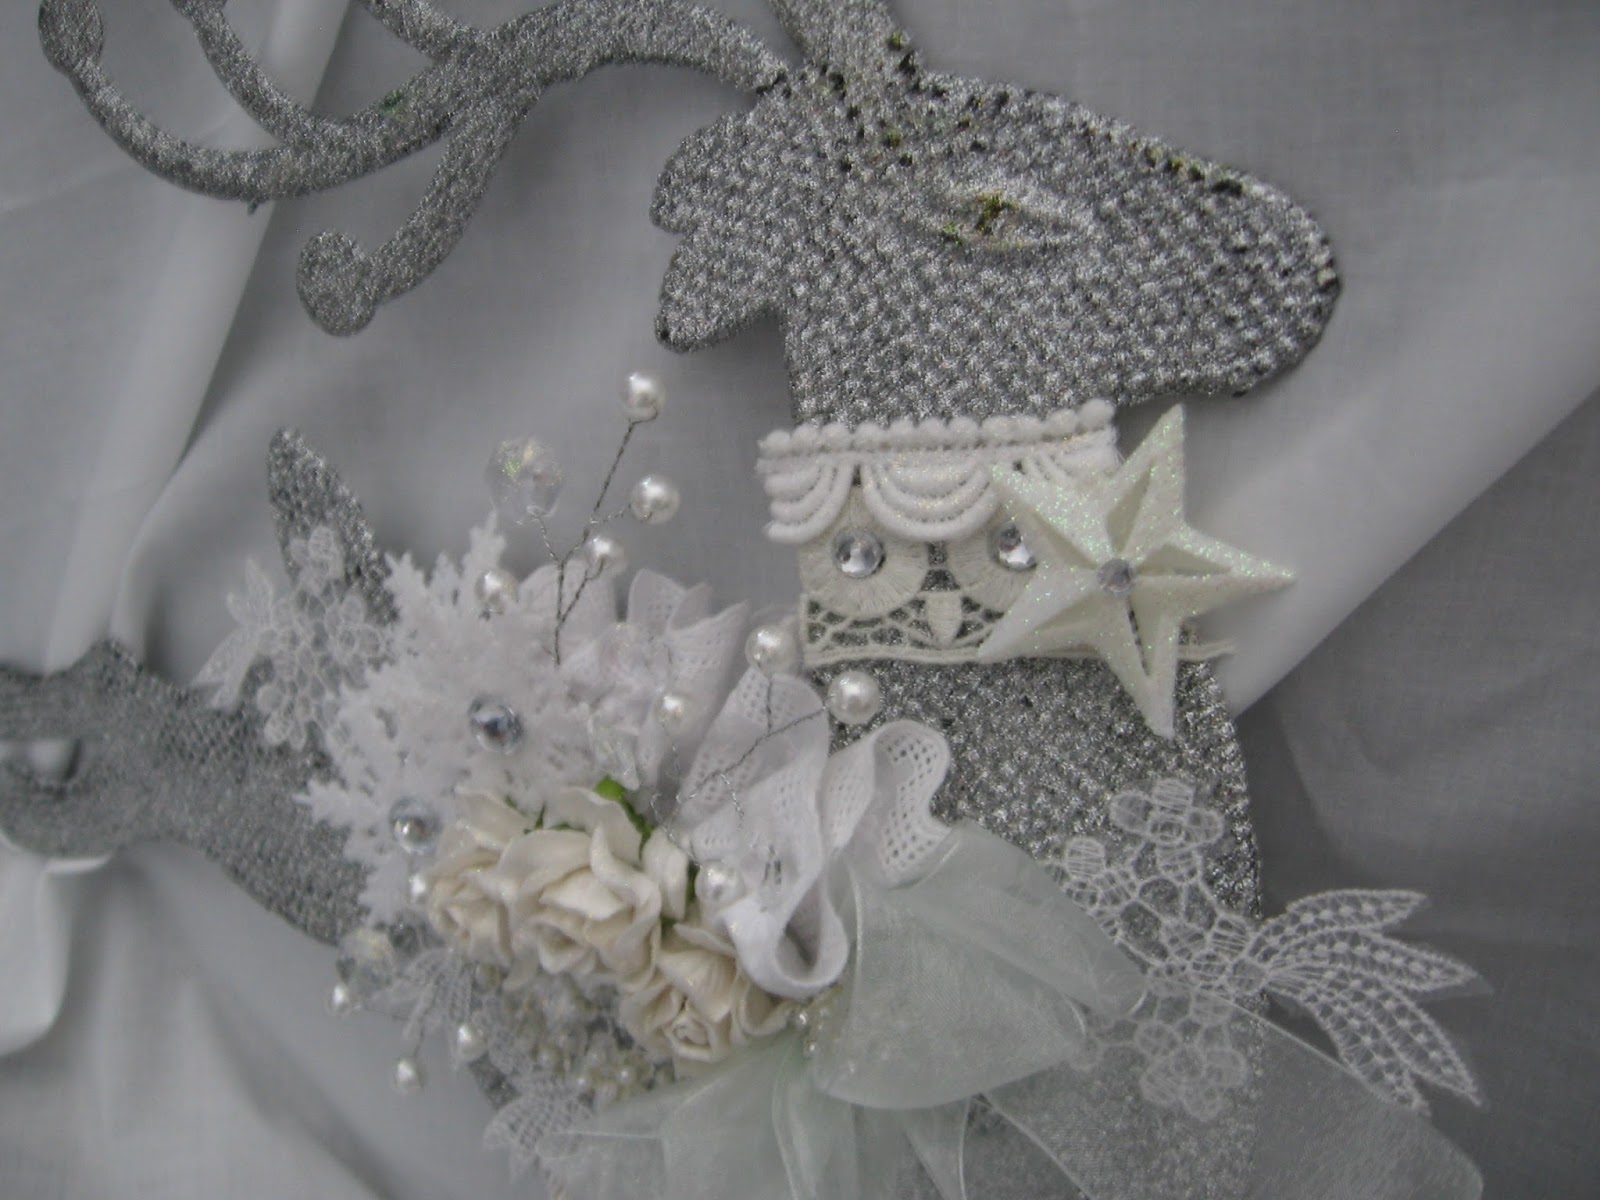


 I also added some beaded sprays for dimension and texture.


I used some sheer ribbon and also added some bling from my stash to the center.

 
Once again here is my sparkly reindeer! He will be hanging on my front door to greet my family and friends this holiday season.
I will leave you with another Reindeer quote.....
 
"Reindeer are flight and motion and magic in moonlight beyond all recalling, made of Christmas dreams, spun from a place beyond all fearing."
(Author Unknown)
 
I hope you have found some inspiration here today. Please check out the ScraPerfect Store for lots of great products and to keep up with the Design Team.
 
Happy Holidays!!!


Friday, 4 November 2016

Starry Christmas Ornaments For Joggles Design Team

 
Good morning Joggles fans! Kim here today to share with you a fun Holiday inspired project featuring Sticky Snippets!


Here is a list of items you will need for this project:
 
 
Here is a list of items you will need for this project:
Prima Bloom Spray Turquoise, Peony and Cotton Candy
Light Patina
Rose Gold
Ancient Gold
Aqua Rose
Pink Blue
Vintage Pink
Blue Gold
Paper Mache Stars
Digital Images
Martha Stewart Glitter
Glue
Trims from your Stash
 

 Now its time to play with our Sticky Snippets! I layered on the sprays, drying each layer in between until I was happy with how it looked.

 
I used the Distress Spray in Pewter to do a cross hatch effect on the Sticky Snippets.


 Here is a close up! I also did a page of the stars in some pink tones, but my camera for some reason didn't save those photos, but it is the same technique I did on the blue Sticky Snippets.


Now, its time to paint your stars. I used a couple of coats of the paints to give a lovely shimmer.


 After the paint dries, place your images on the stars and cut them to the shape.

 
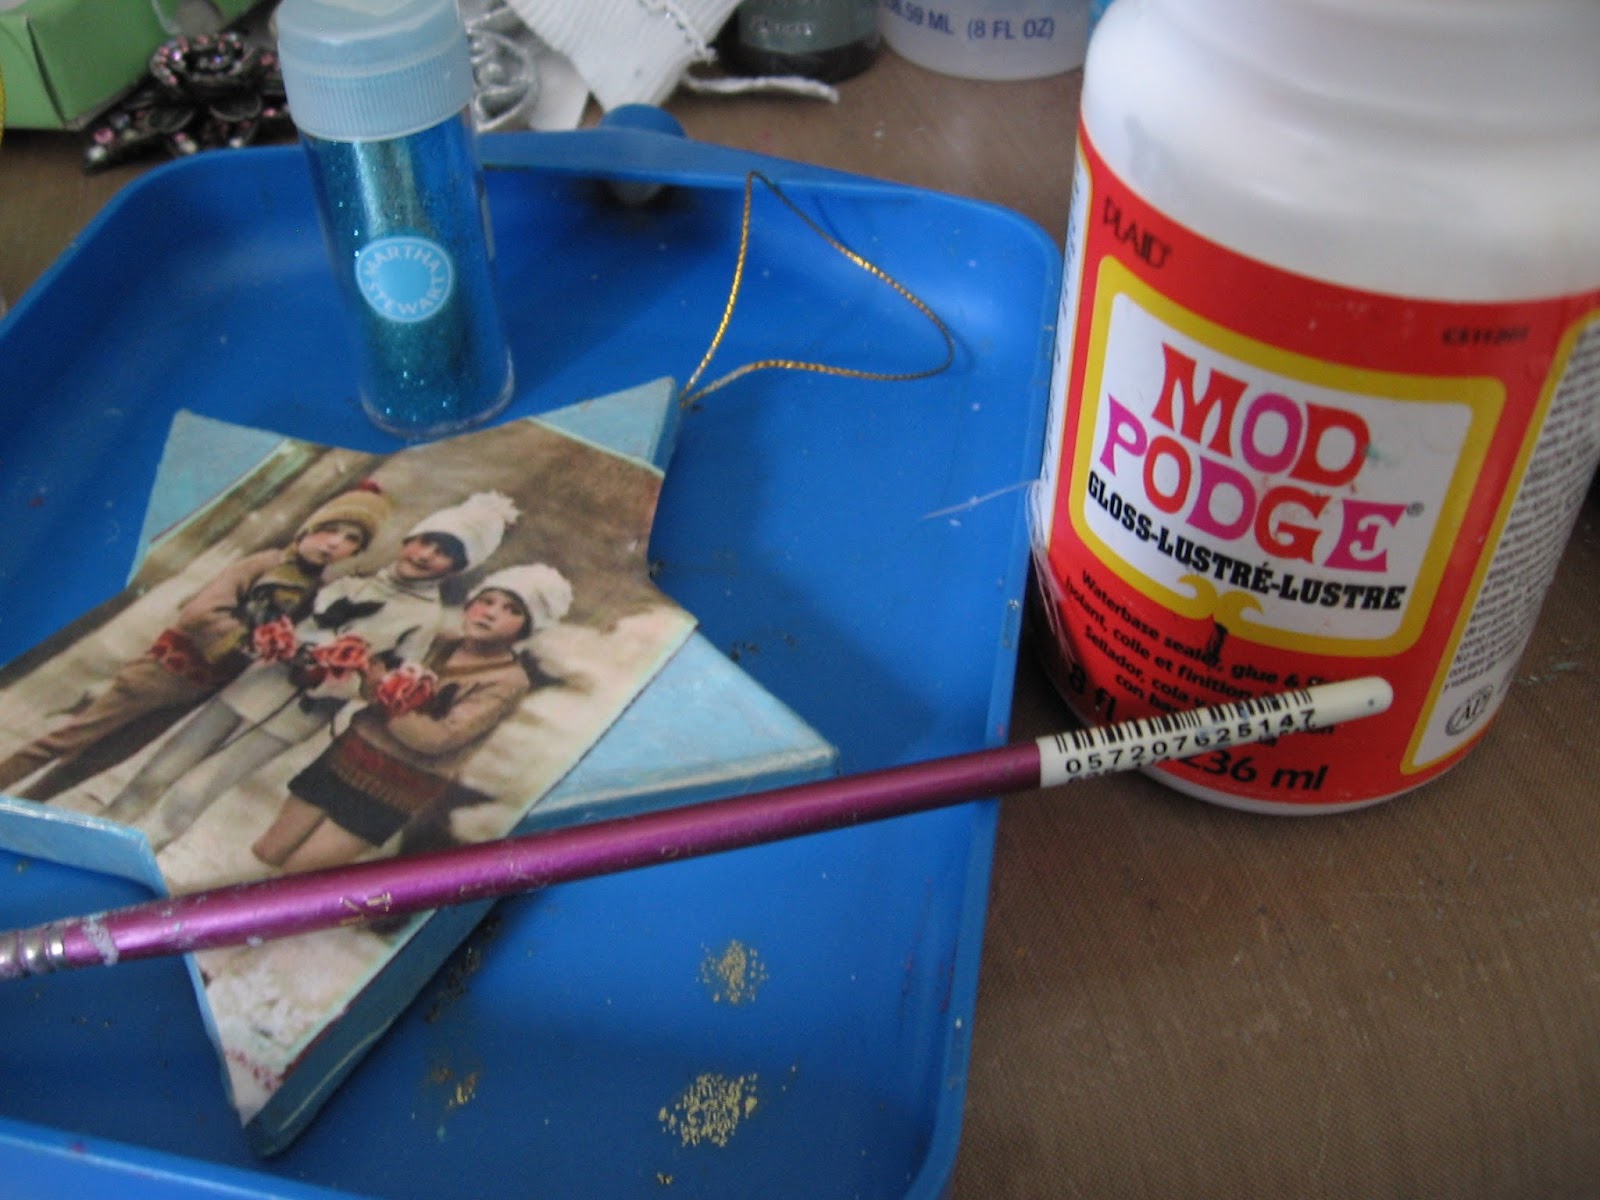
Now it is time to Mod Podge the images down, giving them a nice even coat.


I also went around the edges of the stars with the Mod Podge and added some Martha Stewart Glitter to the edges.

 
Once the front was dry, it was time to take our Sticky Snippets and add them to the back. I love these, as each star comes out completely different!

 
Once I was happy with the placement of the stars, I gave them a coat of Mod Podge to ensure an extra strong hold that is sure to last for many Christmases to come.


Remember to cut some of your stars in half to make them look like they are falling off the edge of the star.


 Here are the finished stars, all decorated up and ready for my tree! 

 
I did decide once I had put the Sticky Snippet Stars on the back that they needed a little more sparkle, so I added another coat of Mod Podge and sprinkled more of the Martha Stewart Glitter on while it was wet. The result is some lovely sparkly stars!


I hope you will give this project a try, these Sticky Snippets are just great for the holiday season, they come in so many shapes and sizes.
 
Please stop by the Joggles store for more info about the products I have used here today.
Thanks for stopping by!