Showing posts with label bling. Show all posts

Tuesday, 13 August 2019

Princess Bling Cards White Rose Crafts DT


Good morning friends, Kim here with my next DT project for White Rose Crafts.

I was inspired by this months sketch challenge to make my blingy cards, here is what the sketch looks like.

I am using Graphic 45 Princess Collection for my card, its one of my favorite paper lines and I love the pink shabby colours.   I tried to follow the sketch by using the little stamps that come in the paper line for the 4 squares on the top right, they worked out perfectly for that.


I used two different papers from the pack to give a layered effect, and because it is called Princess, I added a crown to the middle of the four squares, and then went all out and added bling to the card as well.


I added some Dovecraft glitter glue in crystal to the Princess images to give even more sparkle.
I also added a white satin flower to the card as well.


I also made a little 3 x 4 inch note card as well, and added some rhinestone chain bling to it as well.


A Princess needs her bling!


I hope you have enjoyed my project today, please stop by the White Rose Crafts Facebook group, and check out all the great items in the store!

Thanks for stopping by today, I hope you have found some inspiration here.


Tuesday, 18 June 2019

Shabby Chic Pocket Letter White Rose Crafts DT


Good morning friends, Kim here with my next DT project for White Rose Crafts.
This time I have created a mini pocket letter, my very first time making one too!
I am using the Tim Holtz Page Pockets for the base, and also the Scrapberry Paper called Juliet for the paper pieces inside the pockets.


One of my new passions is doing dot mandela's and because I had some of the Chipboard butterflies to use for my pocket letter, I thought it would be fun to dot them up!


I painted them pink first and used my dotting tools to create a fun pattern on them which you can see
in the photo below. They look so pretty inside the pockets!


I tied the 2 pockets together with some pretty pink organza ribbon.
I also added a little ribbon rose, and some of the white lace from the WRC store.
The top left side of the pocket letter has a wooden key and lock from Kaisercraft wood flourish set.


Inside each of the pockets, I put a little surprise, in this one, I cut out an image from the paper and added 2 of the Tim Holtz mirrored stars for some sparkle.


My second butterfly looks so pretty with the Juliet paper in the background.  You can also see a little cameo head from the Kaisercraft wood flourish set.


 I also added some sequins to the top pocket to create a little shaker pocket. I also added one of the pink flowers from WRC Store.


I added more of the ribbon and one of the pretty heart buckle sliders from the WRC Store, this really added lots of bling to my pocket letter.


I had fun making my very first pocket letter. The items from the WRC store made is super easy for me, and I love adding my own spin to this type of project.
Thanks for stopping by today, I hope you have found some inspiration here today!

Pink Flowers


Tuesday, 28 May 2019

Shabby Chic Paris Heart Card White Rose Crafts DT


Good morning friends, Kim here with my next DT project for White Rose Crafts!
This time I have made a pretty shabby chic and Parisian inspired card for a friend.
I started off with the Neenah A2 Cards and Envelopes set in Parchment for my base.


For the background, I used the Letters from Paris paper stack from Wild Rose Studios. I love this paper, it's just gorgeous with the pink roses and scripty writing and who doesn't love a pink Eiffel Tower?

I also used some of the pink Recollections flowers and one of the Melissa Frances chipboard buttons as an embellishment.


I also dipped into my White Rose Crafts lace stash and used the heart lace and the white scallop lace on the card. The heart Bling Buckle Slider was perfect on this card too!


I also did some sewing on my card and used pink embroidery thread in the bobbin on my sewing machine to give this cool texture to my card.


I hope you like my card and will check out all the amazing goodies I used from the White
Thanks for stopping by today, I hope you have found some inspiration here today!
If you want to get some of the items I used on my project, remember to use the
discount code Kim 15 at the check out for 15% off your order before shipping.


Saturday, 30 March 2019

Fairy Wall Hanging ScraPerfect DT


Good morning friends, Kim here with my next DT project for ScraPerfect. This time I have created a fairy wall hanging for a friend and used The Best Glue Ever to make my project.


I used some crackle paste on my chipboard base, and also painted it with gesso to give a shabby chic look.


I used a pretty flower fairy image that was gifted to me by another friend for my focal point.  The best glue ever with the no clog writing cap makes easy work for a project like this!


The Best Glue Ever, even works on fabric, and my little satin flowers too!


Thank you so much for stopping by today, I hope you have found some inspiration here today!


Thursday, 14 February 2019

Valentine Heart Boxes ScraPerfect DT


Happy Valentine's Day!  Kim here with my next DT project for ScraPerfect!  
I have altered these adorable little heart boxes I found at my local dollar store. I thought they would be perfect to hold a little Valentine surprise for someone!


I painted the boxes a pretty pink colour using some Prima Art Alchemy paint, and then got out my Best Glue Ever to add my elements on the box once the paint was dry.
I used some beautiful Lemoncraft paper on the box. The Best Glue Ever is my go to glue for any paper crafting I do, and for this project it worked so well!


I added some rosette trim around the edges of the box along with a seam binding bow to give that shabby feel.


The tops of the boxes are decorated with lace, tiny heart buttons, bling and Tim Holtz paper dolls. All adhered to the box with the Best Glue Ever. I used the No Clog writing cap on my glue to get the right amount of glue out and not have too much glue on my projects.


I hope you like my project today and have found some inspiration here.
Be sure to check out the ScraPerfect store for all the amazing products they sell!


Tuesday, 13 June 2017

Shabby Blue and Cream Fabric Book KS4U DT

Good morning everyone, Kim here today with my next dt project for KS4U.  This time I have created a shabby blue and cream fabric book. I have used some Dylon fabric dye to get this beautiful "china blue" colour. 


I have a video below with lots of photos and more information for you to check out.
 
 
Thanks for stopping by, please check out KS4U store!


Monday, 9 January 2017

Shabby is Chic Boutique DT No Sew Pretty Girl Pillow

 
Good morning Shabby is Chic Boutique Fans! I have a fun and easy project here today for you today.
 
 
I have created this no sew pillow with some fabric from my stash and lots of laces and trims from Shabby is Chic Boutique. But the gorgeous girl in the center is really the star of the show. I used this Pretty Girl Applique from SCB.
 
 
I surrounded the girl with this pretty rose trim from SCB, which goes all the way around her to frame her nicely.


I created a rolled rose out of some sheer fabric I had in my stash, and added a pearl and rhinestone bling to the center. I added this to her hair for some fun and dimension.

 
I used Fabri-Tac Glue to make my pillow square and then added lace fabric from my stash to cover the pillow.


I just love this Pretty Girl Applique from SCB!! I have to get more, as I have a few friends who would like this pillow as well, but I think she would also be great on a T-shirt, apron, wall hanging, or even a tote bag. She would be versatile for so many  projects.

 
I hope you have found some inspiration here today, and will pop over to the Shabby is Chic Boutique Store on Zibbet to get your own Pretty Girl Applique!

Monday, 12 December 2016

Dreams of A Reindeer A ScraPerfect DT Project

 
Hello ScraPerfect friends, Kim here with another DT project today. This time I have altered a lovely large reindeer for my front door for the Holiday season.
 
I was inspired by this quote I found online.
"To dance with the moon, you need only become friendly with the dreams of a reindeer."
(author unknown)
 
 
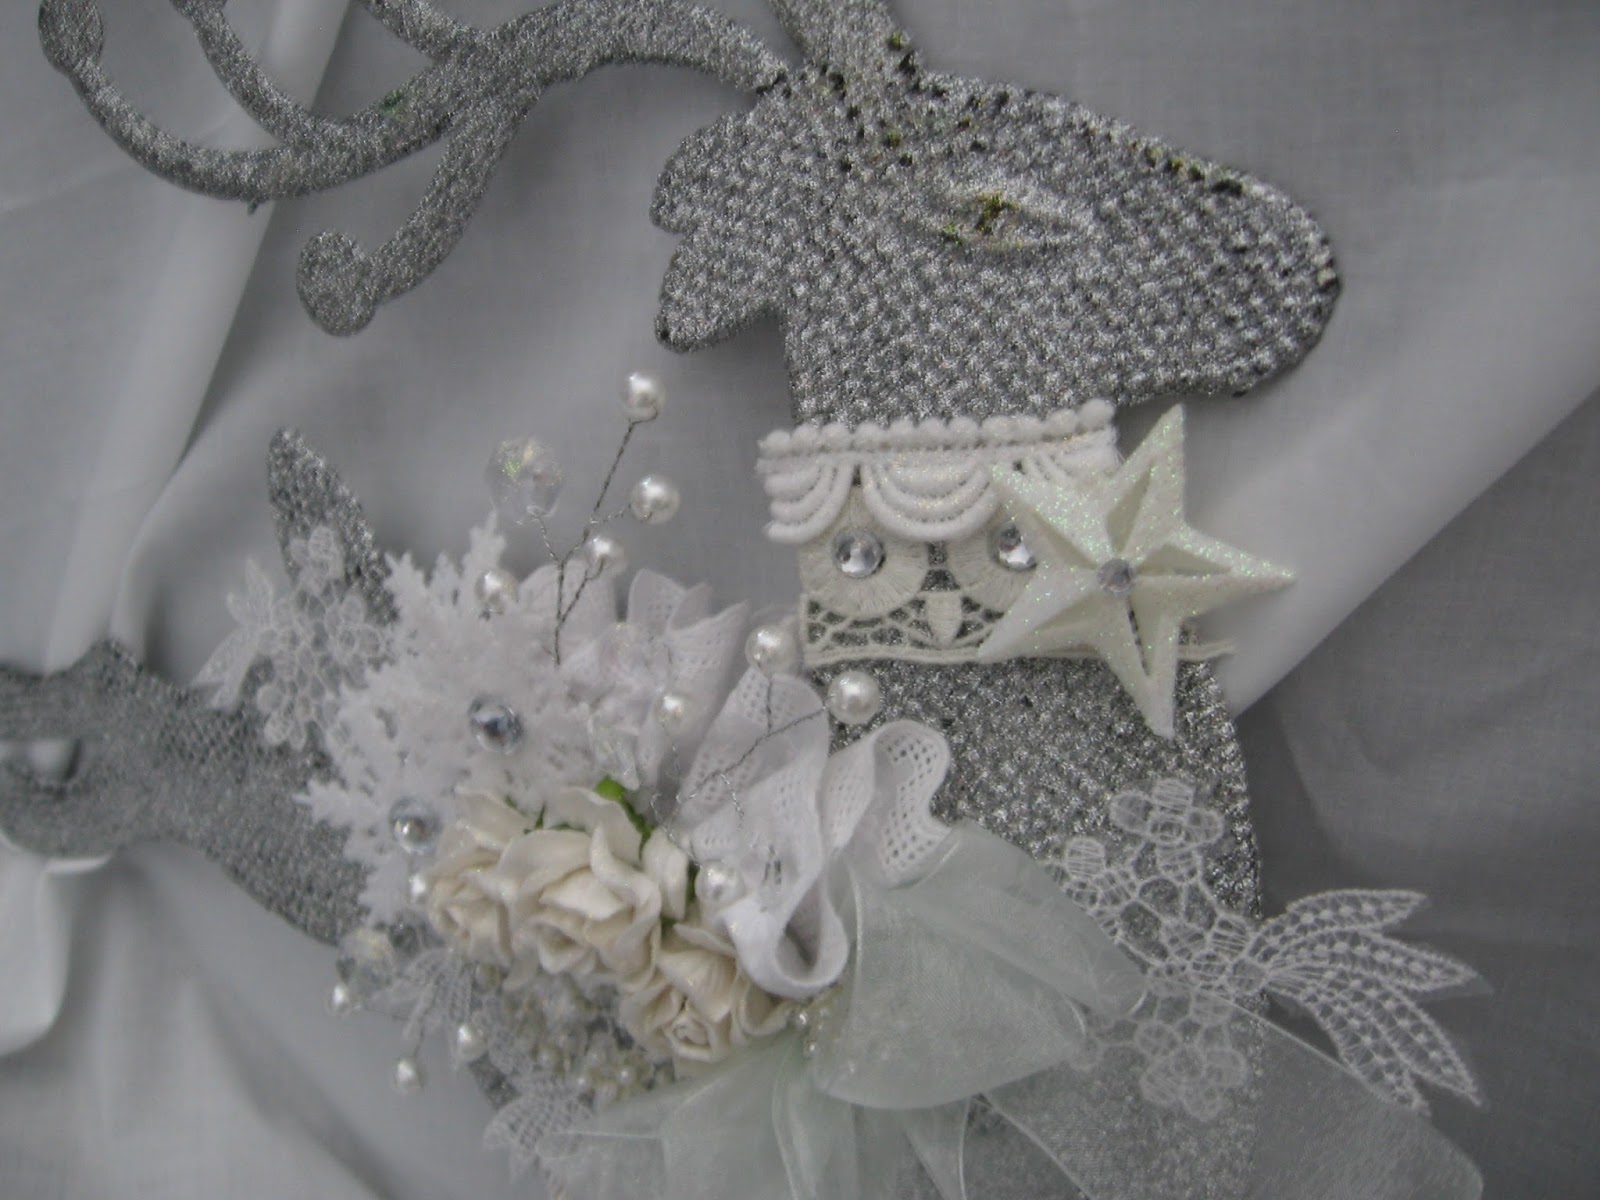
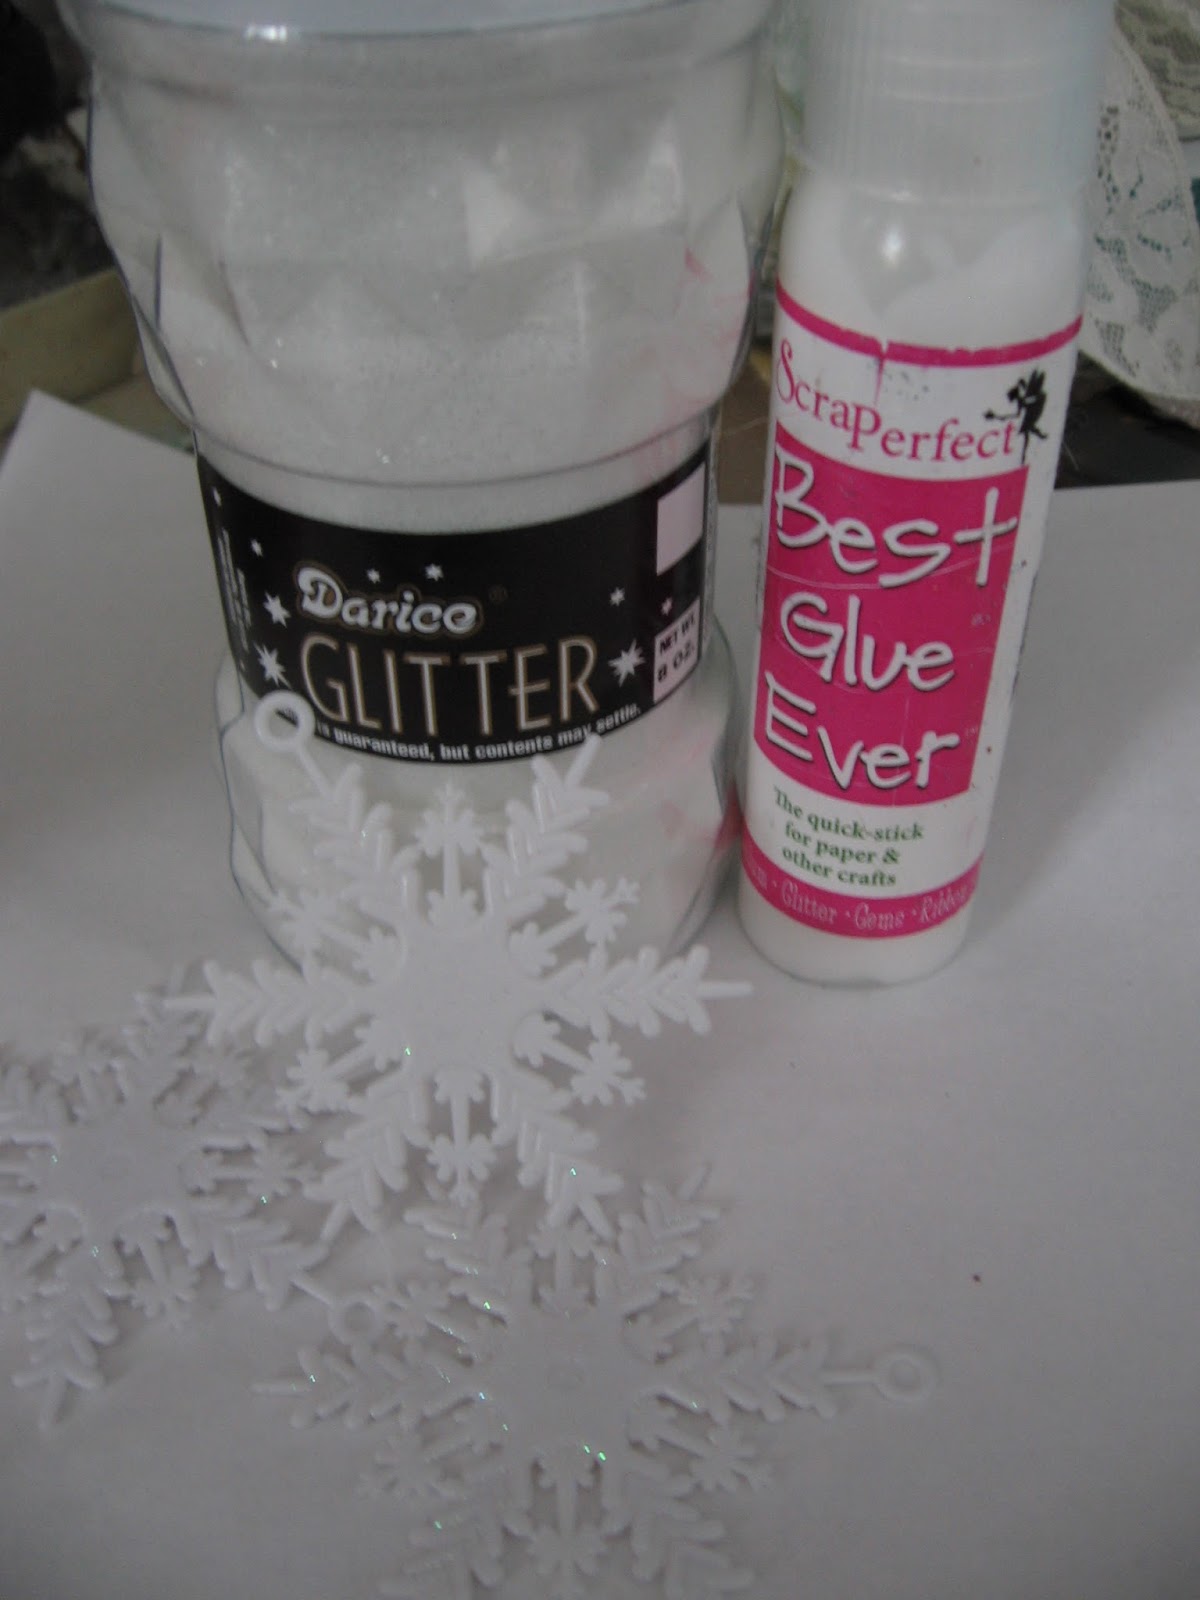
For this project, I used one of my favorite crafty combos! The Best Glue Ever and Glitter!!  I used some dollar store snowflakes and "painted" the glue on them, then sprinkled on the glitter.
 
 
The result is snowy perfection!
 
 
I did the same with the stars too, and I also used the Best Glue Ever for my bling to make my reindeer extra glittery.


 I added some lace beaded appliques, paper flowers, and some ribbons and trims to decorate up my reindeer.


 I also added some beaded sprays for dimension and texture.


I used some sheer ribbon and also added some bling from my stash to the center.
 
Once again here is my sparkly reindeer! He will be hanging on my front door to greet my family and friends this holiday season.
I will leave you with another Reindeer quote.....
 
"Reindeer are flight and motion and magic in moonlight beyond all recalling, made of Christmas dreams, spun from a place beyond all fearing."
(Author Unknown)
 
I hope you have found some inspiration here today. Please check out the ScraPerfect Store for lots of great products and to keep up with the Design Team.
 
Happy Holidays!!!