Showing posts with label Chipboard. Show all posts

Tuesday, 10 March 2020

Shabby Chic Tag Book White Rose Crafts DT


Good morning friends, Kim here, with my next White Rose Crafts Project. This time I have made a shabby chic tag book, with lots of great items from the WRC Shop!


I started off with the chipboard tag set, painted around the edges in a soft pink tone, and used the 13 Arts Rose Fields paper to cover the tags.


I added some of the ScrapBerry embellishments and Recollections flowers to some of the pages. I also added some of the Melissa Frances resin embellishments to the pages, I love how dimensional they are, they worked perfectly for this project.


Lots of laces and some fiber and seam binding hold the tag book together. Now it is ready for photos or journaling! 
I hope you like my project today, and have found some inspiration here.

Thanks for stopping by!


Tuesday, 10 December 2019

Mini Note Book & Altered Paper Clips White Rose Crafts DT


Hi everyone, Kim here with a quick and easy stocking stuffer project, I whipped up using some fun White Rose Crafts products.
This time I altered a little 3 x 3 note book to give to a friend.  


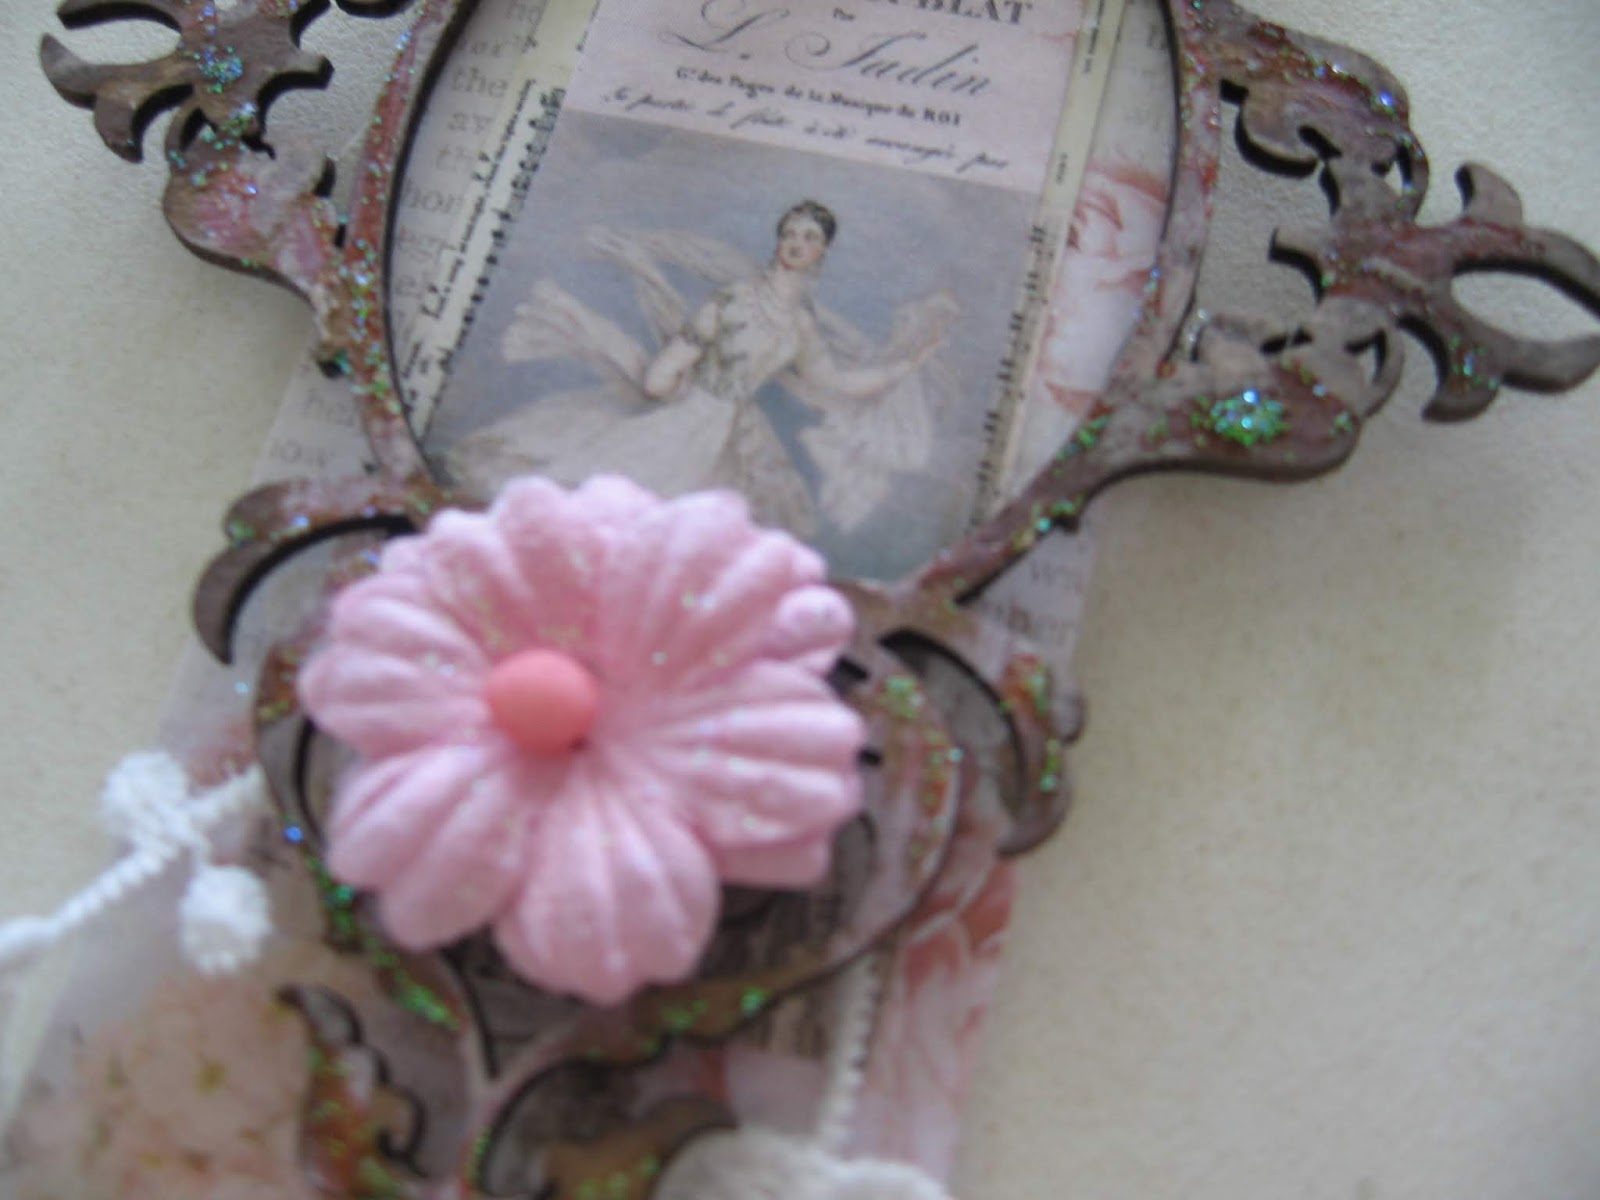
I used some antique book paper on the background of the front cover and then used the Fairy chipboard and the mini frame chipboard pieces. I covered them in paint, and then topped the paint off with some of the Dovecraft glitter glue in Crystal, to give the fairy some sparkle.


I also used the Felici Tea paper by cutting out some of the images and glueing a paper clip in between, this will give the little note pad some fun paper clips to mark the pages as she uses it.


I may still use more of the Dovecraft glitter glue on the paper clips, but the images from the paper were so pretty that I just left them.
I hope you will check out all the White Rose Crafts products in the store!
Thanks for stopping by today!

Dovecrafts Glitter Glue Crystal (Sold Out)

Tuesday, 29 October 2019

Mixed Media Tag White Rose Crafts DT


Good morning friends, Kim here with my next DT project for White Rose Crafts. This time
I have created a large 10 inch chipboard tag, using lots of products from the WRC Store.


I covered the chipboard tag with some vintage music paper and some scrapbooking paper from my stash. I then used a Couture Creations stencil from the WRC store. I used some sand texture paste to give it lots of texture.  I also sprayed some of my Lindy's sprays in the background for some colour.


I embossed the clock chipboard piece next with Ranger Rose Gold embossing powder and the Gun Metal embossing powder to give the gears and the clock a two toned metallic look.


As I cut up the clock chipboard piece, I used the gears from that piece and layered tem on top of the Square mini frames, which I embossed with the same Rose Gold embossing powder I used on the clock.


I fussy cut out some of the flowers and dragonfly from the Graphic 45 Flutter paper to layer in between the chipboard. I also added a Tim Holtz Pen Nib to the dragonfly body for some fun.


The Believe Philosophy tag from Tim Holtz was added to the corner of the frame with more of the chipboard gears. 


The finishing touch was some of the Pink & White Begonias flowers from the WRC Store, and some champagne glitter glass, and mica flakes for some sparkle.


I hope you have enjoyed my project today and have found some inspiration here!
Thanks for stopping by!

White Rose Crafts Products Used

Tuesday, 27 August 2019

Shabby Opera Beauties Paper Clips White Rose Crafts DT


Good morning friends, Kim here with my next DT Project for White Rose Crafts.
This time I have altered some large paper clips that were sent to me by a friend. I just loved them and wanted to use lots of fun WRC goodies to alter them.


I started off with the Juliet Paper from Scrapberry . I love this paper its so pretty and shabby and has lots of little images that work great for altering this type of thing.


I layered the paper first and added some laces to soften them.


I added some Recollections flowers to add some pink prettiness to them as well.


My last step was to add some Dovecraft Glitter glue to the frames to make them sparkle!


I love how they came out and I will be adding them to an upcoming journal soon.


Thanks for stopping by today, I hope you have found some inspiration here.

White Rose Crafts Products

Monday, 15 July 2019

Bravely She Flies Mixed Media Card White Rose Crafts DT


Good morning friends, Kim here with my next DT project for White Rose Crafts.
This is a double fun week, I am tackling the July sketch challenge and also it is Technique week at White Rose Crafts, and all of the team are featuring embossing.
I have made a pretty little card to send to a friend.


As you can see by the sketch, mine is a bit different, I used the little chipboard fairy door from the WRC Store as my focal point and heat embossed it with Frosted Crystal Embossing Powder by Ranger.   I also used some pewter embossing powder from my stash on the hinge for the door.


The base of the card is the Flutter collection from Graphic 45, which you can find in the WRC Store.
I also fussy cut a butterfly and dragonfly from the connection as well.


When everything was done, I gave it all a good coat of Dovecraft Glitter Glue in Crystal.


I hope you will check out the WRC Facebook group and try your hand at the July Sketch Challenge.
Thanks for stopping by today, I hope you have found some inspiration here


Tuesday, 2 July 2019

Imagine Fairy Mixed Media Canvas White Rose Crafts DT


Good morning friends, Kim here with my next DT project for White Rose Crafts.
This time I have created a mixed media canvas using lots of lovely items from the WRC Store.

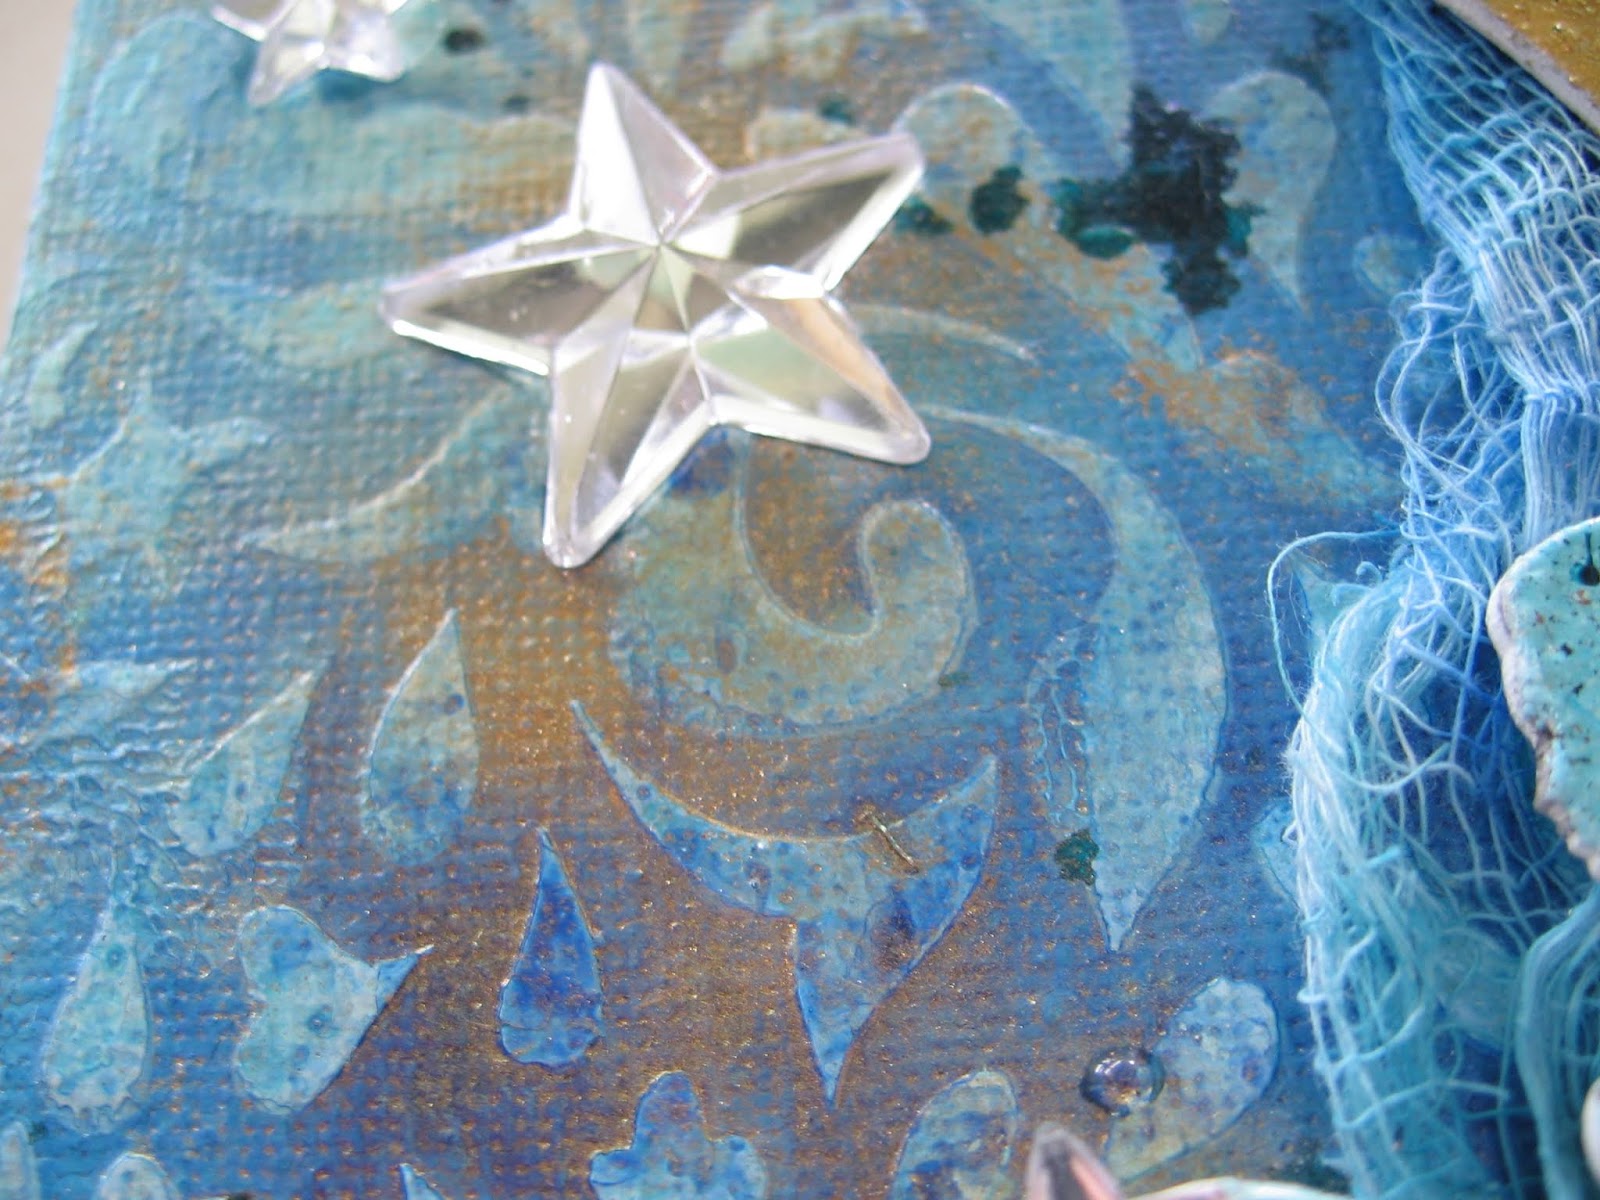
I started off with lots of sprays from my stash to give a lovely turquoise background to the canvas. I then used the Heart Stencil from Clear Scraps (sold out)  for some texture as well.


I embossed all the chipboard pieces from the Moon Fairy set, and I also added some crushed sea shells in a blue colour to the fairies dress to give it some texture.


I also added some cheesecloth to the background of the fairy moon, to give it more texture and dimension. I sprayed the cheesecloth the same turquoise as I used in the background.


I used the word Imagine from the chipboard dream word set and I embossed it in a white with a turquoise shimmer to pick up on the turquoise in the background.


A final touch was some of these amazing Tim Holtz mirrored stars. I really love these, and you get 24 in a pack from the WRC Store.


I also added some gold mica powder to the background so it would pick up on the gold in the moon and add more sparkle.


The stars really added that final touch of sparkle the canvas needed.


I hope you like my project and have found some inspiration here today.
Thanks so much for stopping by!

Clear Scraps Heart Stencil (Sold Out)

Tuesday, 25 June 2019

Dot Mandela Art Journal Page White Rose Crafts DT


Good morning friends, Kim here with my next DT project for White Rose Crafts.
This time I have created an art journal page and made some fun dot mandela's on the page, and on this gorgeous dreamcatcher chipboard piece from the WRC Store.


I started off painting my page with some black gesso, then I got out my Studio Light Stencil from the WRC Store. I used my white chalk pencil to trace the stencil on the background. This enabled me to be able to follow the lines and use my dotting tools to create a pattern. Here is a photo of the stencil so you can see.


Once I was finished the background dotting, I got out this beautiful chipboard piece of a Dreamcatcher and painted it with white gesso. I then embellished it with more of the dots, using different sizes of the dotting tools.


I dotted around the dreamcatcher as well, as once I get going dotting, I can't seem to stop myself!


I added some Tim Holtz Sentiments to finish off my page.


Once again, here is the finished page. I love the striking colours against the black backdrop, and using the Studio Light Stencil made it easy to create fun mandela shapes.


Thanks for stopping by today, I hope you have found some inspiration here.


Tuesday, 18 June 2019

Shabby Chic Pocket Letter White Rose Crafts DT


Good morning friends, Kim here with my next DT project for White Rose Crafts.
This time I have created a mini pocket letter, my very first time making one too!
I am using the Tim Holtz Page Pockets for the base, and also the Scrapberry Paper called Juliet for the paper pieces inside the pockets.


One of my new passions is doing dot mandela's and because I had some of the Chipboard butterflies to use for my pocket letter, I thought it would be fun to dot them up!


I painted them pink first and used my dotting tools to create a fun pattern on them which you can see
in the photo below. They look so pretty inside the pockets!


I tied the 2 pockets together with some pretty pink organza ribbon.
I also added a little ribbon rose, and some of the white lace from the WRC store.
The top left side of the pocket letter has a wooden key and lock from Kaisercraft wood flourish set.


Inside each of the pockets, I put a little surprise, in this one, I cut out an image from the paper and added 2 of the Tim Holtz mirrored stars for some sparkle.


My second butterfly looks so pretty with the Juliet paper in the background.  You can also see a little cameo head from the Kaisercraft wood flourish set.


 I also added some sequins to the top pocket to create a little shaker pocket. I also added one of the pink flowers from WRC Store.


I added more of the ribbon and one of the pretty heart buckle sliders from the WRC Store, this really added lots of bling to my pocket letter.


I had fun making my very first pocket letter. The items from the WRC store made is super easy for me, and I love adding my own spin to this type of project.
Thanks for stopping by today, I hope you have found some inspiration here today!

Pink Flowers