Showing posts with label Canvas. Show all posts

Tuesday, 2 July 2019

Imagine Fairy Mixed Media Canvas White Rose Crafts DT


Good morning friends, Kim here with my next DT project for White Rose Crafts.
This time I have created a mixed media canvas using lots of lovely items from the WRC Store.

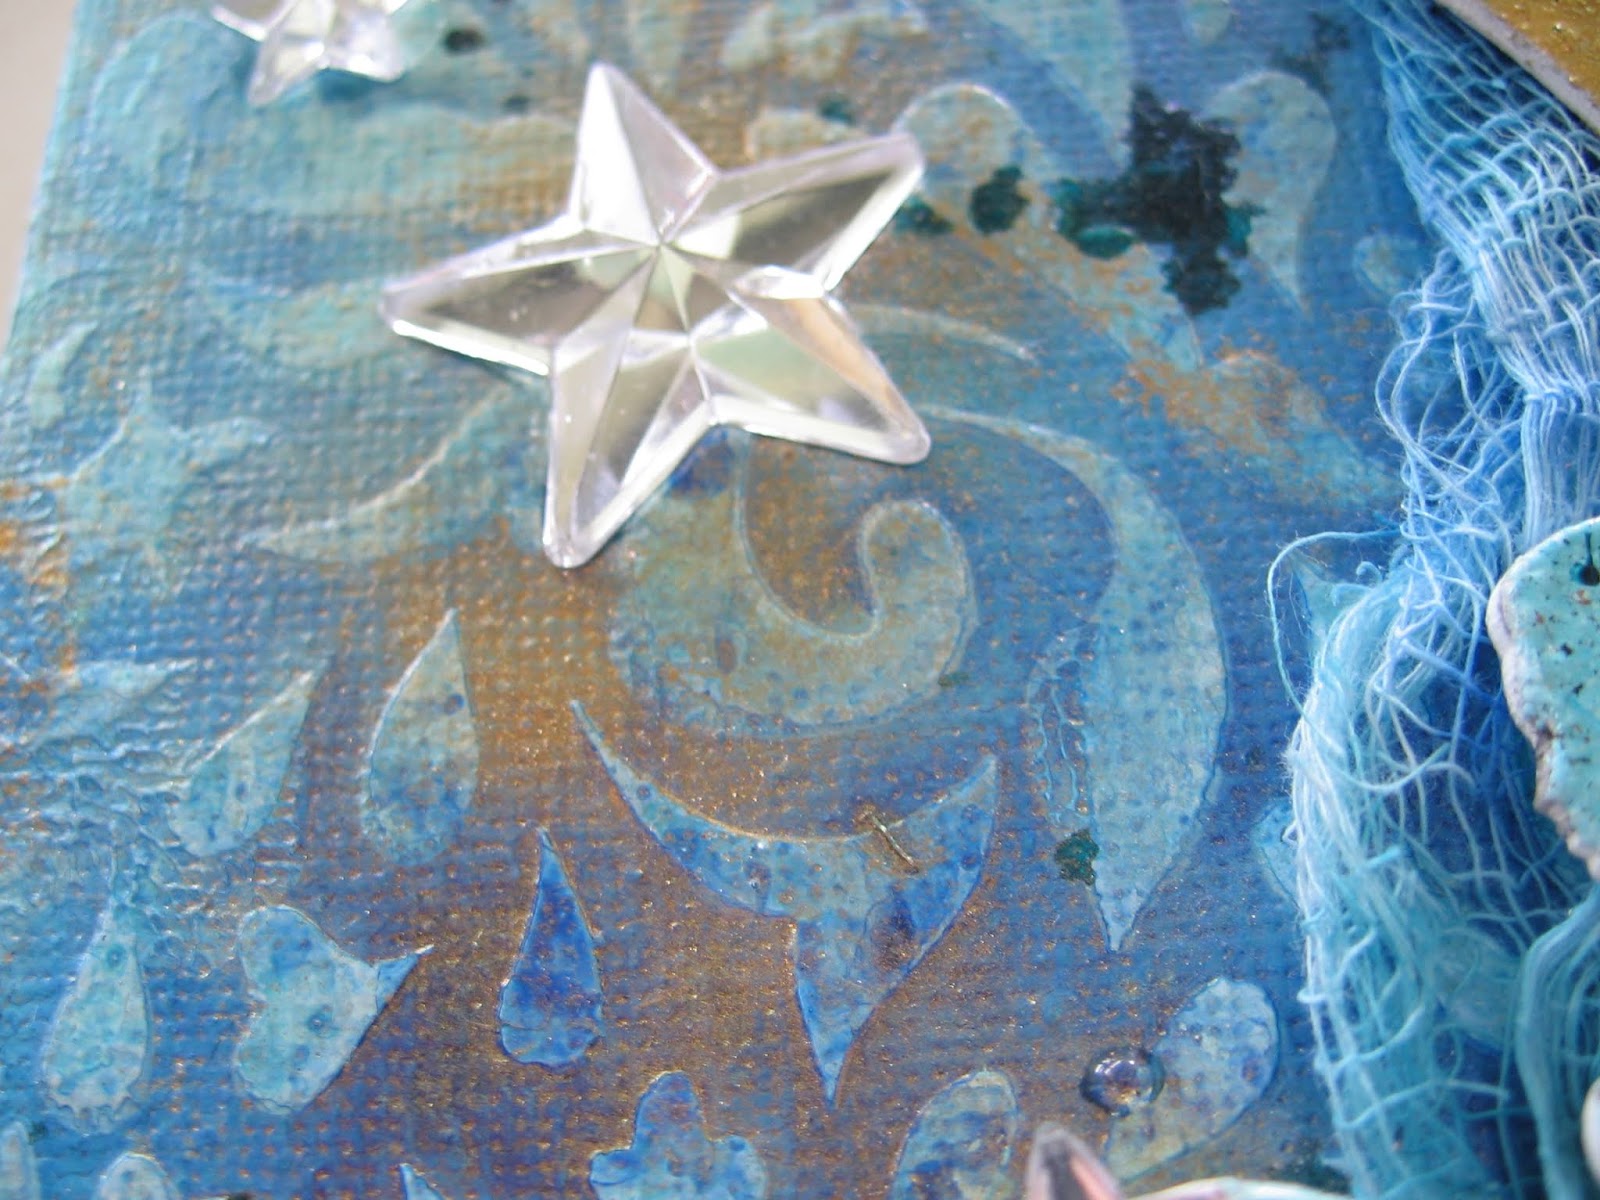
I started off with lots of sprays from my stash to give a lovely turquoise background to the canvas. I then used the Heart Stencil from Clear Scraps (sold out)  for some texture as well.


I embossed all the chipboard pieces from the Moon Fairy set, and I also added some crushed sea shells in a blue colour to the fairies dress to give it some texture.


I also added some cheesecloth to the background of the fairy moon, to give it more texture and dimension. I sprayed the cheesecloth the same turquoise as I used in the background.


I used the word Imagine from the chipboard dream word set and I embossed it in a white with a turquoise shimmer to pick up on the turquoise in the background.


A final touch was some of these amazing Tim Holtz mirrored stars. I really love these, and you get 24 in a pack from the WRC Store.


I also added some gold mica powder to the background so it would pick up on the gold in the moon and add more sparkle.


The stars really added that final touch of sparkle the canvas needed.


I hope you like my project and have found some inspiration here today.
Thanks so much for stopping by!

Clear Scraps Heart Stencil (Sold Out)

Friday, 16 September 2016

Fairy Lace Canvas for Shabby is Chic Boutique DT

 
Good morning friends, and happy Friday. I am sharing today my fairy lace canvas for Shabby is Chic Boutique on Zibbet.
 
 
This is a simple and easy project to do, and it uses up lots of lace fragments from your stash. If you are like me, you have lots of left over laces from other projects, and well, also I do tend to hoard them a bit ;)
 
So, lets get started!
 
Firstly, I am using mainly laces from Shabby is Chic Boutique. This first lace in the photo below is a gorgeous two toned stretch lace, I used some of my sprays to colour the lace a similar colour to the dress that the fairy image is wearing.
 
 
I began on one side of the 5'' x 7'' canvas, and layered on one lace after another. I did not bother to cut the laces to make them even, I wanted it to have a vintage and tattered look.
 
 
I used the gorgeous butterfly dangle trim from SCB, which you can see in the photo above, and kept layering on other beautiful laces and trims, some that I sprayed and some were already the colours that I wanted. I kept layering on until I was happy with how it looked. I glued everything down with FabriTac Glue.


Once I had the rows of laces done. I used this beautiful white floral applique from SCB and placed it in the bottom right corner of the canvas.


On top of the applique, I placed this stunning pearl and bling piece also from SCB.
 
 
I then used some of my Prima Leaves, which I glittered up with silver glitter. I wanted my fairy to look magical and have some sparkle!


I used double sided foam tape on the back of my fairy. She was a free image I got from The Graphics Fairy.  I used some more glue on top of the tape to make sure she was glued down well.


Once she was in place, I decided to add this amazingly beautiful pearl and bling crown from Shabby is Chic Boutique. I just adore this bling piece, it really sparkles and add dimension.


Next up I wanted to add an initial to the bottom left corner of the canvas. This canvas is going to a dear friend of mine for her birthday, and I wanted to personalize it with her initial.
I painted the wooden letter, which is from Fernli Designs.


Once the paint was dry, I added more of the silver glitter to it, to pick up on the glitter in the fairies wings.


....And here she is. I hope my friend will love her as much as I do.
 
 
I hope you will try this quick and easy project for yourself. Please remember to check out the Shabby is Chic Boutique store on Zibbet and Please join the Facebook Group HERE
Thanks for stopping by today!!
 

Thursday, 1 September 2016

Regina, Ode to a Queen - Relics & Artifacts Talent Search Entry

Hello friends, today I am sharing my project for the
RELICS & ARTIFACTS® International Talent Search I am a huge fan of Sandra Evertson, and the whole Relic & Artifacts line. This is a fun chance to play with my items I had in my stash and toss my hat in the ring for the talent search. I have created this "royal" canvas for my entry.
 
 
My first task was to alter this gorgeous large cameo. I love the image on it, it really reminded me of Queen Victoria! I didn't want to do much to it, but I wanted the amazing detail to show, so I used some gold Gilder's Paste and  that did the trick nicely. I rubbed all over the raised areas and that picked up all the details.
 
 
Next, I wanted to bling up the large cameo piece as the centre focal point of my project, and I had some great bling trim from Shabby is Chic Boutique to use. I got out some alcohol inks in a lovely aqua and raspberry colour and gave them the once over with the inks. They turned out great!


I glued the bling to the large cameo, layering on each row. I used glossy accents for this, as it dries quick and clear.
 
 
While the cameo was drying, I got my canvas ready. For this I used some paper from my stash, and stamped over it with some gold ink. I then got out my Distress Ink in Vintage Photo, and went around the edges with that and also added some all over the paper to give it a worn look.
 
Next, I glued it down to the canvas, and added some antique lace to the top and bottom for some nice texture.
 
My next step was to emboss some Tim Holtz Grunge Board letters with some Zing! Gold Glitter embossing powder. I chose the word "Regina" as it is Latin for Queen. I glued the letters down on the canvas, and then I used some pearl trim from Shabby is Chic Boutique around the edge of the canvas to add a more regal look.
 
 
Now, it was time to work on the wings. This was also fairly easy to do. I used some Ranger distress sprays in Tumbled Glass and Vintage photo on the wings, letting the spray get into the recesses on the wings. Then, I painted over that with a watered down coat of gesso, so some of the colour tones still came through. Finally, I gave them a little rub with more of the gold Gilder's Paste, and they were now ready to add to the canvas.
 
 
So, now I am ready to pull it all together. I used two layers of double sided foam tape to prop up the large cameo, and also added some Beacon FabriTac glue to make sure it held down well. I added the altered wings to each side of the cameo and a gorgeous bling crown, also from Shabby is Chic Boutique to the top of the canvas. This gave my Queen her crown!
 
 
The finishing touch was a royal red velvet bow at the base of the cameo, and my piece was done.


I am pretty thrilled with how it came out. It will be hanging in my art studio next to my other Relics & Artifacts treasures I have up.


If you are wanting to join in the Talent Search too, check out the link HERE
 
 I hope you found some inspiration here today, and check out the R & A Facebook group HERE too.
 
 Thanks for stopping by today!


Friday, 19 August 2016

Vintage Parisian Wall Hangings A Shabby is Chic Boutique DT Project.

Good morning friends, Kim here today to share with you my latest project for Shabby is Chic Boutique on Facebook. This time I have made a couple of wall hangings inspired by Paris!
 
 
I used 4 x 5 inch canvas boards for this project. I started off with some script paper from my stash as a back ground and then got out some of the Paris Napkins from SCB, which you can see below.


I fussy cut out the Eiffel Tower, and the post mark and some script from these two napkins and adhered them on top of the script paper. After that, I applied some sprays and also some crackle medium to make the whole piece look aged and very vintage. I kept layering on sprays to get inside the cracks until I was happy with the result. I also used some gelatos to give highlights to the Eiffel Tower and some colour to the background.
 
 
After the base was dry, I decided to try my hand at making some roses out of Wendy Vecchi Embossing paste. It was a lot easier than I thought, just taking a palette knife and making some swirls. The embossing paste was very smooth and easy to work with. I used more of the same sprays to get some colour on the roses, and as a final touch, added some micro beads for further texture.


I wanted to have a nice focal point at the top of the piece, so I used some of the IOD moulds from Prima and some air dry clay to make the top pieces. Once dry, I used some of the Art Alchemy paints to give them some colour and I then added a beautiful cameo from Shabby is Chic Boutique Store to the top.


 Finally, I added some of the gorgeous aqua tulle trim from SCB to the bottom of the wall hangings and some jute twine to the top so I could hang them up on my wall.


 I hope you have found some inspiration from my projects today, and will give something like this a try, it was so much fun to create!
 
Thanks for stopping by today, and please check out the Shabby is Chic Boutique Store on Facebook!
Kim :)