Showing posts with label micro beads. Show all posts

Friday, 30 September 2016

Wonky Stamped Wood House Joggles DT Project

Good morning Joggles friends! I am happy to share with you my next design team project.
This time I have altered one of Joggles Wonky Wood Houses, and am also featuring some very cool stamps! 
 
 
Here is everything you will need to make this project
POP! Gold Micro Beads
Prima Art Alchemy Aqua Rose Paint
Prima Art Alchemy Ancient Coin Paint
Prima Peony Bloom Spray
Glue and Foils from ScraPerfect
Tim Holtz Metal Crown
Pink Glitter
Stampendous Gold Mica Flakes
Simon Says Stamps Doll Pink Ink
Delicata Gold Ink
 
 Ok, lets get started! First task is to gesso your Wonky Wood House. You can use any of the selection of these houses, and maybe even make a few of them, I love these fun houses!
 

Once the gesso is dry, I sprayed on some of the Peony colour bloom spray in various places. Don't forget to do both sides of your house too!


I dried my spray with my heat gun, then it was time to apply my first colour of paint. I did a light coating just in random spots all over the house, mixing it in with the darker pink of the bloom spray.


Once this was dry, I got out the Ancient Coin paint and did the same thing. Making sure to cover the back and front, and both sides of the house.


Now It was time to snip out my images from the collage sheets and set them aside.


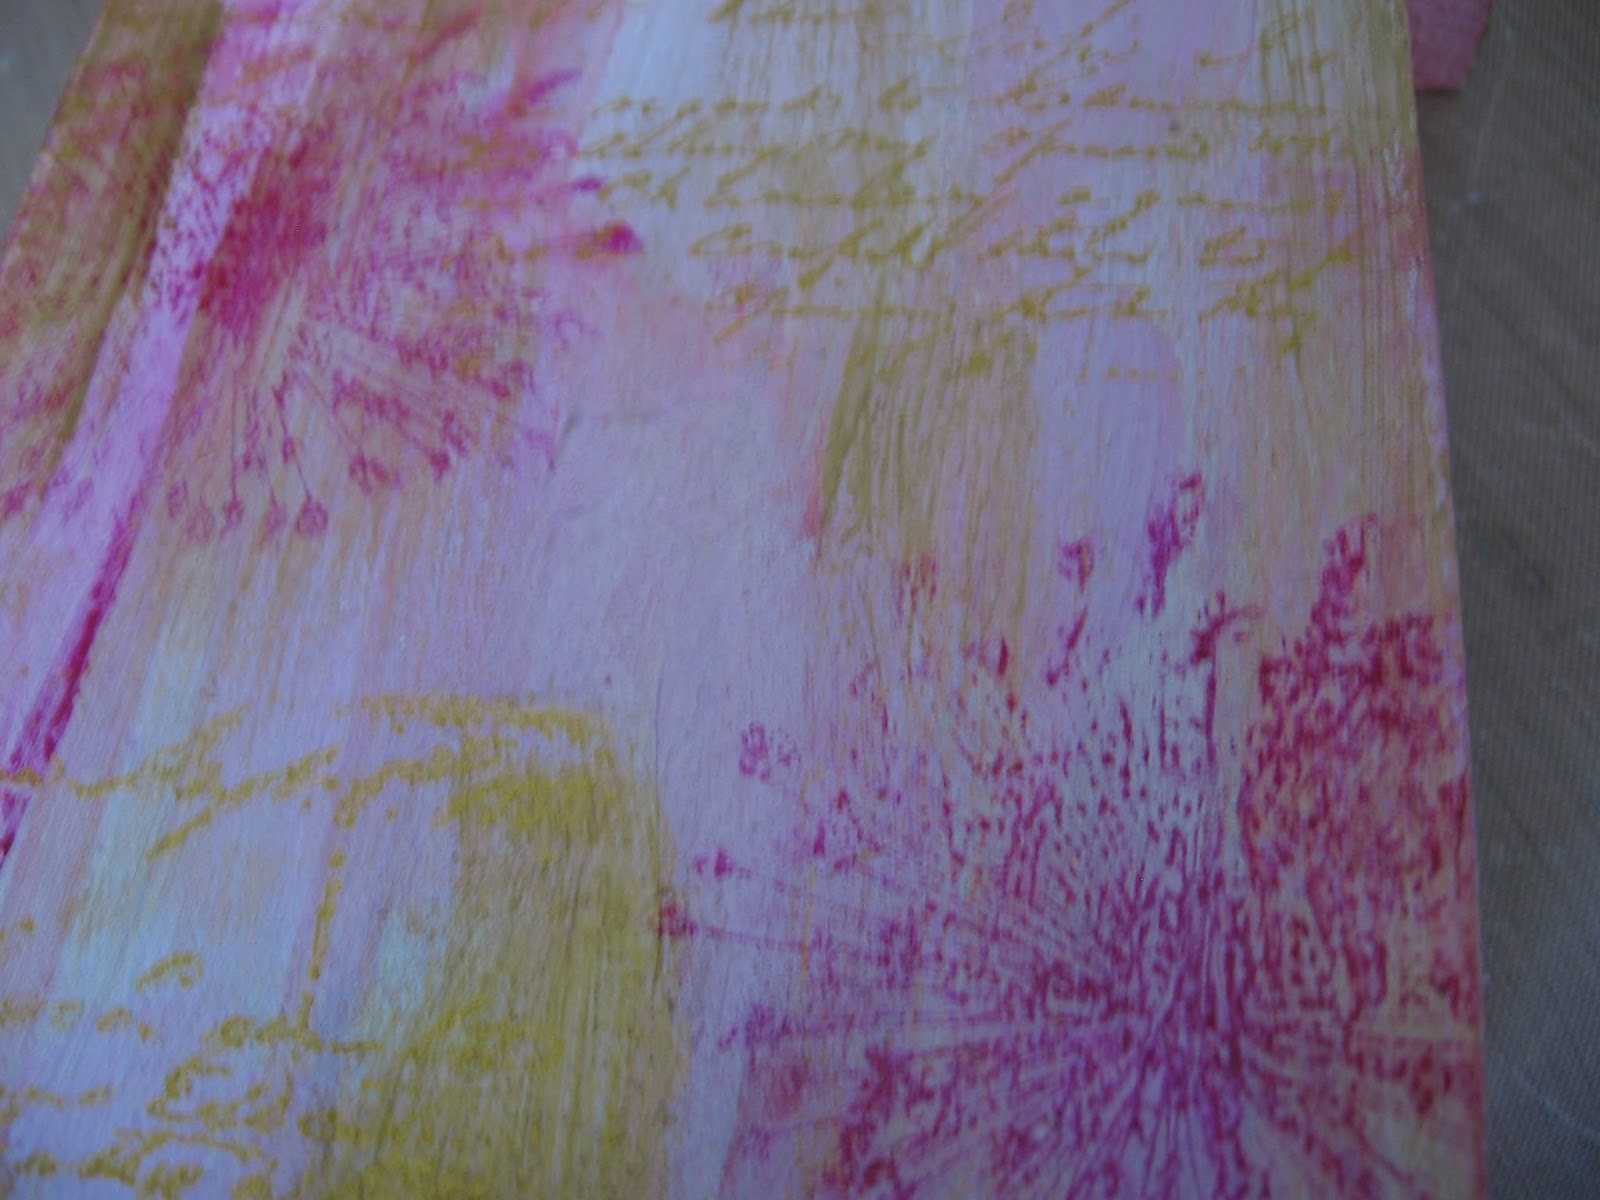
When the paint is dry, get out your stamps. I used some dark pink ink for my Skeleton flower stamp, and stamped it randomly on the front, back and sides.
 
 
I used my heat gut to set the ink, and once it was dry, I got out my Vintage Correspondence stamp and used some gold ink for that. I stamped this all over the house once again in the same method as before.

 
Here you can see the results of the stamping and paint.
 
Now it is time to work on my cut out collage images. I used some white glue, which dries clear, on the edges of the butterfly below, and also on some of the spots. I then sprinkled the gold mica flakes and glitter mix on top of the glue and set it aside to dry.


For this butterfly, I used the same glue and some pink glitter on the butterfly, also setting it aside to dry completely.


Now it is time for some foiling! I am using the Adhesive Rub Ons from Prima for this. I chose several images and stentiments for this, making sure to do the front and the back.
 
These Rub Ons are so easy to use, just remove the paper backing and rub on your surface using the popsicle stick that is provided in the package.


Once you have your adhesive rub on down, then place your foils, coloured side up on top of it, and again using the stick rub it on, and voila! You have a cool foil image on your project.


Now it was time to add my embellishments. I started with the crown from Tim Holtz and gave it a little foil treatment as well. I also used a vintage heart applique in the middle.


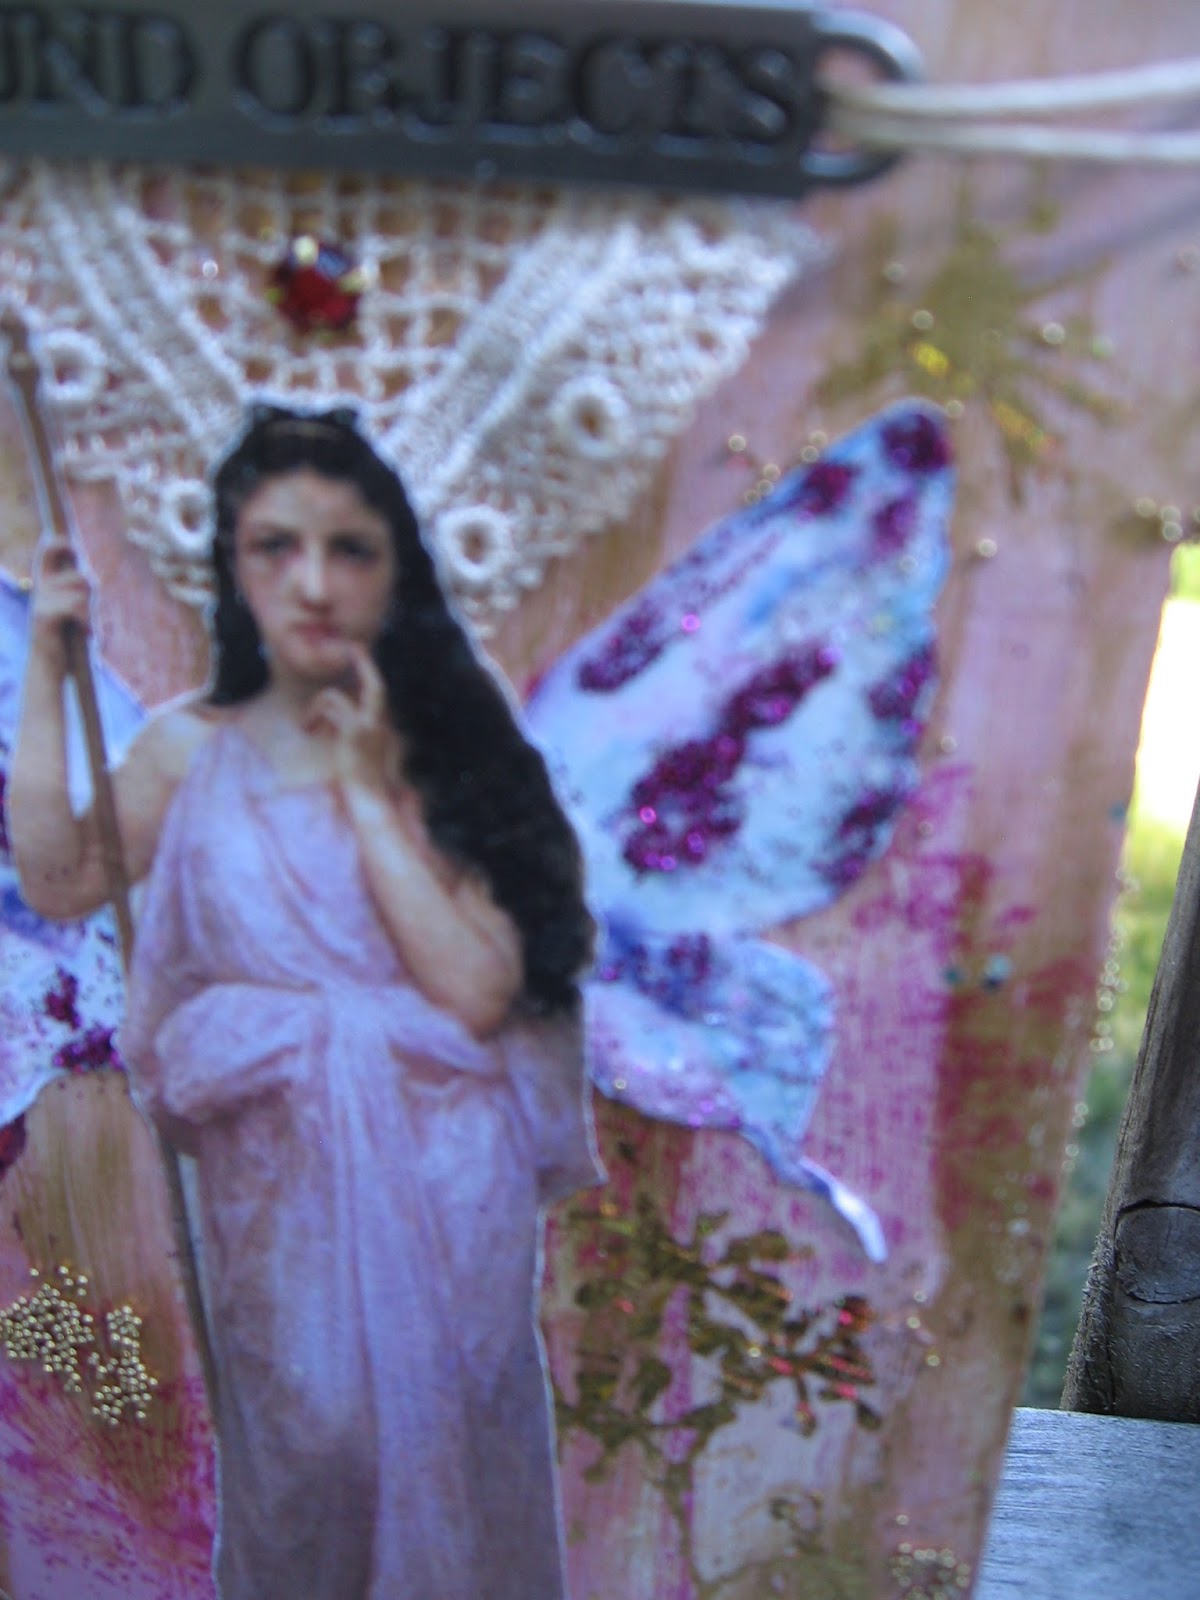
I then glued down my collage sheet images to the front. I cut up one of the butterflies and made them into wings for my fairy lady from the collage sheets. I also added a metal sentiment from Tim Holtz and some twine.
Below here you can see the finished project!

 
The final touch was some gold micro beads for texture, and a few gold sparkly enamel dots as well.


I hope you will give this project a try, it was super easy to do, and so much fun to make as well.
Please remember to check out the Joggles Store for all these items I used.
Have a great day!


Friday, 19 August 2016

Vintage Parisian Wall Hangings A Shabby is Chic Boutique DT Project.

Good morning friends, Kim here today to share with you my latest project for Shabby is Chic Boutique on Facebook. This time I have made a couple of wall hangings inspired by Paris!
 
 
I used 4 x 5 inch canvas boards for this project. I started off with some script paper from my stash as a back ground and then got out some of the Paris Napkins from SCB, which you can see below.


I fussy cut out the Eiffel Tower, and the post mark and some script from these two napkins and adhered them on top of the script paper. After that, I applied some sprays and also some crackle medium to make the whole piece look aged and very vintage. I kept layering on sprays to get inside the cracks until I was happy with the result. I also used some gelatos to give highlights to the Eiffel Tower and some colour to the background.
 
 
After the base was dry, I decided to try my hand at making some roses out of Wendy Vecchi Embossing paste. It was a lot easier than I thought, just taking a palette knife and making some swirls. The embossing paste was very smooth and easy to work with. I used more of the same sprays to get some colour on the roses, and as a final touch, added some micro beads for further texture.


I wanted to have a nice focal point at the top of the piece, so I used some of the IOD moulds from Prima and some air dry clay to make the top pieces. Once dry, I used some of the Art Alchemy paints to give them some colour and I then added a beautiful cameo from Shabby is Chic Boutique Store to the top.


 Finally, I added some of the gorgeous aqua tulle trim from SCB to the bottom of the wall hangings and some jute twine to the top so I could hang them up on my wall.


 I hope you have found some inspiration from my projects today, and will give something like this a try, it was so much fun to create!
 
Thanks for stopping by today, and please check out the Shabby is Chic Boutique Store on Facebook!
Kim :)


Friday, 20 May 2016

Art Journal Cover Featuring Stencils by Joggles DT Project


Hello Joggles fans! I am so very excited to share with you my next design team project for Joggles! This time I have altered the cover of my art journal and used one of my favorite stencils from Joggles.
 
 
Here is a list of products you will need for this project.


Joggles Products Used
 
 
Other Items Used
Art Script Stamp
Resin Frame & Key from My Stash
Prima Resin Pieces
Petaloo Flowers
Turquoise Butterfly, Chipboard Number, Copper & Teal Micro Beads From my Stash
White Thread
Martha Stewart Paint - Beach Glass
 
To start off your journal cover, I gave it a coat of gesso. Once that was dry I gave it a coat of aqua coloured acrylic paint. I also gave my embellishments a similar treatment and set them aside to dry.


Next it was time to start the layering process. I took some of the Tim Holtz Tissue Wrap and ripped pieces up and laid it down on the top of the journal, I used Mod Podge to adhere it down. Then using the Secret Garden Stencil and some texture paste I laid the stencil down and kept rotating it to give a different look to the pattern all around the journal. I love the effect it gave. Texture paste is such a great way to add dimension to your projects.
 
 
Now it was time to get out the Distress Spray Stains, and again, you can use what ever colours you like, Joggles has such a great range of them in their store, you will be spoiled for choice! 
I let the colours run down the front of the journal, letting the texture paste help to gather the colour.
 
 
I started off with the lightest colour of the sprays, working my way up to the rust coloured spray. I also took the lid off the sprays and splattered some of the colour on the book to give a distressed and grunge type of feel.
 
 
After the sprays had dried, it was time to add embellishments and some micro beads for further texture. I laid out my embellishments in a way I liked then used hot glue to adhere them to the cover.
 
 
I got out the Mod Podge once again and a tiny paint brush to add the micro beads in coordinating colours. I stamped the word "art" with black StazOn, on some paper and adhered it to the frame. I then added some white thread under the resin frame for some fun and whimsy, and also added my chipboard number plate and metals as well to finish this part of the journal off.
 
 
I hope you have enjoyed my project today, I am pretty happy with the outcome. Now it can be ready for my next art journal page inspiration!
 
Other Items Used
Art Script Stamp
Resin Frame
Prima Resin Pieces
Petaloo Flowers
Turquoise Butterfly, Chipboard Number, Copper Micro Beads From my Stash
White Thread