Showing posts with label Christine Adolph Adhesive Rub Ons. Show all posts

Tuesday, 30 October 2018

Mini Composition Books For ScraPerfect


Good morning ScraPerfect Fans! Today I am sharing my next DT project and this time I have altered some mini composition books.  These books are about 4 1/2 inches high, so great to fit in a pocket or purse!

I started off by giving the books a coat of white gesso to cover up the colours and writing on the front of the books.


Next, I Mod Podged some of the Tim Holtz idea-olgy tissue paper on the front of the books.


Once the Mod Podge was dry, I got out my Christine Adolph adhesive rub ons. These are such fun rub-ons and work so great with the Transfer Foils!


I added my image and then placed the Transfer Foils over top and gave them a rub to adhere down to the book cover.


Once I was finished with the transfer foils, I used the Best Glue Ever for all my embellishments, even the trim on the side of the books, yes it works for this too! I also use the No Clog writing Cap on my bottle too!


I added some paper sentiments in the front and back cover of the books, again using the Best Glue Ever and some Distress Inks in Brushed Corduroy.


Now its time for the rest of the embellies!  I used some wood pieces, some of the Tim Holtz paper dolls, some metals and some fabric flowers all glued down with the Best Glue Ever.


You will see the tiny flowers from the Wheel of Embellies on each of the covers as well for a final colourful touch! Don't forget to use the Best Cleaner Ever to do all the clean up when you are finished your project too!


I also added some thread behind each of the paper dolls for some fun texture.


I hope you like my little composition note books, they are a fun and easy project!


Other Products Used
Tim Holtz Paper Dolls
Christine Adolph Rub Ons
Flower Trim
Tim Holtz Tissue
Mini Composition Books
Thread
Metal Key
Resin Flower
Wooden Embellishments

Thursday, 26 January 2017

Cute As A Button ScraPerfect DT

Hello ScraPerfect fans! Kim here today with a simple and easy Valentine project for you.
 
 
I started off with a 4 x 5 inch canvas that I painted with some Prima Art Alchemy Paint in Pink.


I love this paint, its is iridescent and gives a lovely shine to the canvas.

 
Next, I drew a half of a heart on a piece of paper, and cut it out.

 
Now I have a template for my canvas. I drew around it with a light pencil line, so I would be able to see where to put the buttons and keep the heart shape on the canvas.

 
Now its time for the Best Glue Ever. I used the glue to stick down my buttons, but first I laid them all out so I was happy with the pattern.


Once the buttons were glued down, I added some flat back trim in pink around the buttons to frame it and make the heart stand out.
 
 
I added a small organza bow to the top and a small ribbon rose finished it off nicely.
 
Now it is time to get out my favorite ScraPerfect product...these gorgeous Transfer Foils! I love using these in a variety of ways, and this was a good opportunity to use them.


I am also using some of the Christine Adolph Rub ons for the foils, they are a sticky adhesive that the foils stick to great.

 
I wanted to add a little tag to the side of the heart so I cut it out of white cardstock and punched a hole in the paper. I used the "XO" sentiment from the rub on pack and used the red foil to rub on to it.


I tied some jute twine to the tag and glued it on the canvas.


Here is the finished canvas. It is a very quick and easy project all with the help from ScraPerfect.
 
 
I hope you have found some inspiration here today and will check out all the great items in the
ScraPerfect Store.
Thanks for stopping by!

Friday, 30 September 2016

Wonky Stamped Wood House Joggles DT Project

Good morning Joggles friends! I am happy to share with you my next design team project.
This time I have altered one of Joggles Wonky Wood Houses, and am also featuring some very cool stamps! 
 
 
Here is everything you will need to make this project
POP! Gold Micro Beads
Prima Art Alchemy Aqua Rose Paint
Prima Art Alchemy Ancient Coin Paint
Prima Peony Bloom Spray
Glue and Foils from ScraPerfect
Tim Holtz Metal Crown
Pink Glitter
Stampendous Gold Mica Flakes
Simon Says Stamps Doll Pink Ink
Delicata Gold Ink
 
 Ok, lets get started! First task is to gesso your Wonky Wood House. You can use any of the selection of these houses, and maybe even make a few of them, I love these fun houses!
 

Once the gesso is dry, I sprayed on some of the Peony colour bloom spray in various places. Don't forget to do both sides of your house too!


I dried my spray with my heat gun, then it was time to apply my first colour of paint. I did a light coating just in random spots all over the house, mixing it in with the darker pink of the bloom spray.


Once this was dry, I got out the Ancient Coin paint and did the same thing. Making sure to cover the back and front, and both sides of the house.


Now It was time to snip out my images from the collage sheets and set them aside.


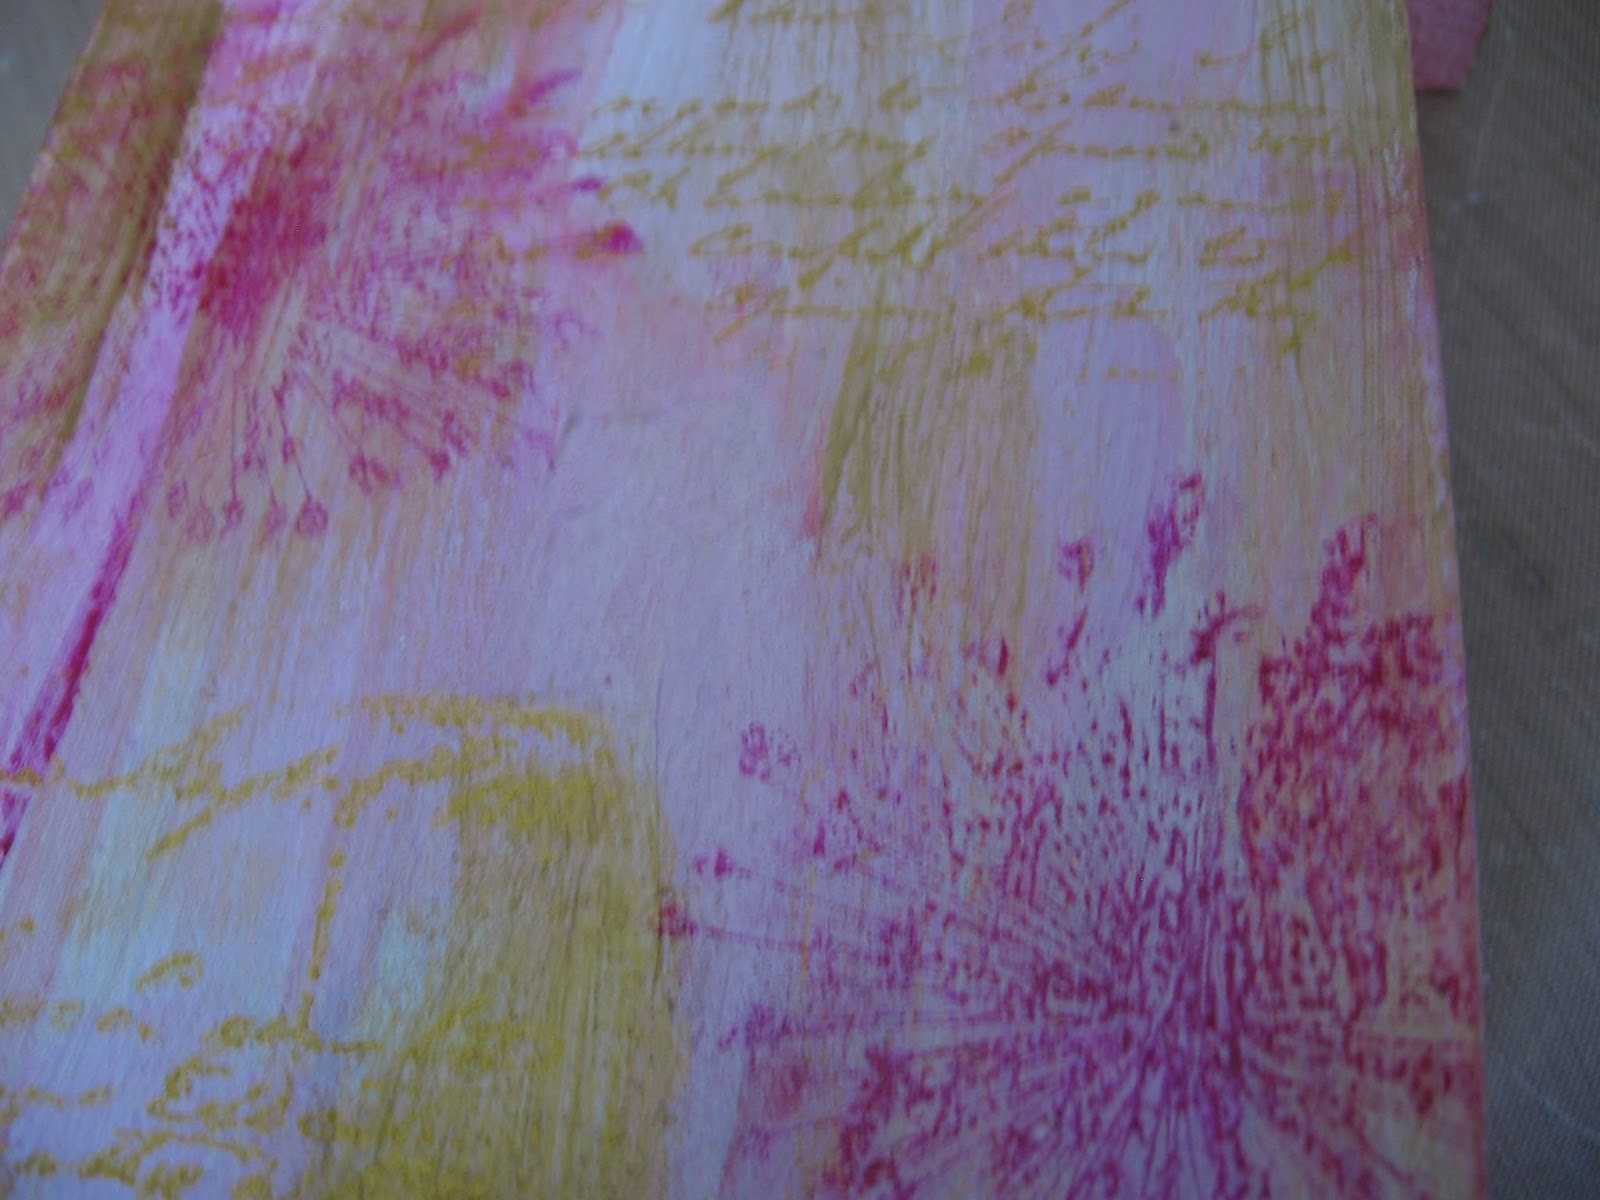
When the paint is dry, get out your stamps. I used some dark pink ink for my Skeleton flower stamp, and stamped it randomly on the front, back and sides.
 
 
I used my heat gut to set the ink, and once it was dry, I got out my Vintage Correspondence stamp and used some gold ink for that. I stamped this all over the house once again in the same method as before.

 
Here you can see the results of the stamping and paint.

 
Now it is time to work on my cut out collage images. I used some white glue, which dries clear, on the edges of the butterfly below, and also on some of the spots. I then sprinkled the gold mica flakes and glitter mix on top of the glue and set it aside to dry.


For this butterfly, I used the same glue and some pink glitter on the butterfly, also setting it aside to dry completely.


Now it is time for some foiling! I am using the Adhesive Rub Ons from Prima for this. I chose several images and stentiments for this, making sure to do the front and the back.
 
These Rub Ons are so easy to use, just remove the paper backing and rub on your surface using the popsicle stick that is provided in the package.


Once you have your adhesive rub on down, then place your foils, coloured side up on top of it, and again using the stick rub it on, and voila! You have a cool foil image on your project.


Now it was time to add my embellishments. I started with the crown from Tim Holtz and gave it a little foil treatment as well. I also used a vintage heart applique in the middle.


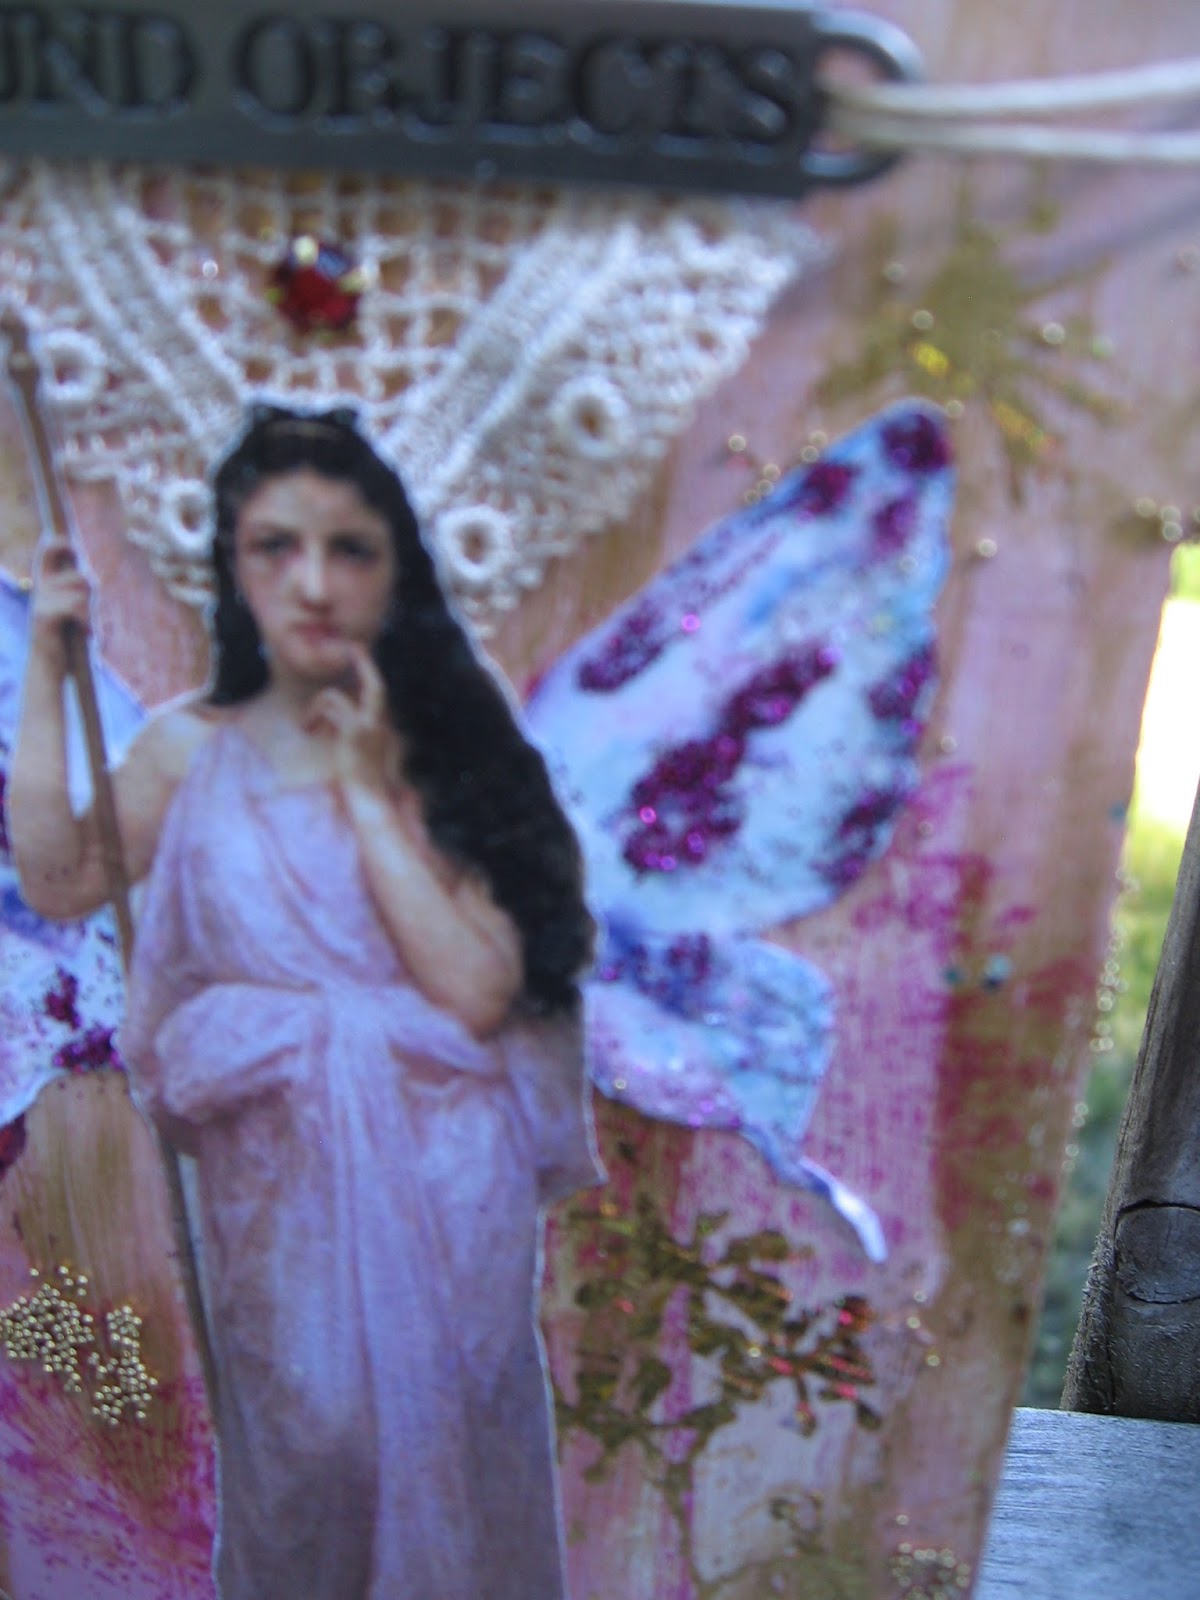
I then glued down my collage sheet images to the front. I cut up one of the butterflies and made them into wings for my fairy lady from the collage sheets. I also added a metal sentiment from Tim Holtz and some twine.
Below here you can see the finished project!

 
The final touch was some gold micro beads for texture, and a few gold sparkly enamel dots as well.


I hope you will give this project a try, it was super easy to do, and so much fun to make as well.
Please remember to check out the Joggles Store for all these items I used.
Have a great day!


Friday, 9 September 2016

Papillion Mixed Media Canvas Joggles Design Team Project


Hello friends, I am very excited to share with you my next design team project for Joggles. This mixed media canvas is so easy and simple to do! I hope you will join along with me and create one for yourself!


Here is a list of products you will need to complete this project.
Prima IOD Pastels
Art Basics Soft Matte Gel
The Best Glue Ever by ScraPerfect
Transfer Foils In Your Favorite Colours
Your Favorite Laces
Water Brush or Your Fingers
Water
 
So, lets get started. I used one of the Windsor & Newton 8 x 10 canvas' that Joggles sells. I started off with some of the gorgeous Prima IOD pastels and just randomly rubbed a lovely taupe and light blue colour from the pack all over the canvas. I then used my fingers (Or you can use a water brush) and wet them and rubbed the colours into the background of the canvas, including the sides as well.


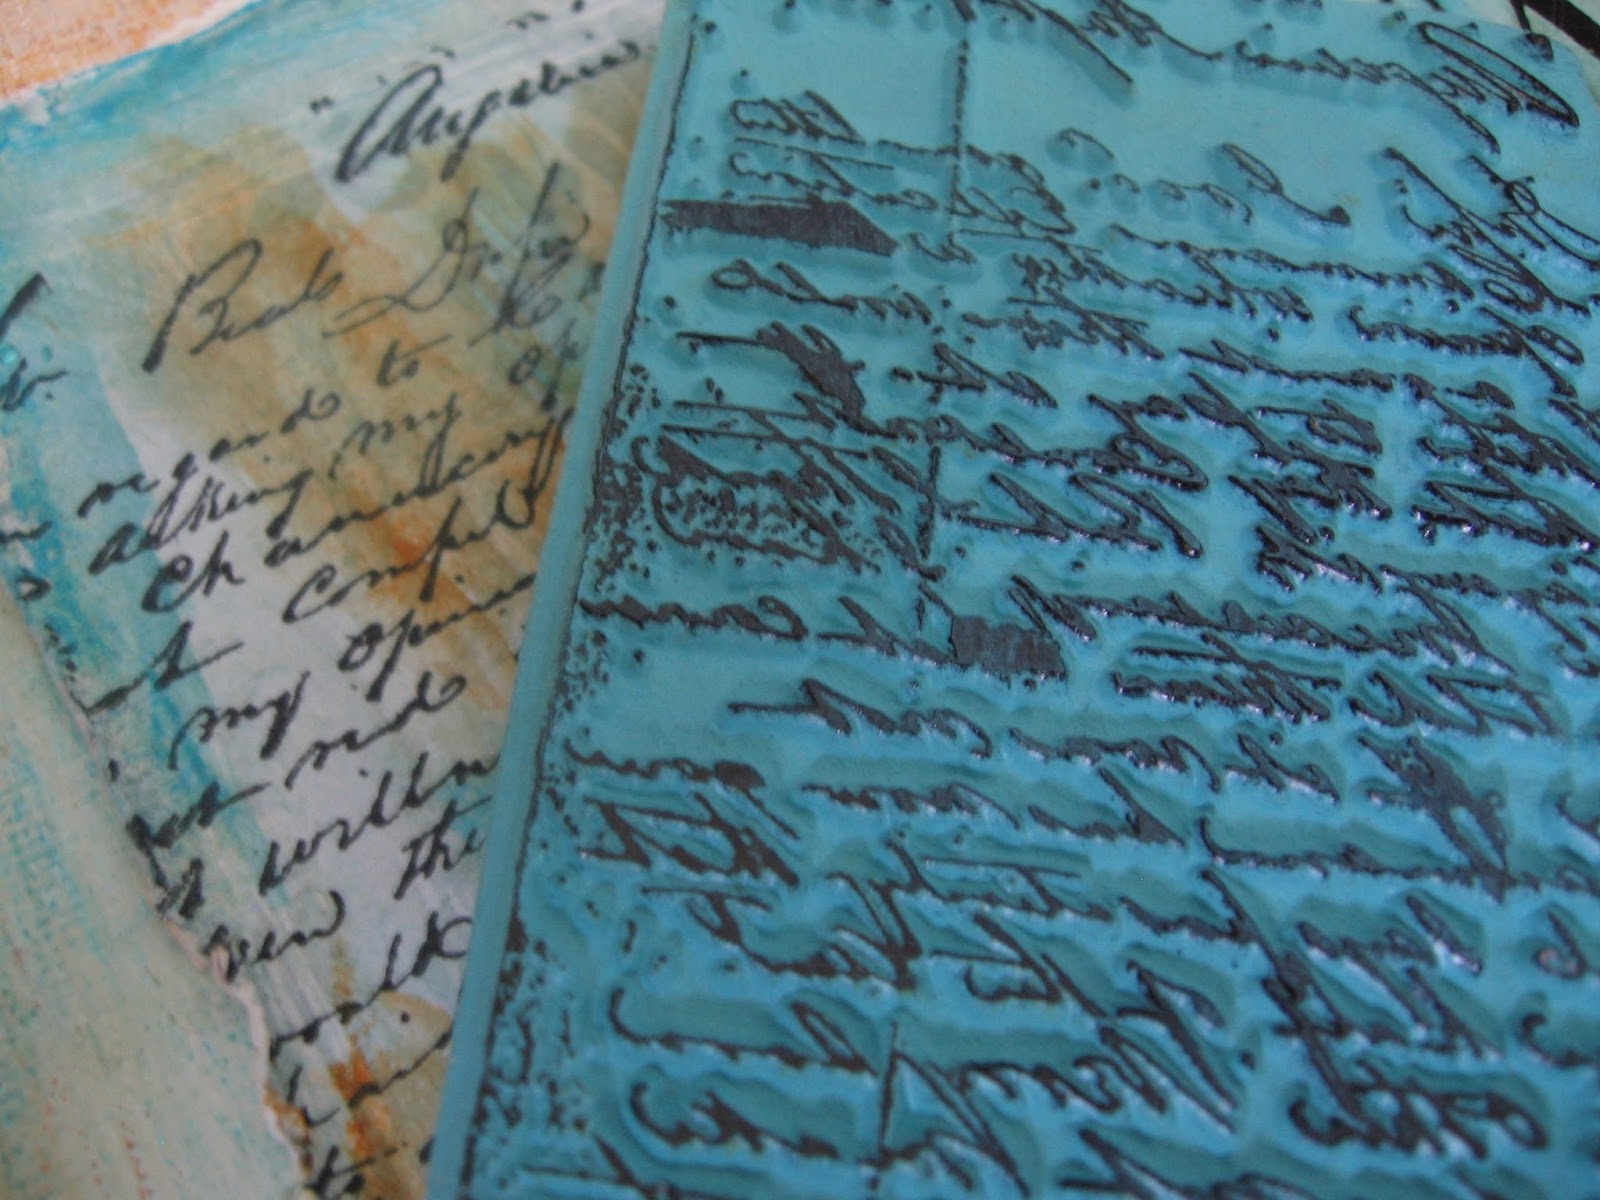
Next, I used one of Margaret Applin's Stamps, Vintage Correspondance, and some scrap paper from my stash. I gave the paper the same treatment as the cavas with the same  colours of watercolour pastels. Then, using some black StaZon Ink, I stamped all over the paper. I also wet the edges of the paper and rolled up the sides to give it a worn and distressed look.


You can see how lovely this stamp is!


I used one of my favorite collage pages from Joggles, Papillion II, and cut out three of the butterfly images in colours I wanted to use.


I glued the butterfly images down the centre of the paper. Next, I used one of the Christine Adolph rub ons. I followed the package directions to adhere the rub ons I wanted to the paper, making sure not to cover up my butterfly images. I chose a lovely flower and the word Believe for this piece.


When you place your foils on top of the adhesive from the rub ons, gently use the popsicle stick, which is included in the package, and rub your foils down. Its so simple and gives such a lovely look. I chose a black foil for the word, and copper foil for the flowers.


Now it was time to put the paper down on the canvas. I used the Prima soft matte gel from the Art Basics line. I was careful not to put much of the glue around the edges as I wanted to tuck some laces around the edges to give a further worn and tattered look.


Once I had the paper glued down to the canvas, I decided it needed just a little more foiling. I used some glue from my stash, its called The Best Glue Ever, and this stuff dries tacky, and is perfect for foiling. I just put it in random spots then went over them with the foils when it was tacky. 


That is basically it. The whole project took me about an hour or so. It is a simple and easy project to add to your home décor.


I hope you have found some inspiration here today, and will check out all the great items in the Joggles store!
Have a great day!!