Showing posts with label Lemoncraft. Show all posts

Tuesday, 14 January 2020

In My Heart Junk Journal White Rose Crafts DT


Good morning friends, Kim here with my next DT project for White Rose Crafts
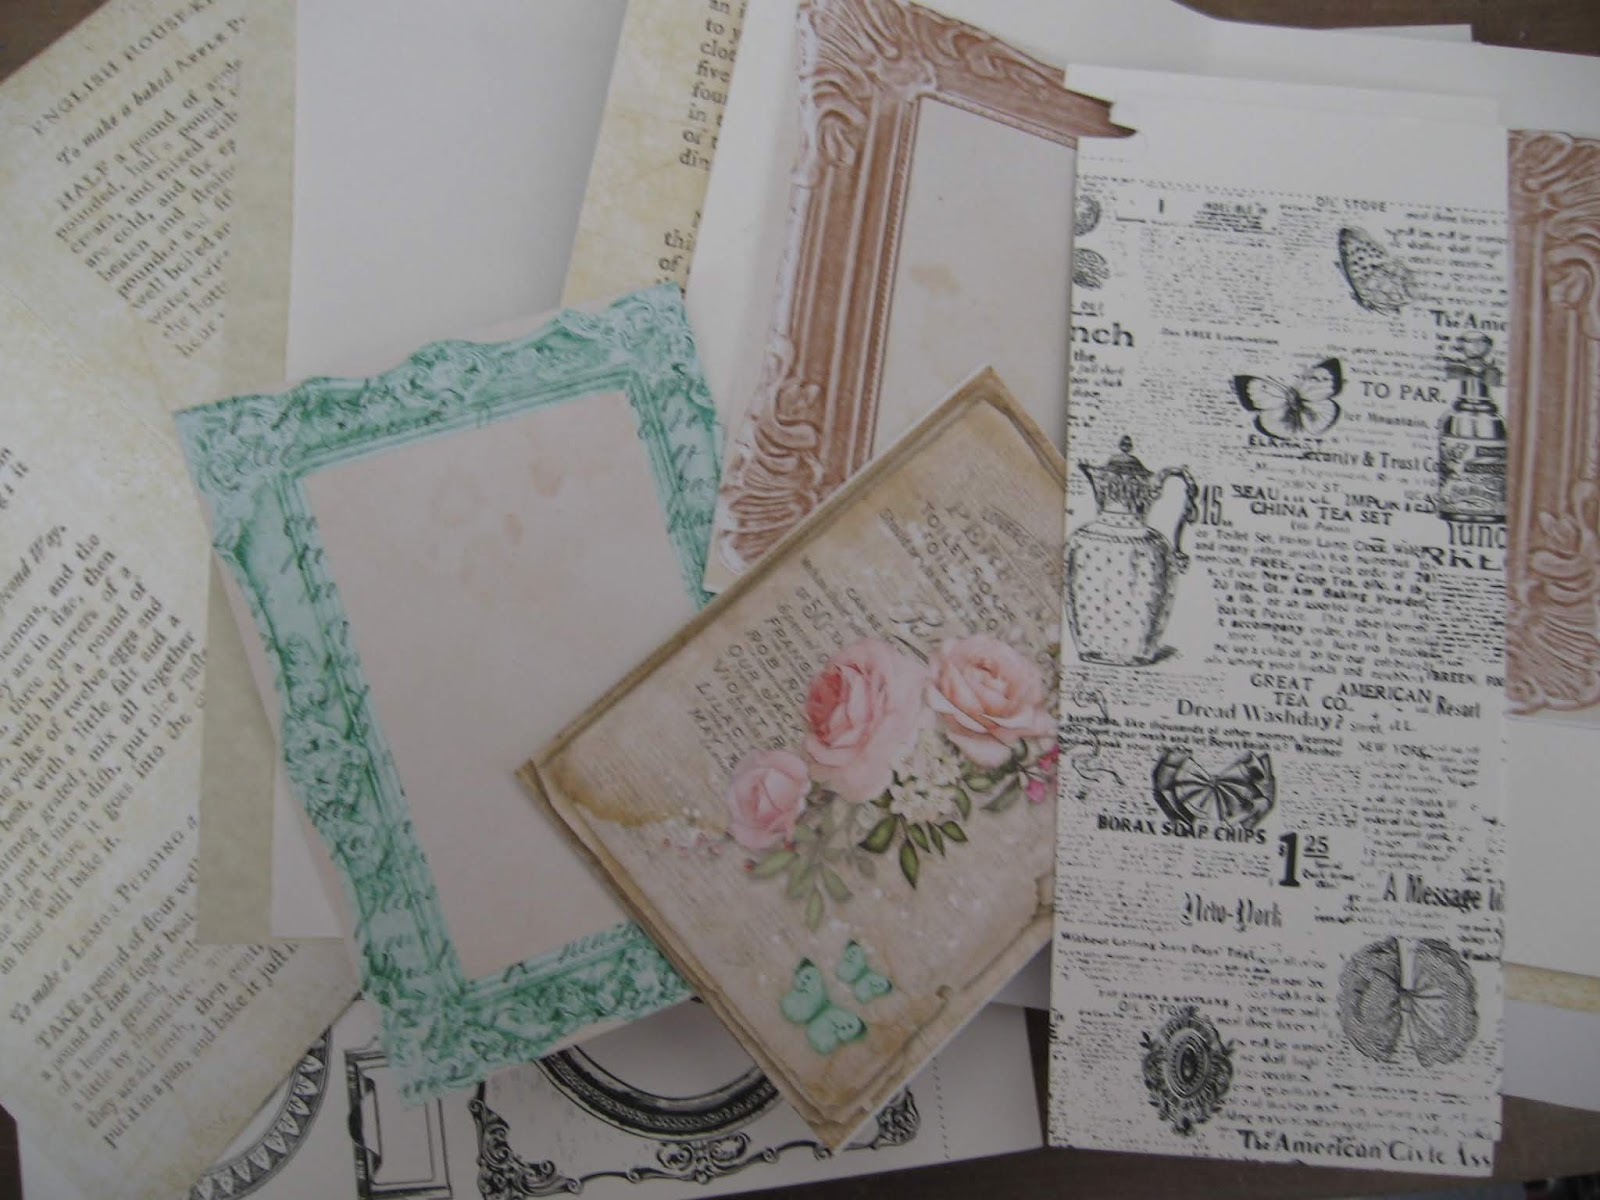
Today I have created a junk journal using the gorgeous Yesterday paper by Lemoncraft from the WRC store.


After making the cover of the journal with the paper line, I decorated the front of the journal with some of the gorgeous Recollections flowers and the matching epoxy embellishments.


I created a fun pocket on the cover using the same Lemoncraft paper. I added an image, sentiment, lace and lace heart to embellish the tag.


On the inside cover, I created a flip using more of the paper. The inside of the journal has coffee dyed paper, music paper and more of the Lemoncraft papers to fill up the journal.


I also altered this coffee dyed envelope by fussy cutting out some of the gorgeous roses from the paper, and edging the envelope with some Distress Oxide in Vintage Photo. I added a little bit of lace tatting and some stamping to finish it off.


I bound the journal with embroidery floss and added some vintage buttons to the side as well.


I hope you have enjoyed my project today and will make a shabby junk journal yourself. 
Thanks for stopping by today, I hope you have found some inspiration here!

White Rose Crafts Products Used
Yesterday Epoxy Embellishments (Sold Out)

Tuesday, 7 May 2019

Shabby Chic Altered Wall Key White Rose Crafts DT


Good morning friends, Kim here with my next DT project for White Rose Crafts.
This time I have done a home decor item! I got this heavy chipboard key from a local box store, and I thought it would be perfect to alter with lots of amazing items from the WRC Store.


The first step is to paint the sides and any areas that will show with some paint. I used a multi surface paint for this and it did the trick nicely. I also took the key and traced around it on some of the gorgeous Lemoncraft Yesterday paper.  Once the paint was dry, I used Mod Podge to stick down the paper.


While the key was drying, it was time to get out my embellishments and alter them to go on the key.
I used some fun chipboard pieces from the WRC store, and also the metal heart and flower are from the shop also.  I added some of the same paint I used on the key to the pieces and then added a touch of pink paint as well to pick up on the colours in the paper.


Once everything was dry, it was time to layer on my pieces.  I got out some Recollections flowers and used one of the Melissa Frances resin keys in the middle of the chipboard heart with wings
You can also see some of the Altair Art butterflies and one of the pieces from the Dress It up Button Set in the photo. 


On the end of the key, I added some more flowers and the metal flower, along with a bit of the chicken wire chipboard, and a little butterfly to finish it off.  


Of course everything got a lovely coat of Dovecraft glitter glue in Crystal, it makes everything sparkle!  The final touch was some of the Distress Oxide Spray in Picked Raspberry to make the pink stand out on the paper and flowers, it added just the right mixed media touch.


It turned out so pretty, I am going to hang it up in my bedroom!


I hope you have enjoyed my project today and have found some inspiration here.
Thanks for stopping by!


Thursday, 14 February 2019

Valentine Heart Boxes ScraPerfect DT


Happy Valentine's Day!  Kim here with my next DT project for ScraPerfect!  
I have altered these adorable little heart boxes I found at my local dollar store. I thought they would be perfect to hold a little Valentine surprise for someone!


I painted the boxes a pretty pink colour using some Prima Art Alchemy paint, and then got out my Best Glue Ever to add my elements on the box once the paint was dry.
I used some beautiful Lemoncraft paper on the box. The Best Glue Ever is my go to glue for any paper crafting I do, and for this project it worked so well!


I added some rosette trim around the edges of the box along with a seam binding bow to give that shabby feel.


The tops of the boxes are decorated with lace, tiny heart buttons, bling and Tim Holtz paper dolls. All adhered to the box with the Best Glue Ever. I used the No Clog writing cap on my glue to get the right amount of glue out and not have too much glue on my projects.


I hope you like my project today and have found some inspiration here.
Be sure to check out the ScraPerfect store for all the amazing products they sell!


Tuesday, 5 February 2019

Sweet Friend Card White Rose Crafts DT & Sketch Challenge


Good morning Rosies! Kim here with my next DT project for White Rose Crafts. I am working with this months sketch challenge, and decided to create a sweet and shabby card for a friend.


I hope you will join in the Sketch challenge too, I loved working with the sketch this month!

I used lots of wonderful items from the White Rose Crafts store this month, including the gorgeous Recollections Pink flower you see in the photo below.


 I also used the K & Company epoxy sentiments to add to my card, they are so simple and easy to use!


A couple of Dress it Up buttons called "Decadence" added some sweet accents to my card.


I really love the Lemoncraft Yesterday Ephemera, and I used this one for the main focal point on the front of the card.


The final touch was some of the Dovecraft glitter glue in Crystal to give my card lots of sparkle!


Please check out the sketch challenge on the WRC blog and join in the fun!
Thanks for stopping by today, I hope you have found some inspiration here!


Tuesday, 29 January 2019

Use Your Wings Burlap Mixed Media Canvas White Rose Crafts DT


Good morning Rosies! Today I am sharing a mixed media burlap canvas I have altered using lots of White Rose Crafts goodies!


I cut out 3 large hearts from the Lemoncraft Yesterday paper, and used that as my base to start. I had the image of the fairy in my stash, which was sent to me from a friend. The flowers are from Artemio Rhinestone & Paper Flower set.
  I also added a little resin cherub from my stash as well.


I love the Altair Art butterfly ephemera! I added some Dovecraft glitter glue in crystal to the wings to make them sparkle.
The fairy also had to have some sparkly wings too!


I added a few laces, cheesecloth, doilies, and some very old tatting to give shabby vintage vibe to the canvas. 


I also used the Tim Holtz stamp from Stampers Anonymous "French Market" to add some scripty writing to the canvas.


I hope you have enjoyed my project today and will check out all the great items in the White Rose Crafts Store.
Thanks for stopping by today, and I hope you have found some inspiration here today.

Dovecraft Glitter Glue Crystal(Sold Out)

Tuesday, 8 January 2019

Mini Art Journal White Rose Crafts DT


Good morning Rosies! Kim here with my next DT project for White Rose Crafts.
This time I have created a fun mini art journal!
You are going to be seeing me use this little journal over the coming weeks as I create some fun art pages in it using more White Rose Crafts items, I can't wait!

The first step to making this journal is to gather up all my little bits and pieces I have left over from all my other White Rose Crafts projects.  I keep all my scraps in a bin when I am finished a project, and this is such a great way to use them up.


Once I have decided what I am going to use, I stack them on top of each other, remembering not to use too many as I wanted to sew down the centre of the papers on my sewing machine so they would be attached to each other.


Once I sewed all the papers together, I used a couple of pieces of Lemoncraft Yesterday Ephemera for my cover of my little journal. I used black thread on my journal to make it stand out and used a zig zag pattern as well for some fun.
I stacked two of the ephemera pieces together and added some sparkly blue tulle in between the cards for texture.


Once that was done, it was time to work on the cover for the journal. I used some fun material from my stash, and ended up making the journal 5 x 7 inches. This is a great size for a small journal as it can fit inside a purse and you can take it anywhere with you.


Once the cover was complete, I sewed in the paper stack by just doing another stitch down the middle of the paper and cover. Don't forget to back stitch so you have a good locking stitch and your journal won't come apart.


I attached some more of the fabric to the side of the journal for a closure.


Here you can see the inside of the completed journal.


I hope you like my little journal. I will be working on this journal over the next month and creating some art inside it to share with you all! So stay tuned for some fun White Rose Craft art journal pages from me. I have a complete list of the paper scraps I used for my journal below for you. 
I hope you will make one of these fun little journals for yourself with all your White Rose Crafts goodies and scraps!
Thanks so much for stopping by today, I hope you have found some inspiration here.

Prima Tales of You and Me Watercolour Paper (Sold Out)

Sunday, 9 December 2018

Captured Heart White Rose Crafts DT Project


Good morning friends, Kim here with my next design team project for White Rose Crafts

This time I have altered a tin heart I found at my local dollar store.


I have used lots of great items from the White Rose Crafts Store


You can see the full process video for this project on my YouTube Channel


Thanks for stopping by today, I hope you have found some inspiration here!

Magnolia Lane Paper (Sold Out)
Prima Tales Of You & Me Watercolour Paper (Sold Out)


Tuesday, 27 November 2018

Make A Wish Mixed Media Box White Rose Crafts DT


Good morning everyone, Kim here with my next DT project for White Rose Crafts
But, first a little announcement!
 Run over and check out all the amazing Your Next Stamp goodies in the White Rose Store and get your 10% off discount.

Now, on to my project.  With Christmas coming, I have been super busy creating goodies to give to friends and relatives. I started off my box with the Lemoncraft paper called Christmas Carols
I used the 12 x 12 paper and scored in at 2 inches and snipped the corners to fold the top. I repeated the process for the bottom of the box as well, but scored it at 1 3/4 and snipped the corners so they would fold.  

The paper has a beautiful music theme on the top of it which I loved but I wanted to shabby it up a little and added a bit of gesso and used the Distress Oxide in Tumbled Glass to give it a lovely blue hue.


Once that was done I used the Couture Creations stencil called "Be Merry" and some texture paste. While the paste was wet, I added some shabby blue embossing powder and some blue glitter and heat set it. Now the stars look so pretty and glittery! You can also see the little Dress it up Unicorn Baubles in the top left corner,  peeking out from the Recollections Flowers I used to decorate the corner of the box. I also added one of the Dress It Up Snowflake buttons just above the sentiment as well.


I framed the box with some soft laces from my stash around the edges.


I used the Couture Creations layered snow flake die, and embossed the snowflakes with the same embossing powder and topped them off with a rhinestone for some really amazing shine and glitter!


Lastly, I used the Altair Art butterflies ephemera sheet, which I cut out from  and glued them down. A finishing touch was the Crystal glitter glue from Dovecraft, it really brought the butterflies to life.
As you can see I used a ton of amazing items from the White Rose Craft Store! 

I hope you like my project I have shared today and found some inspiration here !
Thanks for stopping by!