Showing posts with label altered box. Show all posts

Monday, 18 March 2019

Dream Altered Butterfly Box White Rose Crafts Spring Blog Hop


Welcome Rosies to the March "Blue Skies" Blog Hop.
This month's hop will Run from today,
March 18th- Friday, March 22nd at noon EST.
If you are not familiar with blog hops, it’s fun and easy way to see
what the Rosie Design Team is creating! Simply click on the first
name in the list below to visit our Design Team.
Each blog will have the same list of links on their blogs and you just
follow them in order to go to the next blog!

And to make it more fun there is a chance for you to win a
$15 WRC Gift Card
just for hopping along with us and leaving a
comment at each stop along the way!
The Hop will run all week until Friday, March 22nd at 12pm EST.
Once the hop has closed, we will randomly pick a winner of someone
who has commented all along the way, who will be announced on the
19th right here on the WRC blog!
And as an added bonus, do you want your work to be featured on our blog
when we announce our hop winner.
Share your White Rose Crafts projects over on our Facebook Gallery,
and you might just be a featured project right here!

Have you seen our March "Blue Skies" Subscription Kit? There are only a few left in stock, 
so don't miss out on a chance to own your own bit of BLUE SKIES. 
But did you know that with each of our kits, there is always an Kit Add-On section of 
the Store that compliments your Monthly Subscription Kit? And did you know you can
 get anything in that March Kit Add-On section for 10% off using the code March Add Ons!!


Now On to our hop! I am up first, and I am so excited to share
my project with you. Don't forget to hop along to the other designers blogs and comment, the full list for the designers, including the links are listed at the bottom of my post.


I have altered a wooden box which was a, thrift store find, using some of the GORGEOUS Flutter paper by Graphic 45.  I just adore this paper, the colours are so rich and vibrant!


I also used the butterfly flourish chipboard, and embossed it using some black embossing powder to make a bold statement on the front of the box.


I added some Prima and Recollections flowers to the box, and fussy cut out lots of the butterflies from the paper so the flowers give them a fun place to land on.


Some of the Dovecraft glitter glue in crystal gives the butterflies a gorgeous shimmer and sparkle.


My focal point is the steampunk butterfly chipboard piece which I layered on one of the chipboard words "Dream" on top. 


I used the Finnabar pastes in coordinating colours on the top of the butterfly and then used some DecoArt rose gold metallic lustre on top of the pastes.  The dream word I used the same black embossing powder to make it stand out on the butterfly.  A finishing touch to the butterfly is some Prima hardware, which I attached using Glossy Accents.


Such pretty flowers and butterflies!
The tulle lace on the box was from my stash but the double scallop floral lace I layered on top of that is from the White Rose Crafts store, they have a great new selection of lace in now!


I also added a pretty bow from the bow lace in the WRC store.


I hope you have enjoyed my project today and have found some inspiration here.

Prima Flowers (Sold Out)

Thanks for stopping by and don't forget to hop over to the other designers blogs too! 
All the links are below!
And when you get done hoping come back to White Rose Crafts Blog
and let us know which add on you would be most excited to play with.

Hop Order

Angeldreamcrafts <<< You are Here


Tuesday, 19 February 2019

Princess Gift Box White Rose Crafts DT


Good morning friends, Kim here with my next DT Project for White Rose Crafts. This time I have upcycled a left over chocolate box into a pretty gift box for a friend.


I used Mod Podge to keep the paper on the box, and did the outside and inside with the same paper line from G45. I added some of the Dovecraft glitter glue in Crystal to add lots of sparkle to the flowers and crown, and the dresses on the Princesses, on the image of the papers.


I added some vintage laces and doily with a fun resin embellishment to the inside cover of the box.
The paper is so pretty, I didn't want to over embellish, but let the paper do the talking!


The top and bottom of the box.


For decorating the top of the box, I used some more pretty laces from my stash around the edge of the box to soften the look.


I used lots of pretty Prima and Recollections flowers from the White Rose Crafts store to decorate the box as well. I also added a vintage bling piece to the box as well.


I also added more flowers to the top of the box, another fun bling piece and some silk sari ribbon to finish it off.


Once again, here is the finished gift box.


I hope you have enjoyed my project today and will check out all the great items in the White Rose Craft Store!
Thanks for stopping by, I hope you have found some inspiration here today.

Prima Flowers (Sold Out)

Thursday, 14 February 2019

Valentine Heart Boxes ScraPerfect DT


Happy Valentine's Day!  Kim here with my next DT project for ScraPerfect!  
I have altered these adorable little heart boxes I found at my local dollar store. I thought they would be perfect to hold a little Valentine surprise for someone!


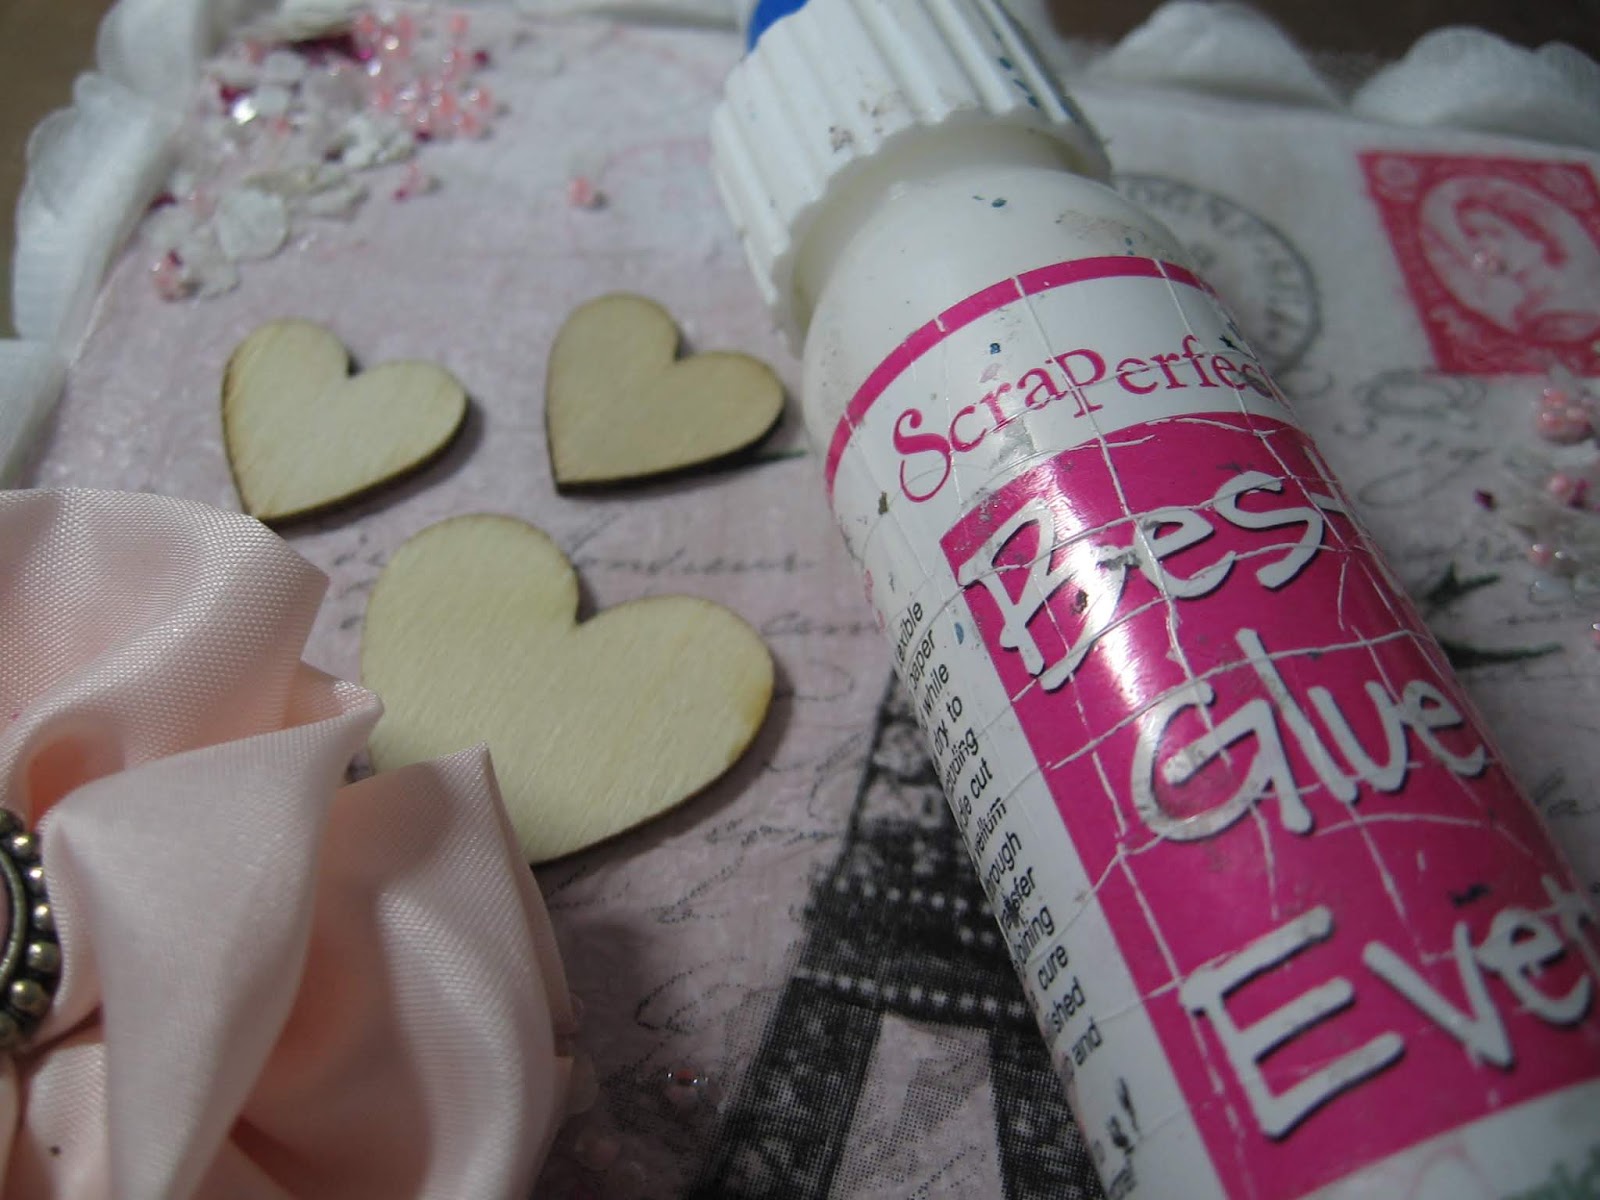
I painted the boxes a pretty pink colour using some Prima Art Alchemy paint, and then got out my Best Glue Ever to add my elements on the box once the paint was dry.
I used some beautiful Lemoncraft paper on the box. The Best Glue Ever is my go to glue for any paper crafting I do, and for this project it worked so well!


I added some rosette trim around the edges of the box along with a seam binding bow to give that shabby feel.


The tops of the boxes are decorated with lace, tiny heart buttons, bling and Tim Holtz paper dolls. All adhered to the box with the Best Glue Ever. I used the No Clog writing cap on my glue to get the right amount of glue out and not have too much glue on my projects.


I hope you like my project today and have found some inspiration here.
Be sure to check out the ScraPerfect store for all the amazing products they sell!


Wednesday, 30 January 2019

Vive la France Altered Box ScraPerfect DT


Good morning ScraPerfect Fans! Kim here today with my next DT Project for ScraPerfect.
This time I have altered a box I got from my local dollar store.


Firstly, I covered the paper mache box with a good coat of DecoArt Media gesso.


I decoupaged a Paris themed napkin on the top of the box , then I painted
 the sides of the box with some Prima Art Alchemy paints in two different colours of Pink. After that was dry, I added some white chalk paint over the top to match the colour of the napkin.


I used The Best Glue Ever to adhere down some texture, using some mica flakes, glitter glass and micro beads on various areas of the box.


Next, I again used the Best Glue Ever to add some wooden hearts. I have the No Clog Writing Cap on my glue which makes for easy and smooth coverage of the glue to all my embellishments.


I also added more of the glitter glass to the wooden hearts to add some extra sparkle.


I added several laces and trims from my stash around the box to give it a lovely shabby chic look.


To finish off the box I added a handmade flower, resin cherub and a small wicker heart to the side.


Once again, here is the finished box, just in time to put a Valentine surprise inside for some one special!


Please check out the ScraPerfect Store for the items I have used to create my project.
Thanks for stopping by today, I hope you have found some inspiration here!


Monday, 19 November 2018

White Rose Crafts Winter Wonder Blog Hop!

Welcome to the White Rose Crafts Winter Wonder Blog Hop!
You can check out all the info and links at White Rose Crafts
WRC Main Hop Link
https://whiterosecraftsllcblog.blogspot.com/2018/11/winter-wonder-blog-hop.html
It’s time for another White Rose Crafts Blog Hop! This month we are celebrating Winter Wonder! We will be creating inspiration projects featuring snowflakes, snowmen, ice, winter critters, skating, sledding and everything else that goes along with this cold and beautiful season. In addition to the incredibly talented WRC design team, we are also very excited to be collaborating with several members of the Doodles Paper Playground team. We invite you to hop along with us, and be sure to leave a comment on every leg of the hop! We will be giving away prizes and offering a Blog Candy Discount Code, so be sure to visit every stop on the hop for more chances to win! Now, go get inspired!
PrizesOne winner will receive a $15.00 store credit coupon code to White Rose Crafts, and 3 lucky winners will receive a full size package of Frozen Sparkle Blends, sponsored by Doodles Paper Playground!
Blog Candy: Save 15% on every item in the Christmas Shop section of the store through 11:59pm EST, Friday, November 23, 2018 with Coupon Code: JINGLE

Now on to my project!
I painted the box with some Prima paints in a colour called pink blue, and then cut and
measured my paper to fit the box. I used the Lemoncraft paper called "Yesterday"for this
project. It is such a pretty paper pad and I love the music themed paper so much I used it
on the top and sides of the box.

Some Recollections flowers add a wintery white feel to the box. I spritzed the flowers with a pink spray to pick up on the colour tones in the paper.  I added some pink holly leaves and a tiny pink cameo from my stash as well to the center of the box.


I added some of my favorite Dress It Up Buttons in snowflakes.


I used Doodles Paper Playground Sparkle Blend in Candy Cane to add some fun and glitter to the box.


Isn't this Lemoncraft paper gorgeous? I fussy cut out the larger flower from the paper and added it to the side of the box for some dimension and the Doodles Paper Playground Sparkle Blend added some fun texture to it.


As a finishing touch, I used some of the American Crafts Glitter Ribbon in Pink to really give it a Shabby Christmas feel.


I hope you like my project today and have found some inspiration here.
I wish all of you good luck with the hop, check out all the rules below!

Blog Hop Order
Giveaway Rules:
· You must be at least 18 to enter. Open Internationally. Winner is responsible for all shipping costs for Gift Code. Shipping for Sparkle Blends prize will be covered by Doodles Paper Playground.
· Entries must be received no later than 11:59PM EST Friday, November 23, 2018.
Prize will be issued in the form of the form of a one-time use coupon code valued at $15.00. Coupon code is valid at www.WhiteRoseCraftsLLC.com and expires on December 1st, 2018. Coupon code is not valid on shipping & cannot be combined with other coupons or offers.
· Winner will be drawn on Saturday, November 24th & posted on the White Rose Crafts blog & Facebook page and will be notified by email, if possible.
· Winner will have 3 days to contact us to claim prize. If prize is not claimed within this time frame, a new winner will be drawn. No Exceptions.
· This giveaway is not sponsored, affiliated or associated with Facebook any associated entity. All prizes furnished by White Rose Crafts LLC and Doodles Paper Playground.


Thursday, 16 February 2017

Shabby Pin Cushion Fernli Designs

 
Hello Fernli Designs Fans! Kim here with a new DT project. This time I have altered the Bauble Gift Box and made it into an altered pin cushion.


I painted the box in my favorite colour and added some of the gorgeous Kaisercraft paper from my stash. I then used some Prima Art Alchemy paint in Rose Gold and went over all the sides and inside the lid to give the box a lovely shimmer.


Once the paint was dry, I used some quilt batting on the top of the lid and some white muslin over top of that to give a nice pillowy top to use as the pin cushion.
 

I used some of my favorite trims from my stash around the edges of the lid to give it a shabby look.


After I was happy with the trims on the box, now it is time to alter some pins. I used these tiny little hearts from Fernli and glued them to the tops of the pins.

 
I painted the hearts white and then sprinkled them with some white glitter. I added some pearls and bead spacers from my stash to finish off the pins.


I added a glitterly butterfly to the side of the box and more appliques, laces and trims to make it look shabby chic.


I hope you will get one of these  Bauble/Gift boxes and give this a try for yourself.


Thanks for stopping by today and please check out all the great items Fernli Designs has in their shop!