Showing posts with label fairy tag. Show all posts

Sunday, 11 November 2018

Fairy Nice Tags for White Rose Crafts Design Team


Good morning everyone, Kim here with my next DT project for White Rose Crafts. This time I have created some fun mixed media tags!


These tags are really fun to make and with all the great items from White Rose Crafts,  these tags are a super quick and easy project!
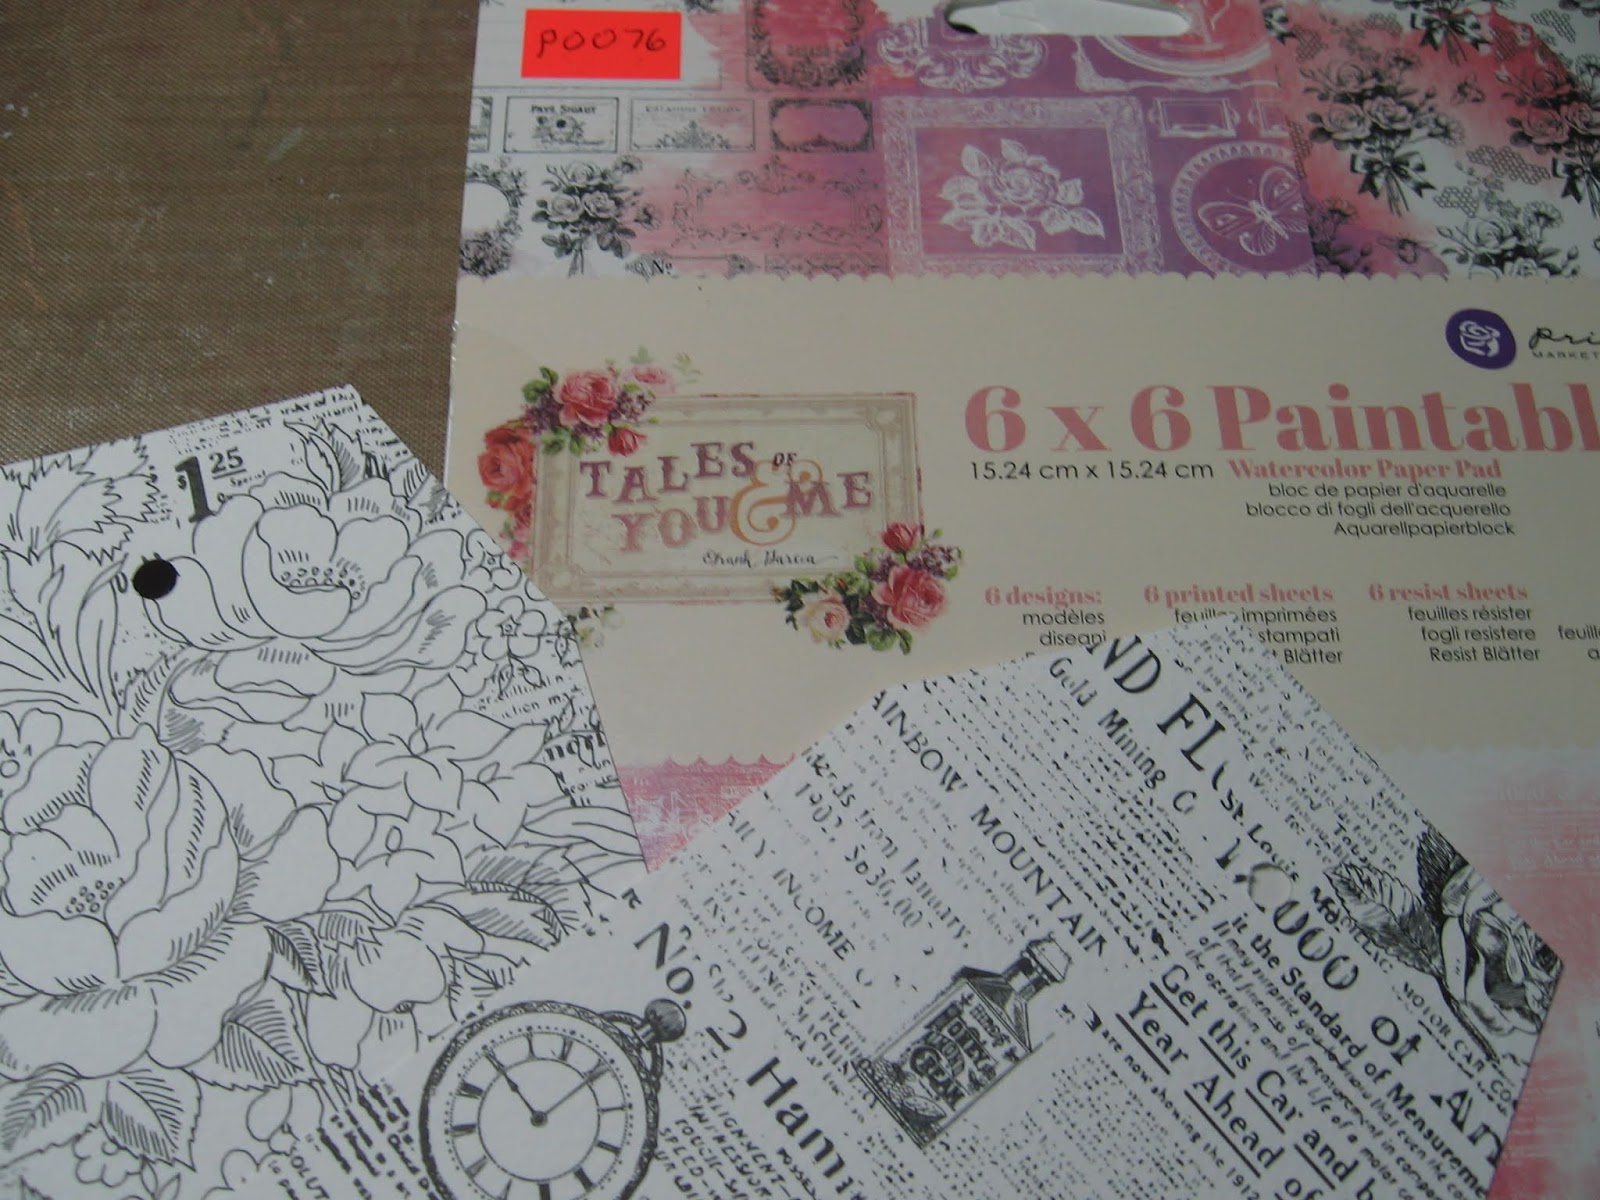

I started off with the 6 x 6 Paintable paper from Prima and cut out my tag shapes.


Next, I used my Distress Oxide in Tumbled Glass and Distress Ink in a darker blue colour for contrast. I smooshed them onto my craft pad and spritzed them with water so the paintable paper would pick up on the inks and give a lovely water colour effect on the tag.


I heat set the colours and then used the Gathered Twigs Distress Ink around the edges of the tag to give them a vintage feel.


The next step was to tear up some paper, I used the Victorian Kitchen 2 paper as I loved the soft muted colours in it and decopaged the paper to the tags.  I also added some drywall tape as well, as I love it for mixed media and it adds some great texture.


Now its time to work on the ephemera. I am using some butterflies and Tim Holtz dolls from my stash and edging them in more of the gathered twigs Distress Ink.


I did some scribbles on the background for some extra fun.


I added some distressed twine around the tag for texture.


 Now its time to add my ephemera to the tag. I also used some Dovecraft glitter glue to the wings and the dolls to give them some sparkle!


I hope you like my project today and have found some inspiration here!
Thanks for stopping by.


Other Items Used
Twine
Tim Holtz Paper Dolls
Butterfly Ephemera
Tim Holtz Words
Drywall Tape


Friday, 26 August 2016

A Fairy Nice Tag for ScraPerfect Design Team


Good morning friends, Kim here today to share with you my next design team project for ScraPerfect!
 
I am very excited to share with you my "fairy nice" tag I have created using lots of ScraPerfect items. 


I started off with a large wooden tag which I painted with gesso and then used some sprays and stencils to give some texture to the background. I then used some pumpkin pie ink from Hero Arts and a script stamp from Joggles to finish off the background.


 Once the background was dry, I got out some rub-ons from Prima. These rub-ons have a adhesive on the top of them so they are a perfect fit for the ScraPerfect transfer foils! I added some of the Bronze Transfer Foil to the adhesive rub-ons all over the tag.
 
 
I also used some of the black transfer foils as well, featuring a butterfly and thistle design.
 
 
Once the transfer foils were complete, I got out some watercolour pastels and choose a coordinating colour to go around the outside of the tag to give some highlights to the edges.
 

Now it was time for the Best Glue Ever! I had this really pretty fairy image, that I downloaded from a free graphics site, and I needed to glue her down on the tag. The glue worked amazingly well for this. Sometimes when you glue down paper images, they tend to ripple, well not with this glue!! It went down so perfectly and not one single ripple either!


 Here is a close up of the fairy, so you can see for yourself, there is no rippling at all with the glue and the image is perfectly adhered to the tag.
 

Since The Best Glue Ever worked so well on the image, I decided to experiment and see what else it could do. So I used it to adhere some of the Prima Art Stones and also some of my vintage laces that I used at the bottom of the tag. The result? Perfection! The art stones and the laces held down great!


I added some flowers, metal embellishments, pearls and a butterfly to the base of the tag, to give it a shabby look. I used the Best Glue Ever for the flowers as well, and they also held down really well with the glue.


I also added a vintage applique, flowers and more vintage laces to the top of the tag. You can also see some of the art stones on the left, which add great texture.


Here are some close up photos for you to see the dimension and fun embellishments I used to create this tag.


I also went around the image of the fairy with a watercolour pencil and water brush, to make her stand out a little better on the tag.


I hope you have found some inspiration today with my project, and will give some of these techniques a try.
Please check out the ScraPerfect Store and Blog for more info on these products!
Thanks for stopping by, have a great day!