Saturday, 10 December 2016

Father Christmas and his Reindeer A Shabby is Chic Boutique DT

Good morning friends! Kim here today with my next DT Project for Shabby is Chic Boutique on Zibbet.
 
This time I have altered some Christmas ornaments that I got at my local dollar store. First up is my shabby and wintery Father Christmas.
 
 
We have all seen some funky looking Christmas decorations at our local dollar stores, and this fella was no exception to the rule. He was originally very, and I mean very tanned looking. This Santa is just a plastic head that came with some tinsel for a beard and a very funny looking hat. Really, he needed lots of work, and I wanted a challenge, so here we go!
 
 I totally repainted his face and eyes, to give him a softer and more rosy cheeked look. I used some chalk paints from my stash to repaint him, and then gave him a coat of Mod Podge to ensure that the pain would not come off the plastic.
 
 
I used a vintage table cloth, which I cut up for his hood and draped it over his head. I added a bit of stuffing to the top of his head so it would sit up nicely on him. I also used lots of laces from the SCB store on him and cut them up and made him look shabby and wintery.


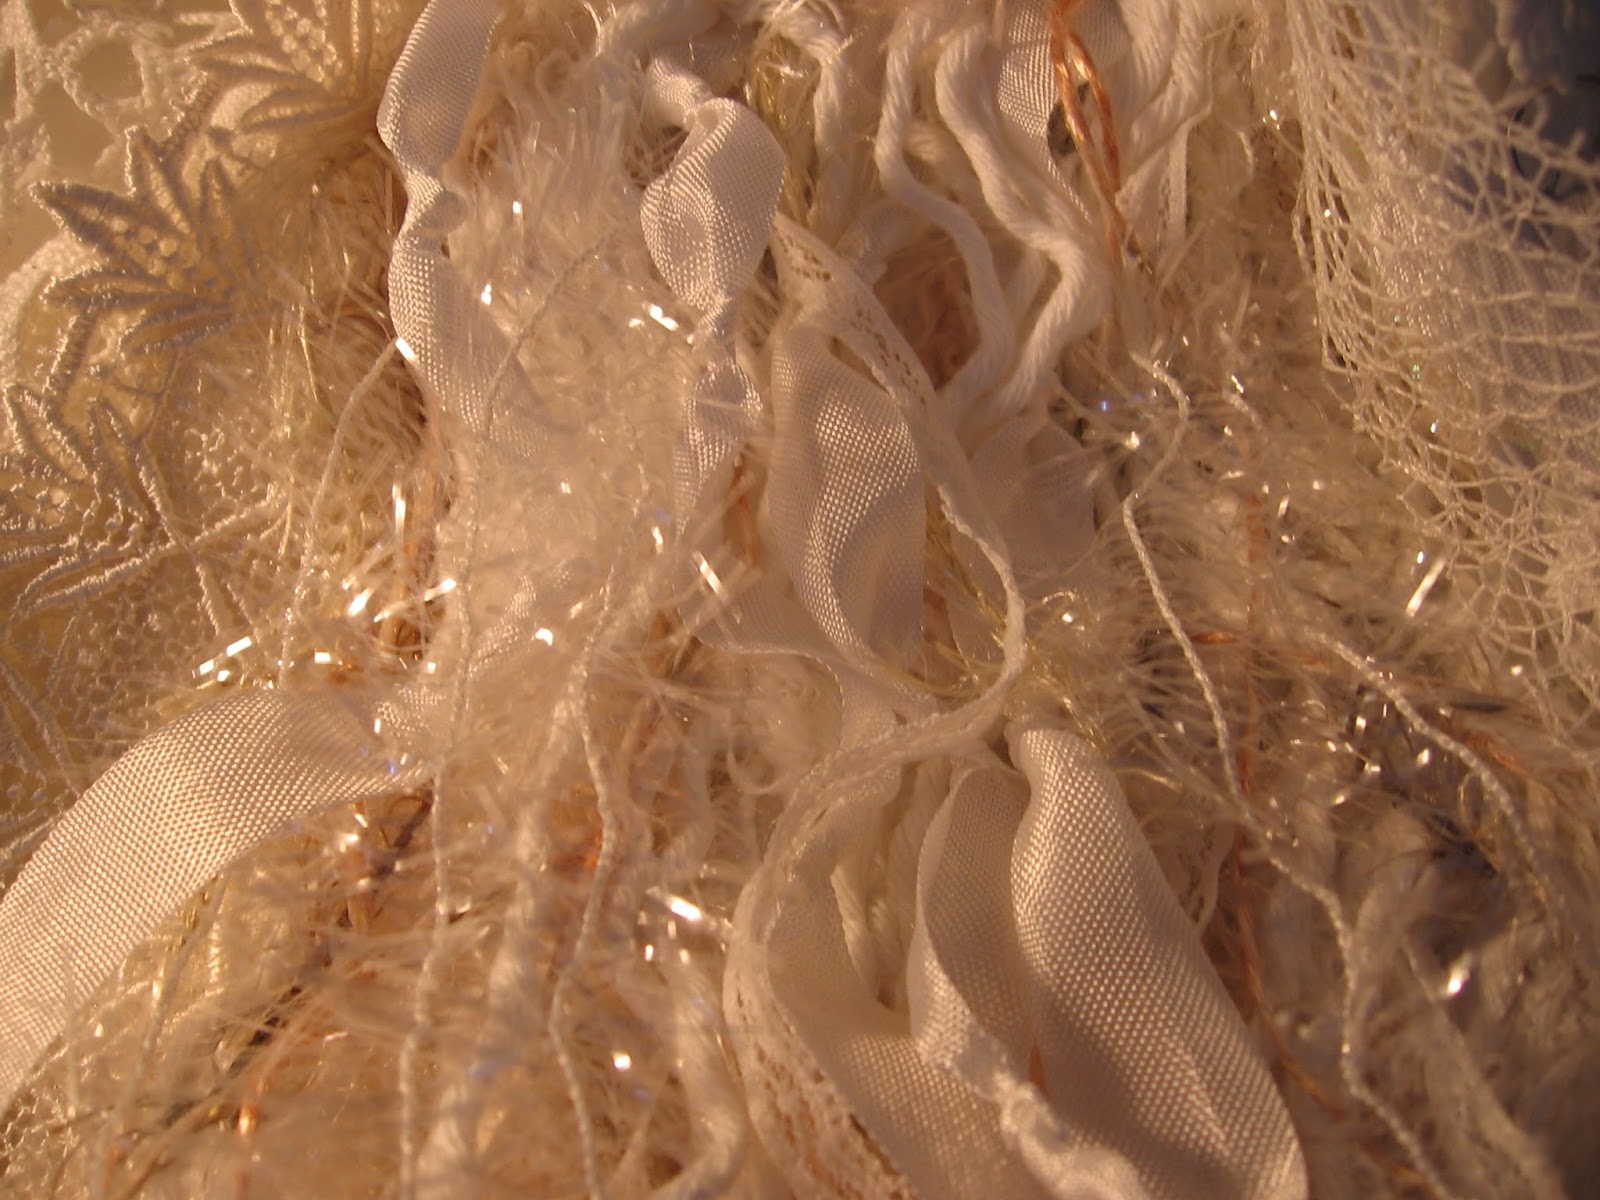
I used various laces, seam binding, wool, unbraided rope trim and a bit of the original tinsel beard and totally revamped his beard for him, I think it really makes him look handsome now!


While I was at the dollar store, I also picked up some glittery white branches and berries.  I cut them up and added them to the side of his face for some dimension and also added some seam binding and some ribbon from my stash too. I used some of the tinsel that was from his beard to make a bow with as well.


He is really kind of adorable, and will have a nice place to hang in my home this Yuletide season.
 
 
Now on to the reindeer! 
When I spotted these at the dollar store, they were silver plastic with a giant glitterly red Pointsettia on them, oh ya, and some red polka dot ribbon!  Not my style at all!
 
 
I gave each of the reindeer an over haul with some white chalk paint to start off with. Then, I choose to make two of them pink and one of them in a shabby Aqua colour. These little beauties are going as gifts to some crafty friends of mine, and I needed to make them in their favorite colours.


Once I had the white paint on them, I used some of the Prima Art Alchemy paints on them and also some Prima Bloom Sprays in coordinating colours.
 
 
I then added some laces, trims, pearls and flowers from my stash to their backs to give them a festive look.

 
I am pretty pleased with how they came out, from their silver coats to this Shabby look, I think its quite a transformation.


Next time you are at your local dollar store, take a second look at some of the items they have, they are inexpensive and can be transformed into something that looks rather expensive. Challenge yourself to try something like this, I had lots of fun, and as we all know the holiday season can get very expensive and this is a good way to cut costs down and give a gift that can be appreciated every year!
 
Thanks for stopping by, and please check out all the great items from the SCB Store!


Friday, 9 December 2016

Frosty Noel for ScraPerfect DT

 
Hello ScraPerfect fans, Kim here today with my next DT project.  This time I have created a fun and frosty Noel project using some wooden blocks I picked up at the Dollar store.
 
 
I started off painted my blocks white with some white chalk paint.
 
 
Step two is to paint the letters so they stand out, I used some blue chalk paint for this.
 
 
I wanted to add some sparkle to my letters, so I used some plastic snowflakes, yes also from the Dollar store. I removed the silver thread hanger from them as I was going to attach them to the backs of the blocks.

 
Now its time for the Best Glue Ever!


I use a long handled paint brush and take the cap off the glue, and paint a light coat of glue all over the snowflakes.


I let the glue dry and bit and get tacky, then I sprinkled some Martha Stewart glitter all over the snowflake. I choose a lovely light blue sparkle to pick up on the colour of the letters on the blocks.
 
 
Once the glitter was set, I glued the snowflake to the backs of the blocks.
 
Now it was time to do some embossing. I used the Perfect Crafting Pouch to help me with this!
The Perfect Crafting Pouch is ANTI-STATIC BAG for glitter & embossing powders.
 
 
I used it around the blue letter, to keep the embossing powder off of the white part of the block, it worked great!
 
 
I added a few flowers to the tops of the blocks as well.
 
 
I added some blue seam binding and a bit of bling for more sparkle.


I love how this project came out, and to think it was under $3.00 to make! Simple and easy Christmas décor!


Thanks so much for stopping by today, and please check out the ScraPerfect store for the products I used and lots more amazing items!


Shabby Angel Accordion Book Joggles Design Team

Good morning Joggles fans, Kim here today with my next DT project for Joggles.
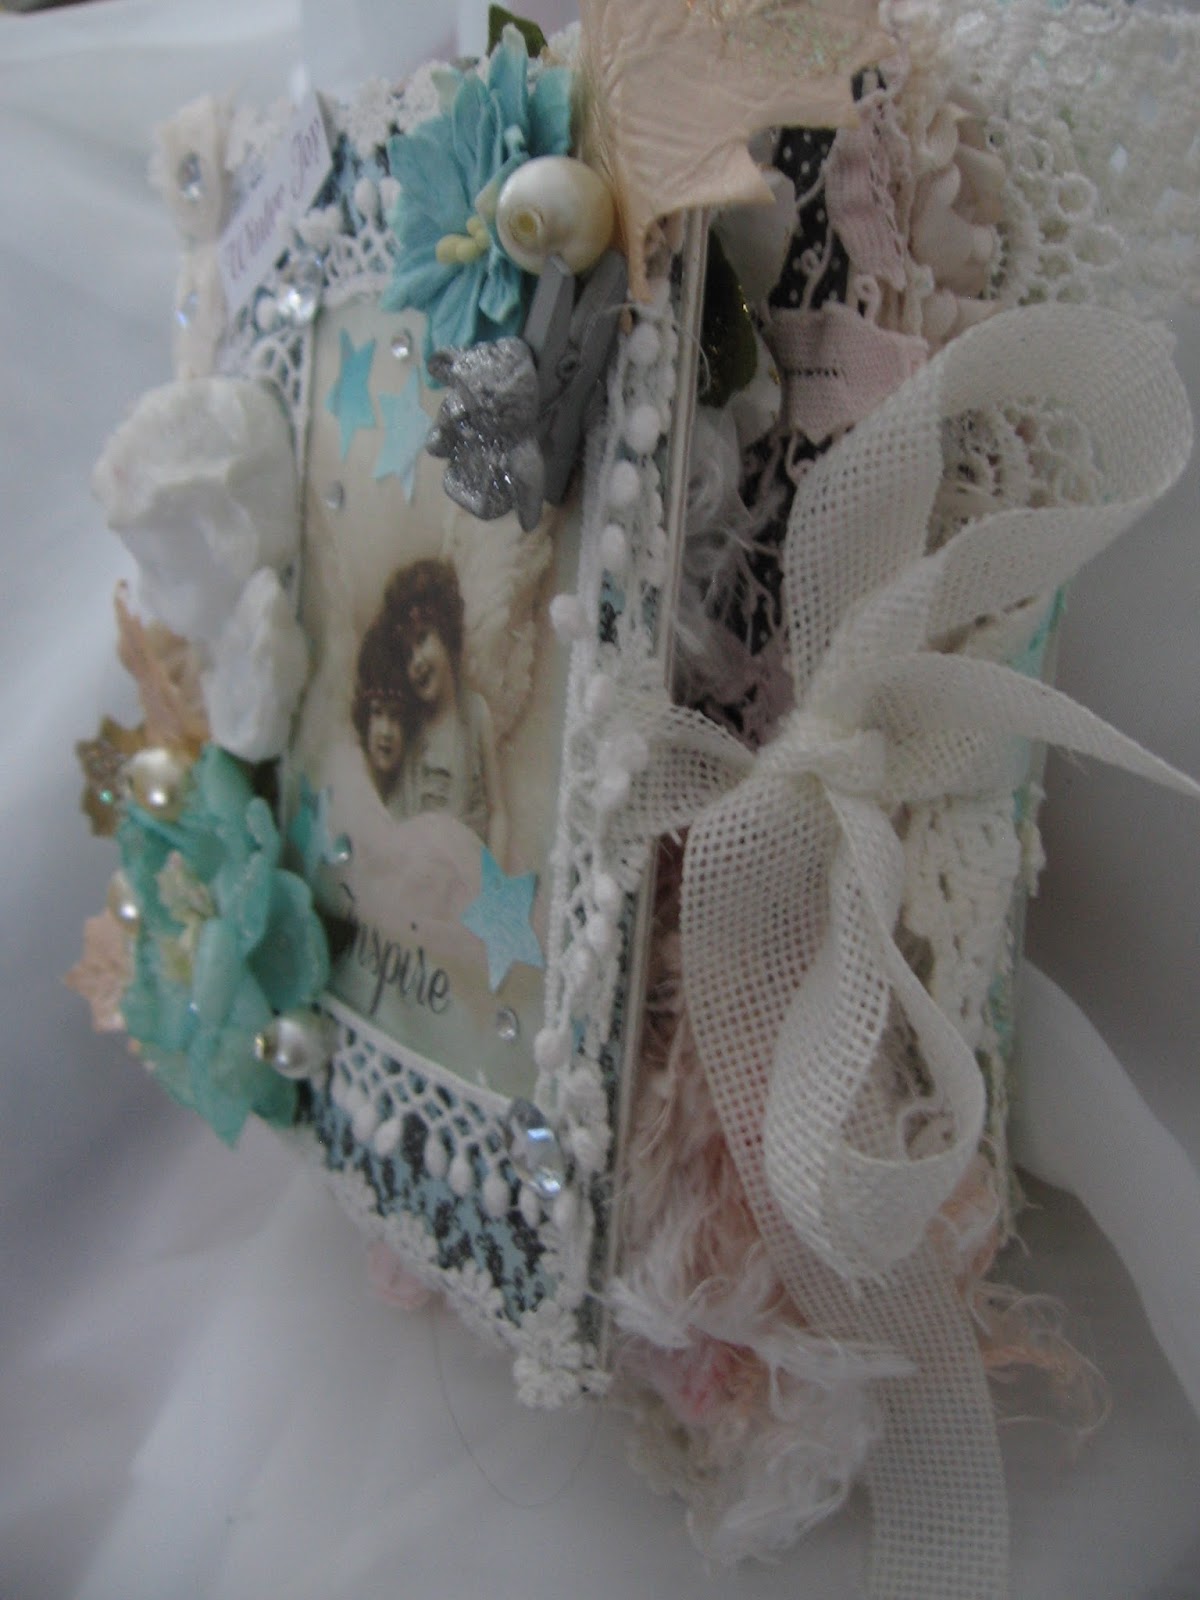
I have altered one of the Accordian  Books from Joggles this time, and made it into a Shabby Angel themed Mini Album.
 

Here is a list of products you will need for this project.
Aqua Rose
Light Patina
 
Prima Colour Bloom Spray Soft Teal
Prima Paint Brushes
Petaloo Flowers
Prima Holly Leaves
Pearls
Laces From Your Stash
Resin Angel
Paper From Your Stash
Glue
Wood or Chipboard Embellishments
Digital Images or Paper Images From Your Stash


So, lets get started! The first thing you want to do is paper your Accordion Book. I used some paper from my stash is some colours that I liked. I used the 6 x 6 accordion book and also used 6 x 6 paper, so it made it very easy to paper. This is a fun project, and there are 10 pages in the book to decorate any way you like.
 
I used my craft glue to put the paper down first to start my album.
 
 
Once you have papered your book, then it is time to start adding the embellishments. I first started by layering on some laces and trims. Once I was happy with the laces on the cover, I added more embellishments and my image.
 
 
Now its time to play with our Sticky Snippets! I layered on the sprays, drying each layer in between until I was happy with how it looked.
I used the Distress Spray in Pewter to do a cross hatch effect on the Sticky Snippets.
 
 
I used the stars to add dimension and interest to the cover.


I also added some bling from my stash to add a bit of sparkle.
 
 
I added some of the gorgeous and sparkly Prima Holly leaves in a rose gold colour to the front of the book, and also added some Petaloo flowers as well.


A resin angel, that I added some glitter to, and some pearls and bling from my stash finished off the cover nicely.
 
 
Next, it was time to paint up my wood embellishments. I used various colours of the Prima Art Alchemy Paints. There is a wide variety of colours in this line, so use your imagination and get creative! I am using wood from Fernli Designs for this project.
 
 
I continued on with my pages, adding laces, trims and more embellishments.
 
 
I kept in the same colour tones with each of the pages to keep the theme of the Winter Angels going.


I also added a ribbon tie to the front and back covers by tucking the ribbon under the paper for a good strong hold.


As the book turned out to be so thick with all the embellishments, this was a good solution to keeping it tied shut, but it also gives the option to display it open as well.


I left a couple of the pages blank, as this is going to be a Christmas gift for a friend, and she can add her own touches to it, or some Christmas photos of family and friends if she likes.

 
I added some laces and trims to the last few pages and she can finish them off to her liking.

 
Here is the book open, you can see it would make a lovely display for the holidays or any time of year.


I had a lot of fun with this project, and I hope you will give one of the Accordion books a try!
 
Thanks so much for stopping by today, and please check out the Joggles Store for all the items I used here today!