Friday, 4 November 2016

Starry Christmas Ornaments For Joggles Design Team

 
Good morning Joggles fans! Kim here today to share with you a fun Holiday inspired project featuring Sticky Snippets!


Here is a list of items you will need for this project:
 
 
Here is a list of items you will need for this project:
Prima Bloom Spray Turquoise, Peony and Cotton Candy
Light Patina
Rose Gold
Ancient Gold
Aqua Rose
Pink Blue
Vintage Pink
Blue Gold
Paper Mache Stars
Digital Images
Martha Stewart Glitter
Glue
Trims from your Stash
 

 Now its time to play with our Sticky Snippets! I layered on the sprays, drying each layer in between until I was happy with how it looked.

 
I used the Distress Spray in Pewter to do a cross hatch effect on the Sticky Snippets.


 Here is a close up! I also did a page of the stars in some pink tones, but my camera for some reason didn't save those photos, but it is the same technique I did on the blue Sticky Snippets.


Now, its time to paint your stars. I used a couple of coats of the paints to give a lovely shimmer.


 After the paint dries, place your images on the stars and cut them to the shape.

 
Now it is time to Mod Podge the images down, giving them a nice even coat.
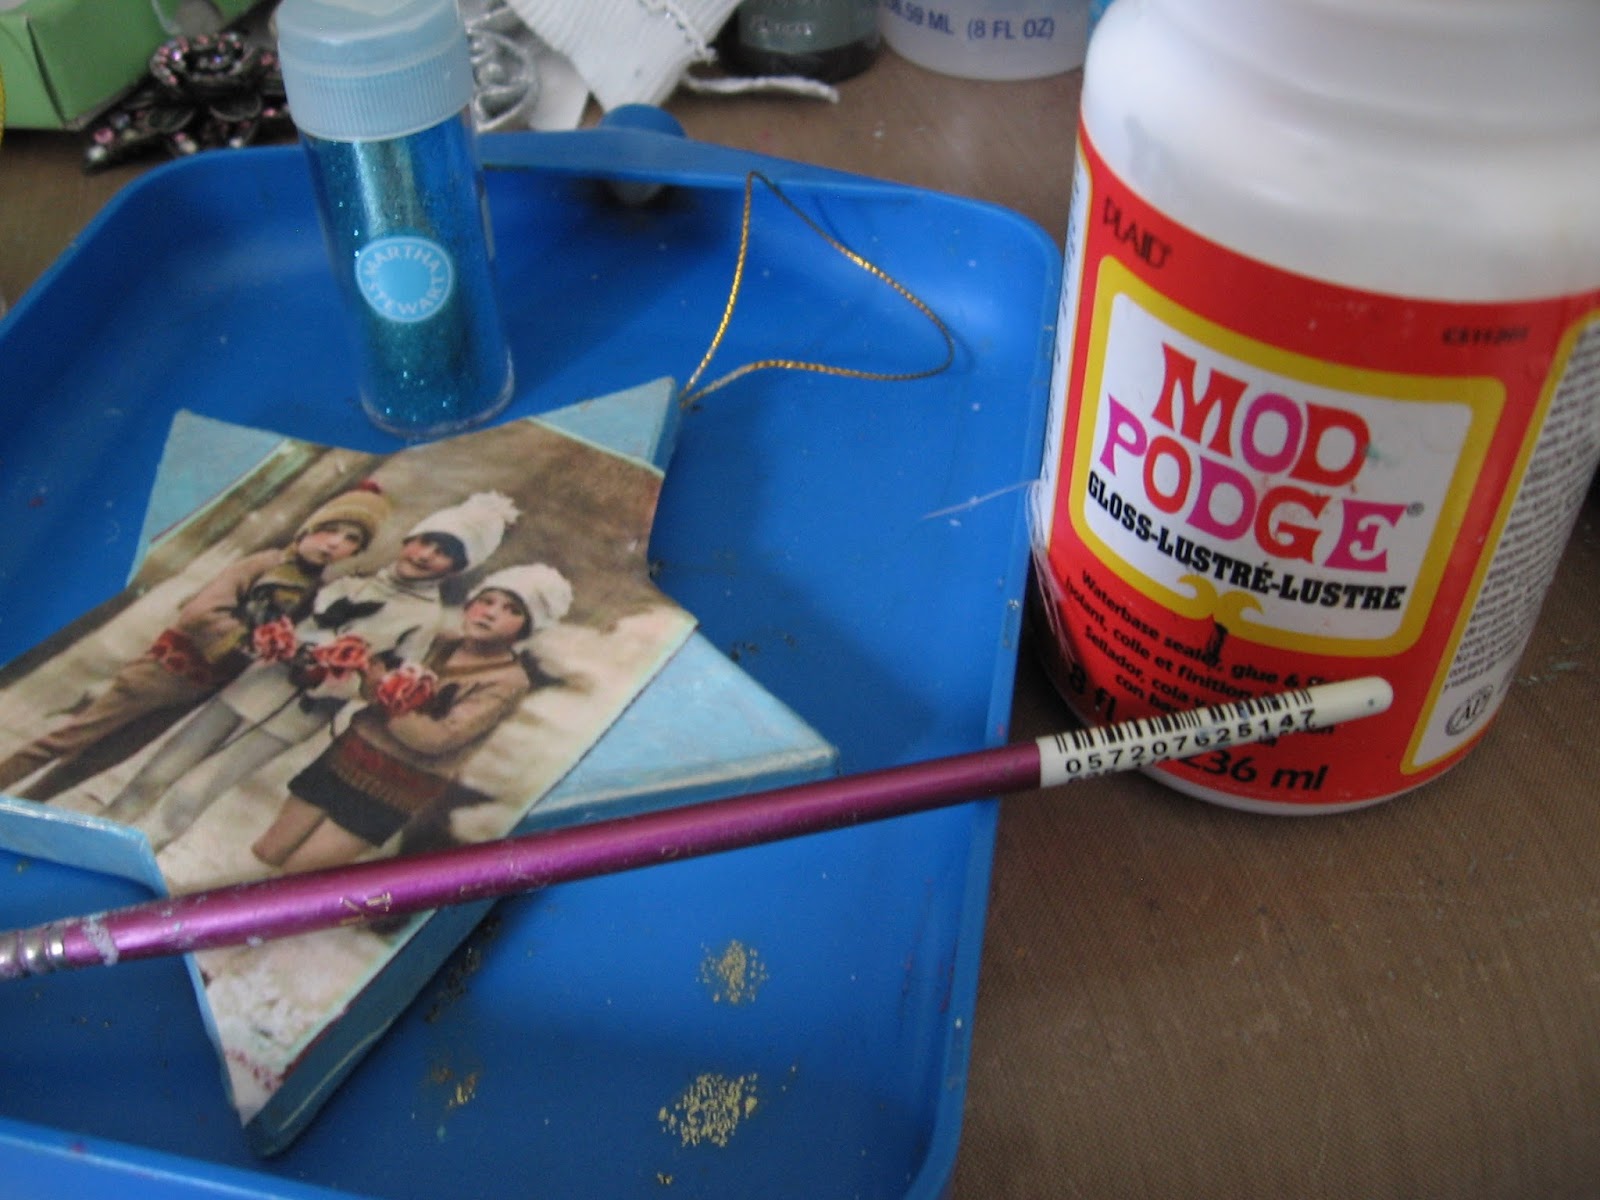


I also went around the edges of the stars with the Mod Podge and added some Martha Stewart Glitter to the edges.

 
Once the front was dry, it was time to take our Sticky Snippets and add them to the back. I love these, as each star comes out completely different!

 
Once I was happy with the placement of the stars, I gave them a coat of Mod Podge to ensure an extra strong hold that is sure to last for many Christmases to come.


Remember to cut some of your stars in half to make them look like they are falling off the edge of the star.


 Here are the finished stars, all decorated up and ready for my tree! 

 
I did decide once I had put the Sticky Snippet Stars on the back that they needed a little more sparkle, so I added another coat of Mod Podge and sprinkled more of the Martha Stewart Glitter on while it was wet. The result is some lovely sparkly stars!


I hope you will give this project a try, these Sticky Snippets are just great for the holiday season, they come in so many shapes and sizes.
 
Please stop by the Joggles store for more info about the products I have used here today.
Thanks for stopping by!


Wednesday, 2 November 2016

"#63 Snowflake Lane" Altered Paper Mache House

Welcome to #63 Snowflake Lane!  We are so happy you can stop over for a visit and sit for a while by our cozy fire. So pull up a seat, grab a mug of hot chocolate and let me show you around!
 
 
I am so happy with this little house, it was given to me a few years back by a dear friend, Mary TheCraftHoarder.  You can find her blog HERE, she is a talented lady, so please do check her out!

 
This is a paper mache house that I believe she got at Hobby Lobby all those years ago. Two years ago, I papered the house, and then, well, nothing! It sat in my studio all this time and I was finally inspired to finish it off.
 
 
I used a combination of Bo Bunny, and Kaisercraft paper to decorate the inside and outside of the house. My original idea was to create a warm and cozy little house, that I could admire for many years to come.

 
Doesn't the entrance look inviting? I love the wintery feel that was achieved by using lots of the Martha Stewart Sparkle paste. I love this stuff, its amazing, I need a large bucket of it for many more projects to come!!

 
I used a green pipe cleaner for the little wreath that surrounds the house number, curtesy of Tim Holtz.

 
For the roof, I added more of the sparkle paste, and some frosted holly leaves, berries and soft white ribbon with a very tiny light blue star for fun.


I used lots of pearl dangle trim to mimic icicles all around the house and around the chimney too.


Bottle brush trees in winter white flank the front entrance topped with more of the tiny blue stars for a festive feel.
 
 
Now it is time to peek inside! The dark wallpaper in a Nordic pattern, plays nicely off the soft white furnishings, which are curtesy of Prima Marketing.


A lovely white resin frame surrounds a vintage photo of a well loved ancestor. Vintage laces also make for great lacy curtains too!
 
 
The Christmas tree has pride of place right beside the fireplace hearth.


Some dear Ancestors hang above the fireplace mantle.


A warm and cozy rug, a.k.a, a vintage wool doily, makes for a warm floor as you warm your feet by the fire.

 
A battery operated tea light makes for the perfect Christmas glow.


 The stockings were hung by the chimney with care.....
 
 
We are all ready to wait for Santa's arrival. As you peek thru the window, you will see the glow of the firelight.


And here we are back at the front door of #63 Snowflake Lane, awaiting Santa's arrival!


I hope you have found some inspiration here today! These houses are so much fun to create.
 
I have been following along with the live tutorials on YouTube by Mai Larsen, as she created her houses, and that inspired me to finally finish mine after all this time.
 
Thanks for stopping by today!


Tuesday, 1 November 2016

Parisian Altered Book A Shabby is Chic Boutique DT Project

 
Good morning SCB fans! I am here to share my next DT project for Shabby is Chic Boutique on Zibbet.  This time I have created an altered composition book, in a Parisian Style. 
 
 
I started off by covering the book with this gorgeous blue and white ticking fabric from the SCB store. I used some quilt batting under the material to make it feel more dimensional, and also very soft to hold when I am writing in it.


I covered both sides of the book in the material.

 
I also found this gorgeous image on Pinterest and printed it off on some fabric. I stuffed the image with more of the quilt batting, and it really gave it a very soft and feminine look. 


Once I finished stuffing the image, I began to work with some of the gorgeous laces and trims from the SCB store.  I also used one of the new, and so beautiful fabric roses in white, which you can see below. It has some amazing pearls and ribbon bow attached to it, just gorgeous!


 I framed the image with some of the white tulle trim first, then layered on some white embroidered floral trim, and some lovely soft grey trim from SCB. Once I was happy with the layering of the laces,  it was time to add the embellishments.


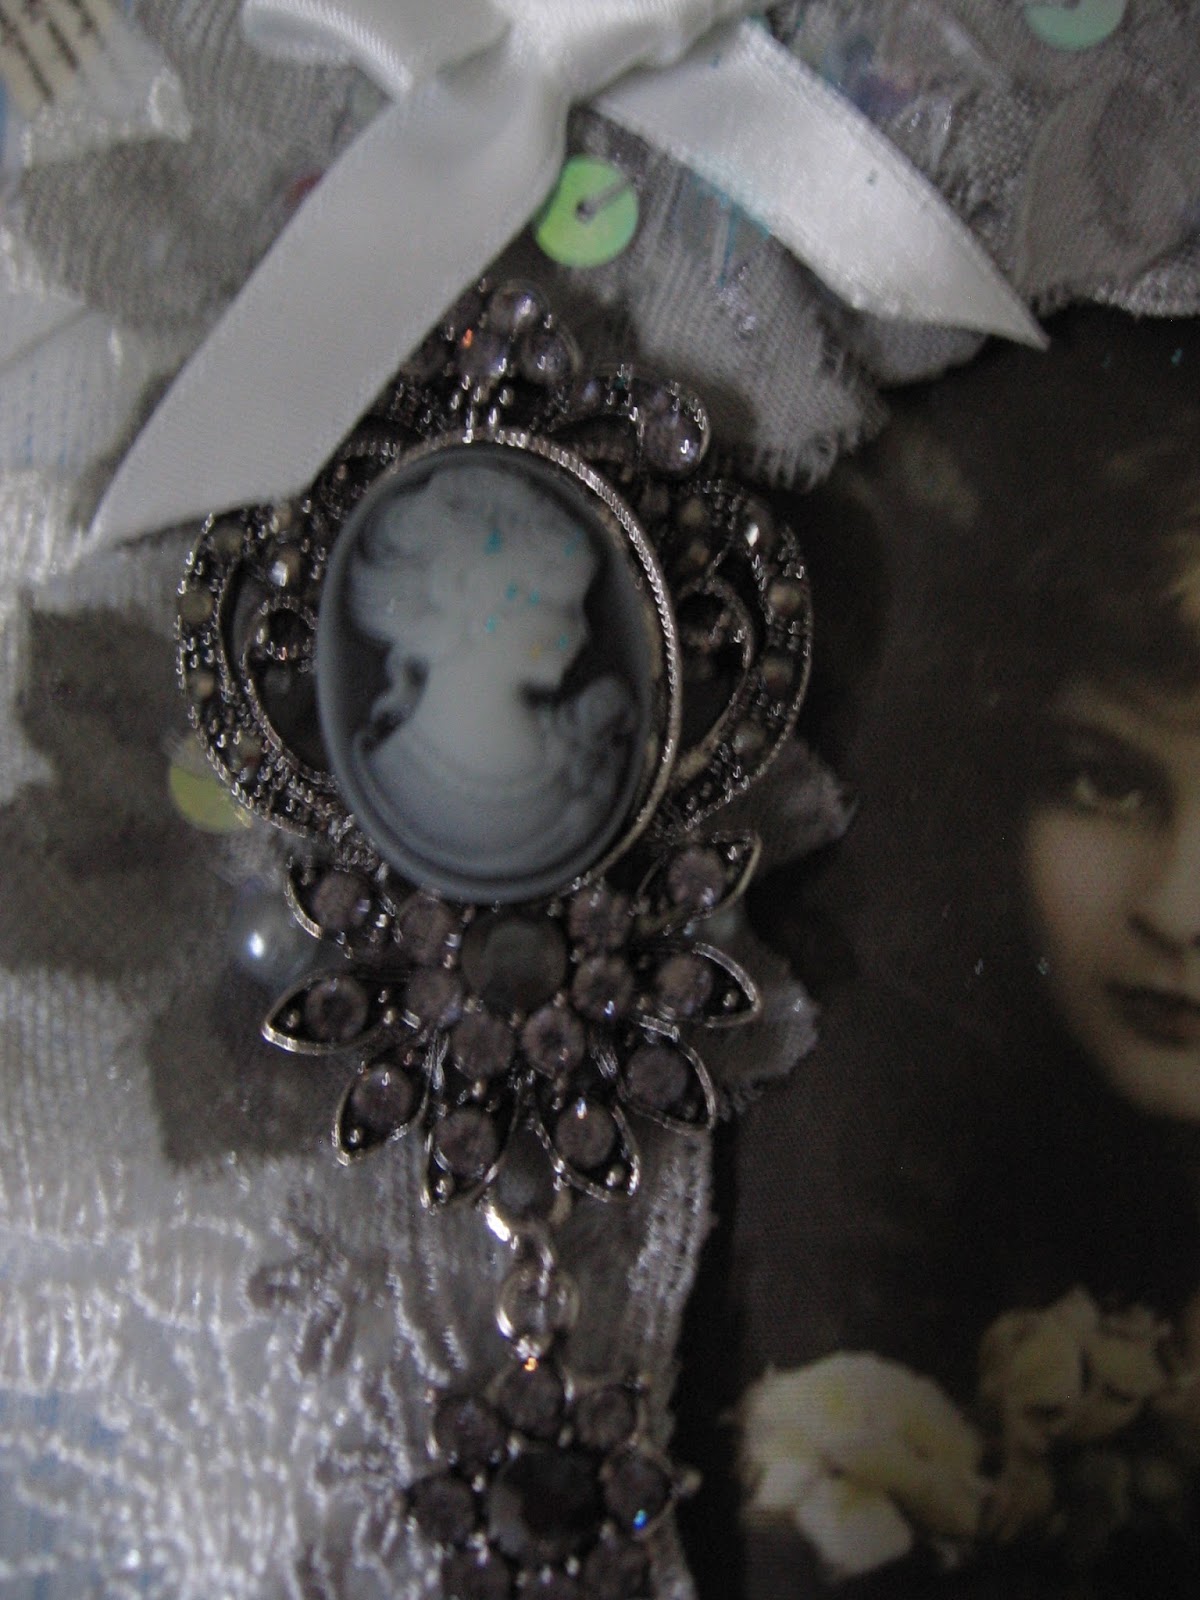
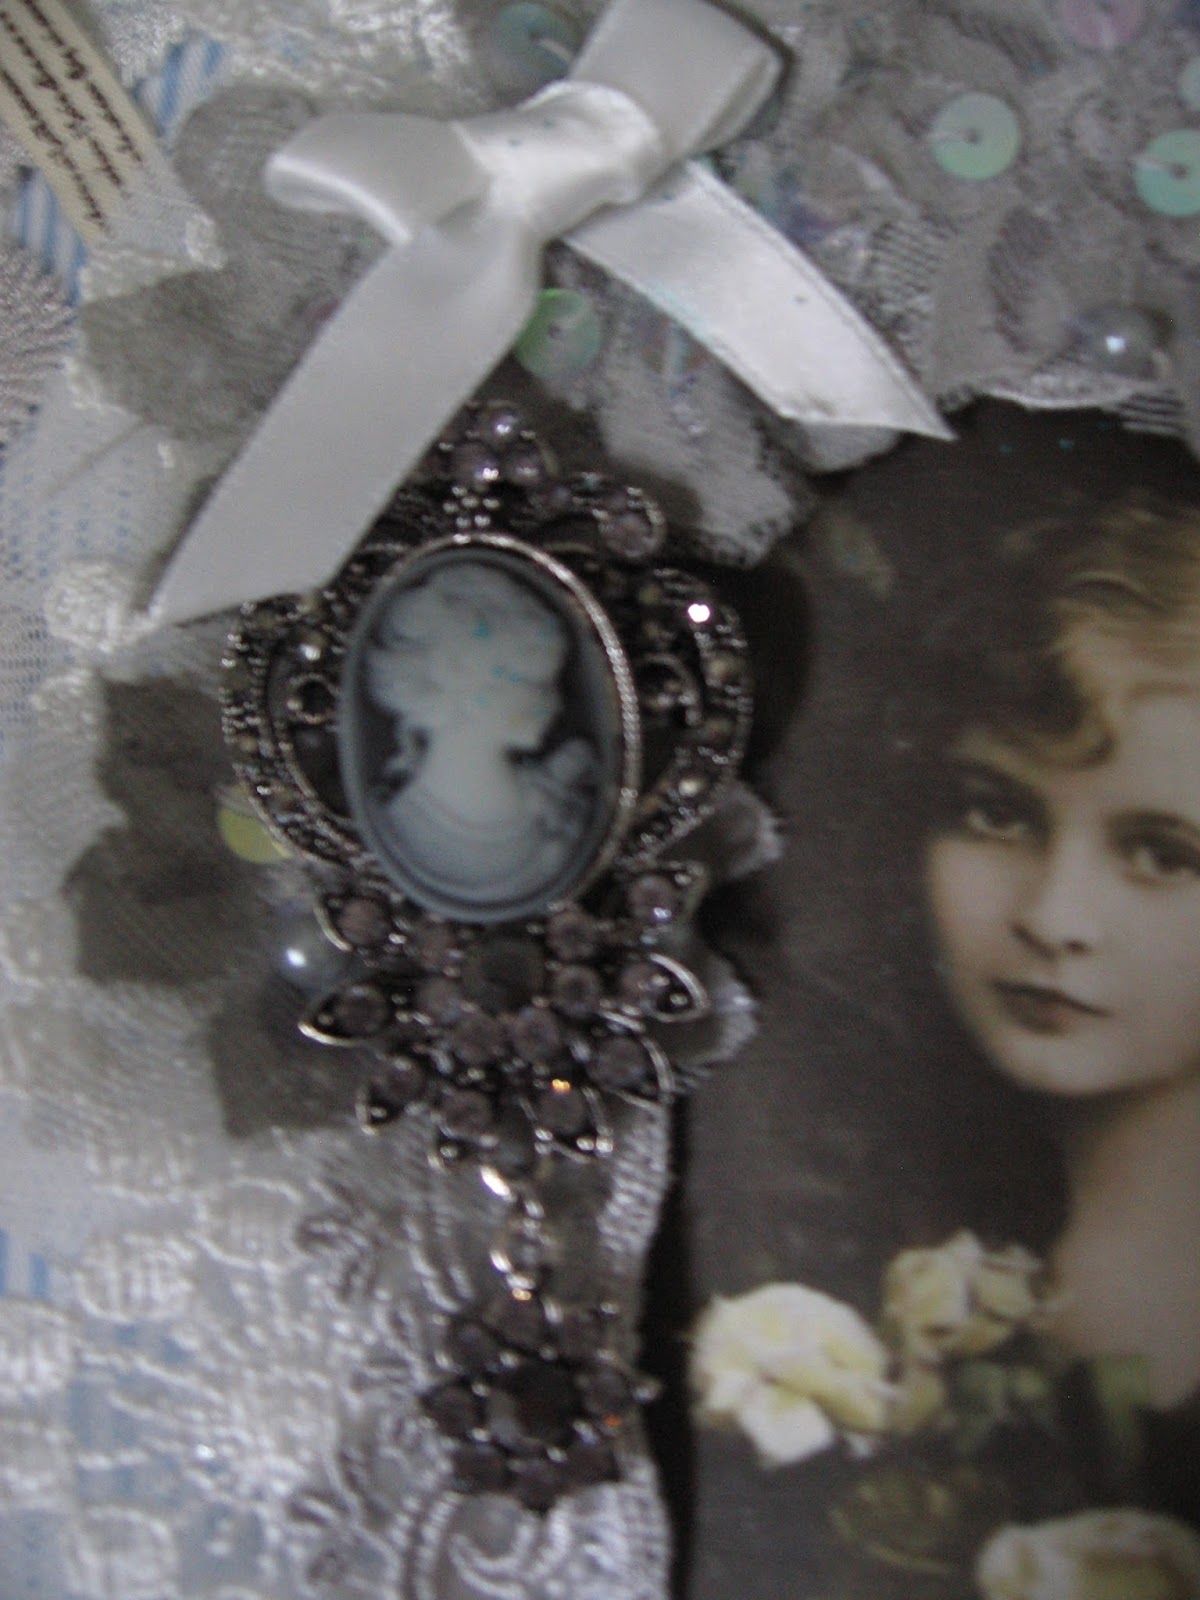
The first thing I reached for was this amazing vintage looking cameo pin. I am a collector of cameo's and this one from SCB is one of my most favorites. I will cherish it on the front of this book!


 I also added some of the scallop lace trim, in a soft grey to the side of the book, capping the top of the book off with a bow in some of the script ribbon in white.


I also used the same script ribbon for a tie closure on the inside of the book.

 
I used more of the scallop trim in white on the top of the book, and a tiny soft grey trim from my stash at the very edge of the book to finish that off.


For the bottom of the book, I used some of the white dangle trim from SCB, and more of the same soft grey lace I used around the image to tie it all together.


For the inside of the book, I carried the same fabric on inside, and added another free image from Pinterest in matching colours.  I edged the book in some light blue Chinese Braid, and edged the photo with some crochet trim from my stash.

 
Beneath the image, I created a pocket using some of the same white trim from the front of the book from the SCB shop. I also used more vintage laces from my stash in matching colours  as well.


I finished off the inside cover with a few small soft grey appliques and ribbon roses in white, from my stash.


For the back cover, I kept it simple with the layering of two laces from the SCB store to the top of the book.


For the base of the back of the book, I printed off my name and the date in fabric and added some left over SCB lace to surround it.


Once again, here is the finished composition book.
 
 
I hope you have found some inspiration here today, and will check out the SCB store for all these amazing items you have seen here today!
Thanks for stopping by, have a great day!