Saturday, 21 May 2016

Vintage Altered Box a Shabby Is Chic Boutique DT Project

Good morning friends, Kim here today to share with you my next DT project for Shabby is Chic Boutique on Facebook.
This time I have altered a wooden box for a gift for a friend.


I painted this box with a coat of gesso, then gave it an application of my crackle medium, then another coat of paint. I set it aside to dry and once it was I got out some of the gorgeous napkins from the SCB Store.


I placed the napkins on top of the crackle and when it dries it gives a lovely image, and it appears as though the box has been painted in the beautiful napkin images. I tore up a few interesting pieces from various napkins and added them to the top and side of the box as well.


I used mod podge to adhere to napkins on the box, and once it was dry it was time to get out some gorgeous SCB laces and trims!


I added some of the new mesh doilies and shabby rose buttons to one side of the box for interest. I also cut apart the butterfly lace trim and added one butterfly to each corner of the box, embellishing them with pieces of the pearl and rhinestone trim.

Lastly, I added one of the pearl and rhinestone bling pieces to the front of the box. I also used the mini silver spoon from SCB, which I filled with pink micro beads, and some flowers to finish off the top of the box.


For the inside of the box I painted the mirror white and decorated it with the mini pink floral trim. The bottom of the box I painted a shabby pink colour, and filled  it with some laces and goodies I am sending to my friend.


I hope you have enjoyed my project today and will pop over to the Shabby is Chic Boutique Store today to stock up on some gorgeous items for your craft room!

Pink Tulle Trim
Heart Lace Trim
Butterfly Lace Trim
Pearl and Rhinestone Bling
Pearl and Rhinestone Trim
Pink Daisy Trim
Butterfly and Black and White Napkins
Silver Spoon Charm
Shabby Rose Button
Mesh Doily

Other Items Used
Martha Stewart Paint
Gesso
Crack It! Crackle Medium
Vintage Girl Napkin
Pink Rosette
Micro Beads
Petaloo Flowers
Wild Orchid Craft Flowers
Vintage Millenary Flowers
Wooden Jewel Box


Friday, 20 May 2016

Art Journal Cover Featuring Stencils by Joggles DT Project


Hello Joggles fans! I am so very excited to share with you my next design team project for Joggles! This time I have altered the cover of my art journal and used one of my favorite stencils from Joggles.
 
 
Here is a list of products you will need for this project.


Joggles Products Used
 
 
Other Items Used
Art Script Stamp
Resin Frame & Key from My Stash
Prima Resin Pieces
Petaloo Flowers
Turquoise Butterfly, Chipboard Number, Copper & Teal Micro Beads From my Stash
White Thread
Martha Stewart Paint - Beach Glass
 
To start off your journal cover, I gave it a coat of gesso. Once that was dry I gave it a coat of aqua coloured acrylic paint. I also gave my embellishments a similar treatment and set them aside to dry.


Next it was time to start the layering process. I took some of the Tim Holtz Tissue Wrap and ripped pieces up and laid it down on the top of the journal, I used Mod Podge to adhere it down. Then using the Secret Garden Stencil and some texture paste I laid the stencil down and kept rotating it to give a different look to the pattern all around the journal. I love the effect it gave. Texture paste is such a great way to add dimension to your projects.
 
 
Now it was time to get out the Distress Spray Stains, and again, you can use what ever colours you like, Joggles has such a great range of them in their store, you will be spoiled for choice! 
I let the colours run down the front of the journal, letting the texture paste help to gather the colour.
 
 
I started off with the lightest colour of the sprays, working my way up to the rust coloured spray. I also took the lid off the sprays and splattered some of the colour on the book to give a distressed and grunge type of feel.
 
 
After the sprays had dried, it was time to add embellishments and some micro beads for further texture. I laid out my embellishments in a way I liked then used hot glue to adhere them to the cover.
 
 
I got out the Mod Podge once again and a tiny paint brush to add the micro beads in coordinating colours. I stamped the word "art" with black StazOn, on some paper and adhered it to the frame. I then added some white thread under the resin frame for some fun and whimsy, and also added my chipboard number plate and metals as well to finish this part of the journal off.
 
 
I hope you have enjoyed my project today, I am pretty happy with the outcome. Now it can be ready for my next art journal page inspiration!
 
Other Items Used
Art Script Stamp
Resin Frame
Prima Resin Pieces
Petaloo Flowers
Turquoise Butterfly, Chipboard Number, Copper Micro Beads From my Stash
White Thread


Friday, 29 April 2016

Wonky Wood Houses A Joggles DT Project

 
Hello Joggles fans! I am so very excited to share with you my very first design team project for Joggles!  This month I was asked for my take on some of the famous Wonky Wood Houses from Joggles.
 
 
I love these wonky houses, they come in many different shapes and sizes and are open to interpretation to each artist.  Here is a list of all the things you will need to make houses like mine.
 
Joggles Products Used:
Wonky Wood Houses
Silks Acrylic Glaze Iridescent Blue
Silks Acrylic Glaze Guatemalan Green
Mod Podge Matte
Joggles Stencils - Branches [30-33714]
Dina Wakley Media White Gesso - 4oz Jar
Inkssentials Glossy Accents 2 fl. oz.
Stampendous Crushed Glass Glitter - Oceanic
Tim Holtz® Distress Spray Stains - Evergreen Bough
 
 
To start off your houses, I prepped them with gesso, and then when that was dry I added some fun scrapbook paper from my stash, in some colours I liked and used Mod Podge to adhere them.
 
 
Once the mod podge was dry, I got out my Branches Stencil from Joggles and some texture paste and added some pretty stencil images to my houses in a few different areas.
 
 
Next, I got out some Silks acrylic glazes in Guatemalan Green and painted the sides of the houses.  Joggles has a huge selection of Silks, they are my some of my favorite items to use on my mixed media projects!

 
Once everything was dry, I got out my Evergreen bough Distress Spray Stain and gave some random shots of spray on top of the houses. This is where the texture paste comes in handy, as the spray collects in the crevices drips down the houses for a fun and shabby look. Use your own creative eye to see where you want to add the sprays to your piece.

 
I wanted to give the image of a roof on top of the houses, so I got out some my paper clay from my stash and used some molds I have to create the pieces for the roof and the little medallion at the top.  I also painted the medallion in some silks acrylic glaze, in the same colour as the sides of the houses, and gave the longer pieces a coat of the Iridescent Blue. This gave the clay a lovely shimmer.

 
I glued the clay pieces down with hot glue and added some pretty flowers, metal embellishments and some word sentiments, which I glued down with Glossy Accents. I also used glossy accents to glue down some Glass Glitter to some areas of the houses to give them some sparkle. Where you place your embellishments is again up to you, see what looks good and what doesn't, its good to play around with things before you commit and glue them down.

 
You can see above the finished pieces. You can decorate your wonky wood houses anyway you like. That is the beauty of these, they can transform into anything. I plan on making more of these little houses in the near future. I hope you will make some and share your wonky wood houses with me!
 
Thanks so much for stopping by today, and don't forget to check out the Joggles Store for lots of fun products for all your scrapbooking, mixed media and artistic needs.
 
Other Items Used:
Paper Clay and Molds
Petaloo Flowers
Tim Holtz Number Plates
Prima Number Plates
Prima Mechanical Numbers
Tim Holtz  Metal Numbers
Wood Sentiments & Twine From my Stash
Ken Oliver Paper
Texture Paste


Thursday, 28 April 2016

Mixed Media Canvas & April Page Map Challenge for Crafters' Palette DT

 
Good morning Crafters Palette fans! I have my next dt project today to share with you.  This time we were asked to do a page map challenge. I have posted a picture below here so you can see where my inspiration starting point was.   I have a fun share for you featuring lots of goodies from the  Crafters' Palette Store.
 
 
The thing about sketches and page maps, are they are for inspiration only. You don't have to take them so literally, it is open to everyone's creativity and imagination. 
 
 
I used a small 4 x 6 inch canvas and gave it a coat of gesso to start off.  I then got out some texture paste and my stencils to give some texture to the canvas.


I used Distress spray stains in milled lavender, black soot, evergreen bough, and cracked pistachio in the right top corner. Make sure you dry each colour in between coats to you don't end up with a muddy mess.  I also used water in a Mist-its bottle to help the colours run down the canvas.

 
Once the sprays were dry, I added some twine for further texture, and glued on my embellishments and art tiles.
I also added some flowers from my stash to soften the whole look of the piece.


 I created some art tiles with some off cuts of mdf wood. I painted them with some soft pastel colours,  and then used some small stamps and my black stazon ink then went around the edges in white gesso. Finally, to complete the tiles I used some glossy accents on top and sprinkled some glitter on that while it was still wet. The final touch was some small embellishments from my stash. I used various wooden pieces and metals from my stash, however you can find lots of great pieces to embellish your canvas at The Crafters' Palette Store
 
 
I hope you have enjoyed my project today!
Thanks so much for stopping by today, and don't forget to check out all the fun goodies in The Crafters' Palette Store and keep up to date with the Designers as well on the Blog.

Crafters' Palette Items Used


Sunday, 17 April 2016

Mixed Media Canvas "Authentic" A Fernli Designs GDT Project

Good morning Fernli Designs fans! I have my new project to share with you this week, it is my final Guest Design Team project for Fernli Designs. I have had so much fun this month creating some fun projects, so lets get started!
 
 
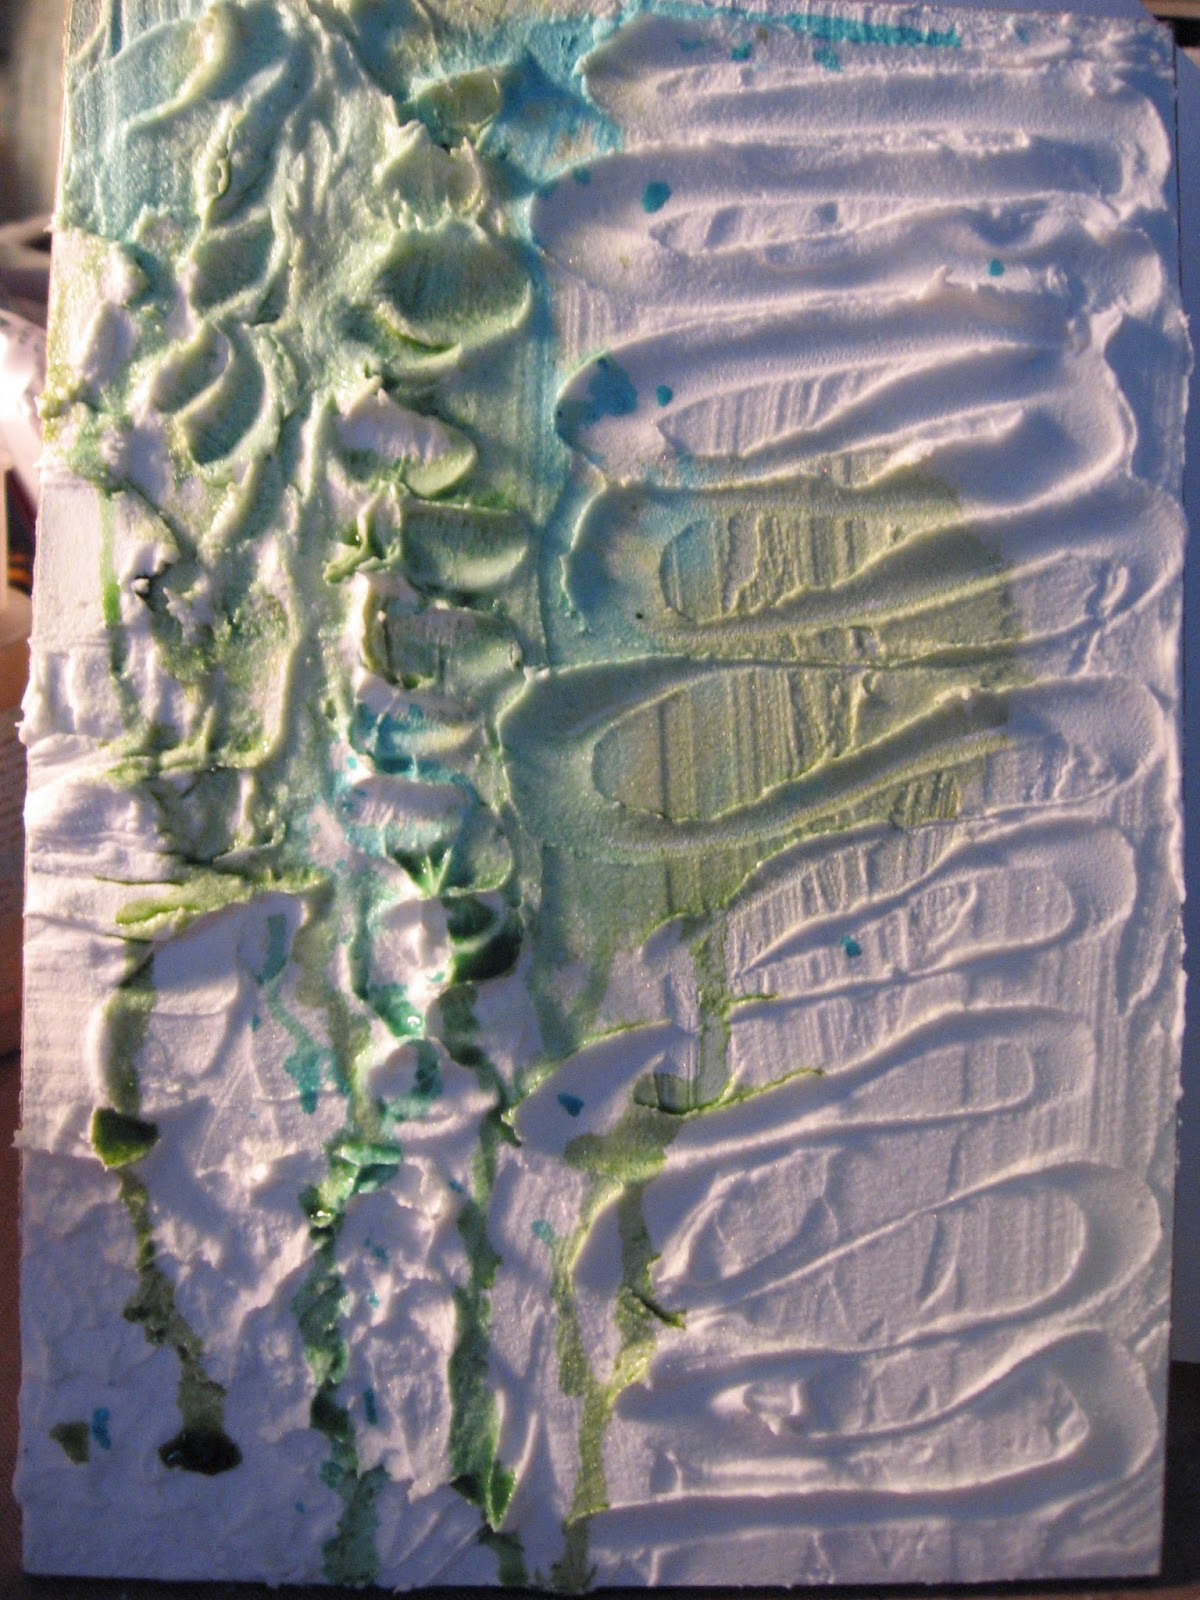
I used a 5 x 8 inch Gesso board for this piece. I love using gesso board it is a nice hard surface that takes a lot of mixed media products and stands up well. I started this piece with some embossing paste by Wendy Vecchi, and did a sort of free style on the board with it, creating waves and patterns.
 
 
After the paste had dried, I got out some of my favorite colours of Lindy's sprays and added them to the canvas. I set the board aside to work on the embellishments next.

 
I used a good selection of Fernli Pieces for this canvas, and started off with one of the pieces from the Circle Layers and laid the Celtic Style Flower on top. I dry brushed the wooden pieces with a light blue paint, and then used a white pearl paint, again dry brushed on top of that.   I topped it all off with a few metal embellishments from my stash and added some linen twine to the sentiment to make it look tied to the board.


I used the Wings type 2 with the same dry brush technique, but this time also added some of the moss green spray to the wings as well. I then used some glossy accents and silver micro beads on top to give texture to the wings.  I used a resin cherub head and gave her a funky metal mask for some whimsy.
 
 
The Flourishes 2 piece was added to the bottom of the wings and head, and I added a metal piece and small charm on top of it for interest.


 I added a metal crown to the top of the piece and added some tiny Fernli corners to the edges for a finishing touch.


I hope you have enjoyed my project today, and will give some inspiration to you to try mixed media!
 
Please don't forget to check out the Fernli Designs Store and keep up to date with the rest of the Fernli Team on their Blog.
 
Fernli has also been very gracious and has offered a Discount Code for the month of April to me.
 
  KSF10OFF - this will give 10% off all orders over £25 (not including shipping) You can use this from April 1st to April 30th
 
 
Fernli Corners

**Please note credit to this source for inspiration of this project https://www.youtube.com/watch?v=ew7Z2JTlcXU ***