Showing posts with label Christmas. Show all posts

Tuesday, 5 November 2019

Christmas Gift Tags White Rose Crafts DT


Good morning friends, Kim here with my next DT project for White Rose Crafts
This time I have made a couple of shabby gift tags to add to my holiday gifts.


I was inspired by this months sketch challenge!


I started off with the paper from Wild Rose Studio called Birds & Berries


I layered the paper on the tags and edged all around it with Evergreen Bough Distress Oxide ink.

I added some laces and flowers to give the tags a pretty shabby feel.

Thanks for stopping by today, I hope you have found some inspiration here.


White Rose Crafts Products Used

Sunday, 28 October 2018

Holiday Gift Tags White Rose Crafts DT Project


Good morning everyone, Kim here with a fun project featuring lots of embellishments from White Rose Crafts. This week the team is Embracing our Embellishmental Side! Which means you get $5 off when you spend $30 or more in the Embellishments section of the store (which includes a HUGE array of sub-sections). Use the Code: BLING IT UP at the check out.

This week I decided to create some whimsical gift tags for the upcoming holiday season. I cut out a star shape from some chipboard and covered it with some of the Pastel Chic paper from the White Rose Craft Store.


I covered both sides of the stars with the paper, and distressed the edges of the stars with my distress tool.


Once that was done, I got out some coordinating paints and went around the edges of the stars with the paint, so no plain chipboard would show.


Next, it was time to stamp on a sentiment. I used the Kelly Creates Quotes 1 Stamp Set for this, along with the Tumbled Glass Distress Oxide and also the Tattered Rose Distress Oxide.


Once I had stamped them on, I used some of the Vintage Pearl Embossing powder and embossed the words on the stars. The effect is quite subtle, but I like how it looks.


Now its time to play with the embellishments!  I first went around each of the stars with some wool fibers to make them look festive. After that was done, I got out some of the Recollections Flowers, I used two different sets, The Flower Garden and the Dimensional Paper Flowers in White.


I added some fun with some of the Tim Holtz paper dolls from my stash and then used some of my favorite embellishments from the store, the  Dress it up line!


I used the Dress it up snowflake buttons and mini cookie cutter set for these tags. 


Lastly, I added some Doodles Paper Playground Sparkle Blend pieces from the Vixen set to give the tags some glitter. I used Glossy Accents to adhere them down, which is available in the White Rose Shop.


I finished each of the star tags off with some ribbon from my stash. I left the back of the star blank, so a name for the gift can be added to it.


I hope you like my little star gift tags, and have found some inspiration here today!


Thanks so much for stopping by!


Other Items
Ribbon
Chipboard
Wool Fibers
Tim Holtz Paper Dolls
Americana Paints

Sunday, 21 October 2018

How To Create A Scripty Resist With Stamps & Distress Oxides White Rose Crafts DT


Good morning friends, Kim here with my next design team project for White Rose Crafts.
This week you get 20% OFF everything in the Kelly Creates section of the store. There are some gorgeous stamps in stock and now is the time to take advantage of this great discount! Use the code: GET SCRIPTY at the check out.

I have made a clean and simple card and envelope set with the Neenah A2 heavy weight card and envelope packs in the White Rose shop as my base for my card.
Next, I got out my Kelly Creates Quotes 1 stamp set and used some VersaMark clear ink and stamped my sentiments all around the card stock and then embossed them while the ink was wet with Vintage Pearl embossing powder.


I got out my Distress Oxides in Tumbled Glass and Shaded Lilac and went over the embossed sentiments, blending both colours together until I was happy with the result.


I decided I wanted to add a little Evergreen Bough as well, so ...I did! The Oxides are so beautiful and blend so well, using this technique with the embossing powder creates a great resist for the Oxides.


I heat set the Oxides and then buffed the embossed script with a clean cloth to make the embossed words stand out.  I wanted to activate the Oxides so I got out some spray in a pearl white from my stash, and spritzed over the top of the card. You do not have to use a spray, water works great on the oxides as well.


You can see the droplets in the photo below, it really gives the card a fun effect.


Now it was time to play with the Doodles Paper Playground Sparkle Blend mix called Vixen. I added lots of sparkle to my card with them and used some Glossy Accents  to adhere them, which is available in the White Rose Store.


I really love this Sparkle blend mix, and the fun reindeer sequins!  I also stamped "Wish" and did the same resist technique on a small band for across the front of the card. I used the Shaded Lilac Distress Oxide for the background so it would stand out a bit from the background of the card.


I also decorated the envelope by blending the same colour of Oxides lightly around the edge and stamped the Wish sentiment from the Kelly Creates Quotes 1 stamp set, and finished it off with a few more pieces from the Vixen sparkle blend.


I hope you have enjoyed my tutorial today and have found some inspiration here!
Thank you for stopping by!


Friday, 19 October 2018

Cheery Christmas Door Hangers White Rose Crafts DT


Good morning everyone, Kim here with my next design team project for White Rose Crafts!
It's Gearing up for Christmas week at White Rose and they have a special offer this week of
15% OFF everything in the Christmas Shop section of the store. Now that's a bargain!!
Use The Code: CHRISTMAS IS COMING at the checkout!


So, lets get to my projects!  I am entering a challenge on YouTube, which a friend of mine does each year.  We are challenged to make Christmas themed door hangers for her Mom's residence she lives in.  Its a fun challenge and lots of YouTuber's and Bloggers join in, to make Christmas a little brighter for the folks who live there.

First up is my Merry door hanger. I started off with both of my hangers using some sturdy cardboard. I covered this first hanger with the gorgeous Craft O'Clock paper called Brrr...Its Cold Outside. I love the blue and grey tones of this paper.


Once the paper was down, I got out the Momenta Deer Head with Fauna Stencil and some Aleen's Glitter Snow and added the deer and leaves pattern. I wanted the Deer to stand out so I left it white, but used some mica powders from my stash over the leaves and it gave the texture paste a lovely glow.


I added some metal snowflakes and trim from my stash, but also used the gorgeous Recollections Dimensional flower pack and the super cute Dress It up Holiday Cookie Cutters from White Rose for decoration.


Lastly, I added some white paint around the edges of the piece to give it a frosty look then added some fiber around the edges as well. I got out some old scrabble tiles and spelled out Merry for the top, and added some of the Dress It Up Snowflake Buttons from the store.


The second door hanger I made in gold, red and cream colours.  It was the same process to put it together,but this time I used the Craft Creations paper called Christmas Words for the background. 


I added some gold and cream trim and fibers and also used the American Crafts Ivory Glitter ribbon and another of the snowflake buttons in the center.


I then added a Tim Holtz Christmas word band and more of the pretty Recollections Flowers from the Flower Garden Pack as well for lots of colour.


In the center I added a paper doily, and a wooden snowflake which I embossed using the Ranger Holographic Embossing powder from the store. Once that was finished I added a number 25 to the middle and some of the Doodles Paper Playground Sparkle Blend in Candy Cane. Another pretty Recollection Flower topped it off.


Here they are side by side!


I had so much fun using lots of White Rose Crafts goodies and making these Door hangers for a great cause. 

You can check out all the items I used in the White Rose Crafts Store or check out their Blog for more info.

White Rose Crafts Products Used

Other Items Used
Cardboard
Hot Glue
White Paint
White Wool Fiber
Laces and Trims
Jingle Bells
Paper Doilies
Wooden Snowflake
Various Tim Holtz Items


Monday, 26 December 2016

Have Yourself A Very Gnome-y Christmas ScraPerfect DT Project


Good morning friends! Kim here today with my next DT project for ScraPerfect.
I have created some fun Gnome inspired Christmas ornaments for my tree.


 I purchased some paper mache ornaments online and gave them a coat of gesso and then a coat of some Martha Stewart paint in a putty colour.


Now onto my most used and favorite technique. The Best Glue Ever and Glitter!!
I "painted" the glue on the back of the ornaments and sprinkled on mountains of glitter....cuz you can't have too much glitter!

 
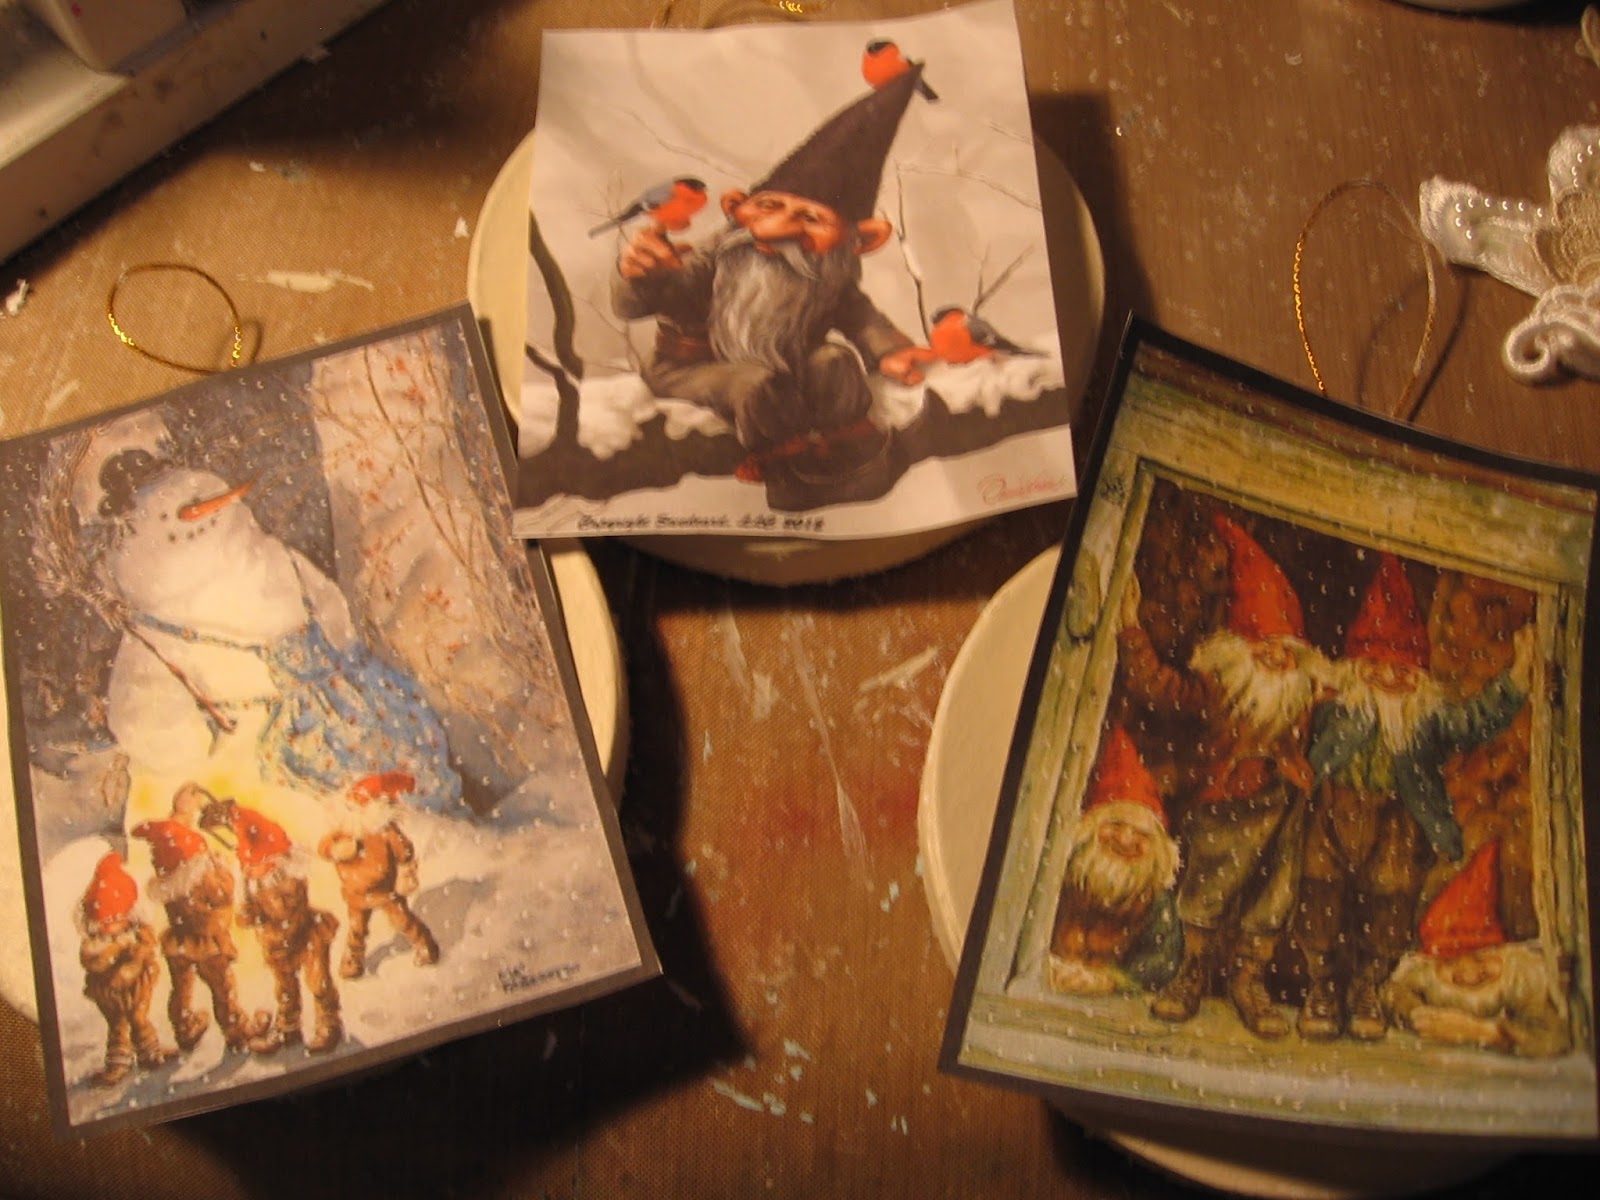
The Best Glue Ever was also used for gluing down my wintery Gnome images, which I got free from Pinterest.
The Best Glue Ever is so fantastic for paper crafting, it is definitely my go to glue!


Once you have your images glued down, then trim them to fit your ornaments.

 
Once you have your images down and trimmed then add your favorite embellishments, laces, trims and bling!
 
 
Once you have your ornaments complete, then hang them on your tree!!
 
 
I hope you all have a wonderful holiday season, I wish you all love and best wishes for 2017!