Friday 26 July 2013

Lindy's Stamp Gang Design Team Call - July Colour Challenge!

Lindy's Stamp Gang DT Call
July Colour Challenge
 
Hello Everyone and thanks for stopping by my blog today! I would like to share with you my entry into the Lindy's Stamp Gang Design Team Call. You can of course find their wonderful site here:
You can find all the great products I have used there along with  a wide variety of other sprays, embossing powders, stamps, tools and more! So please do go check out their site, you will be amazed at the quality and selection!
 We were to enter the July colour challenge, which you can find here:
Every month they will be having a fun colour challenge on their blog, so definitely go check it out and have some fun and make some new friends!
 
This is my altered Alice in Wonderland Clock I have created for the July colour challenge
the Lindy's I have used for this are:
Frozen Jack Frost  Delphinium Turquoise  Scintillating Silver  Carpathian Blue Bells and Afternoon Delight Denim you can have a peek at them and the other gorgeous sprays here:
 
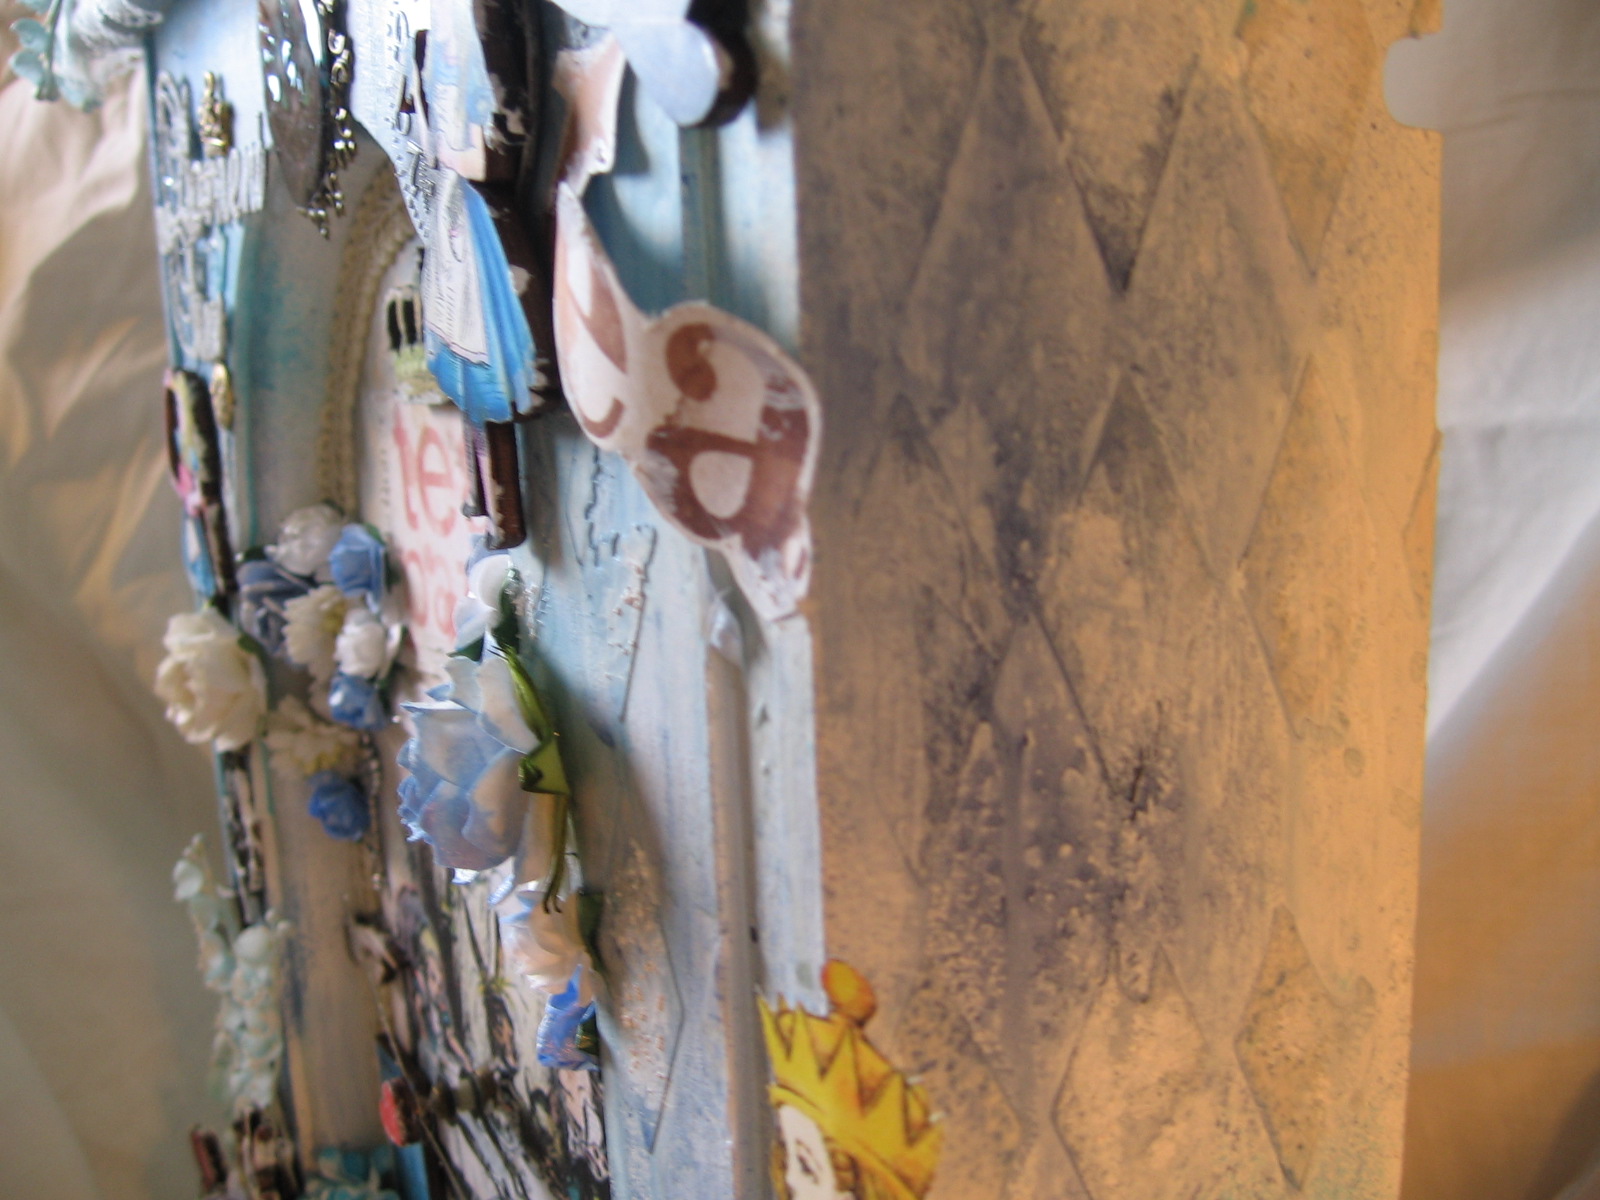
I started with a background of white acrylic paint, then used a Prima mask and some modelling paste with a Harlequin design on it and then I started to layer my Lindy's sprays, beginning with the darkest colour first, which was the Afternoon Delight Denim. I applied each coat of the sprays, drying each one in between, I even used some droplets directly from the spray bottle to give more of a shabby paint look, it turned out great!
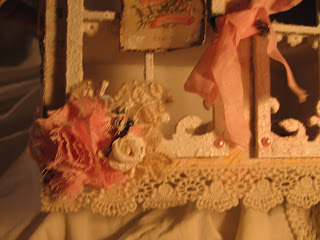
The top of the clock features some beautiful flowers and even a quote from Alice in Wonderland entitled "Down the Rabbit Hole" which you can see below.


Here you can see the texture and the amazing look the sprays give when layered on top of each other.
This wooden teapot was also kissed by Lindy's! It was plain wood, and I painted it white and got out my Prima mask with the pocket watch on it, and used some of my modelling paste, to make it stand out. I used Carpathian Bluebells http://www.lindystampgang.com/products/Carpathian-Bluebells.html  on top of the teapot and a bit of Scintillating Silver as well
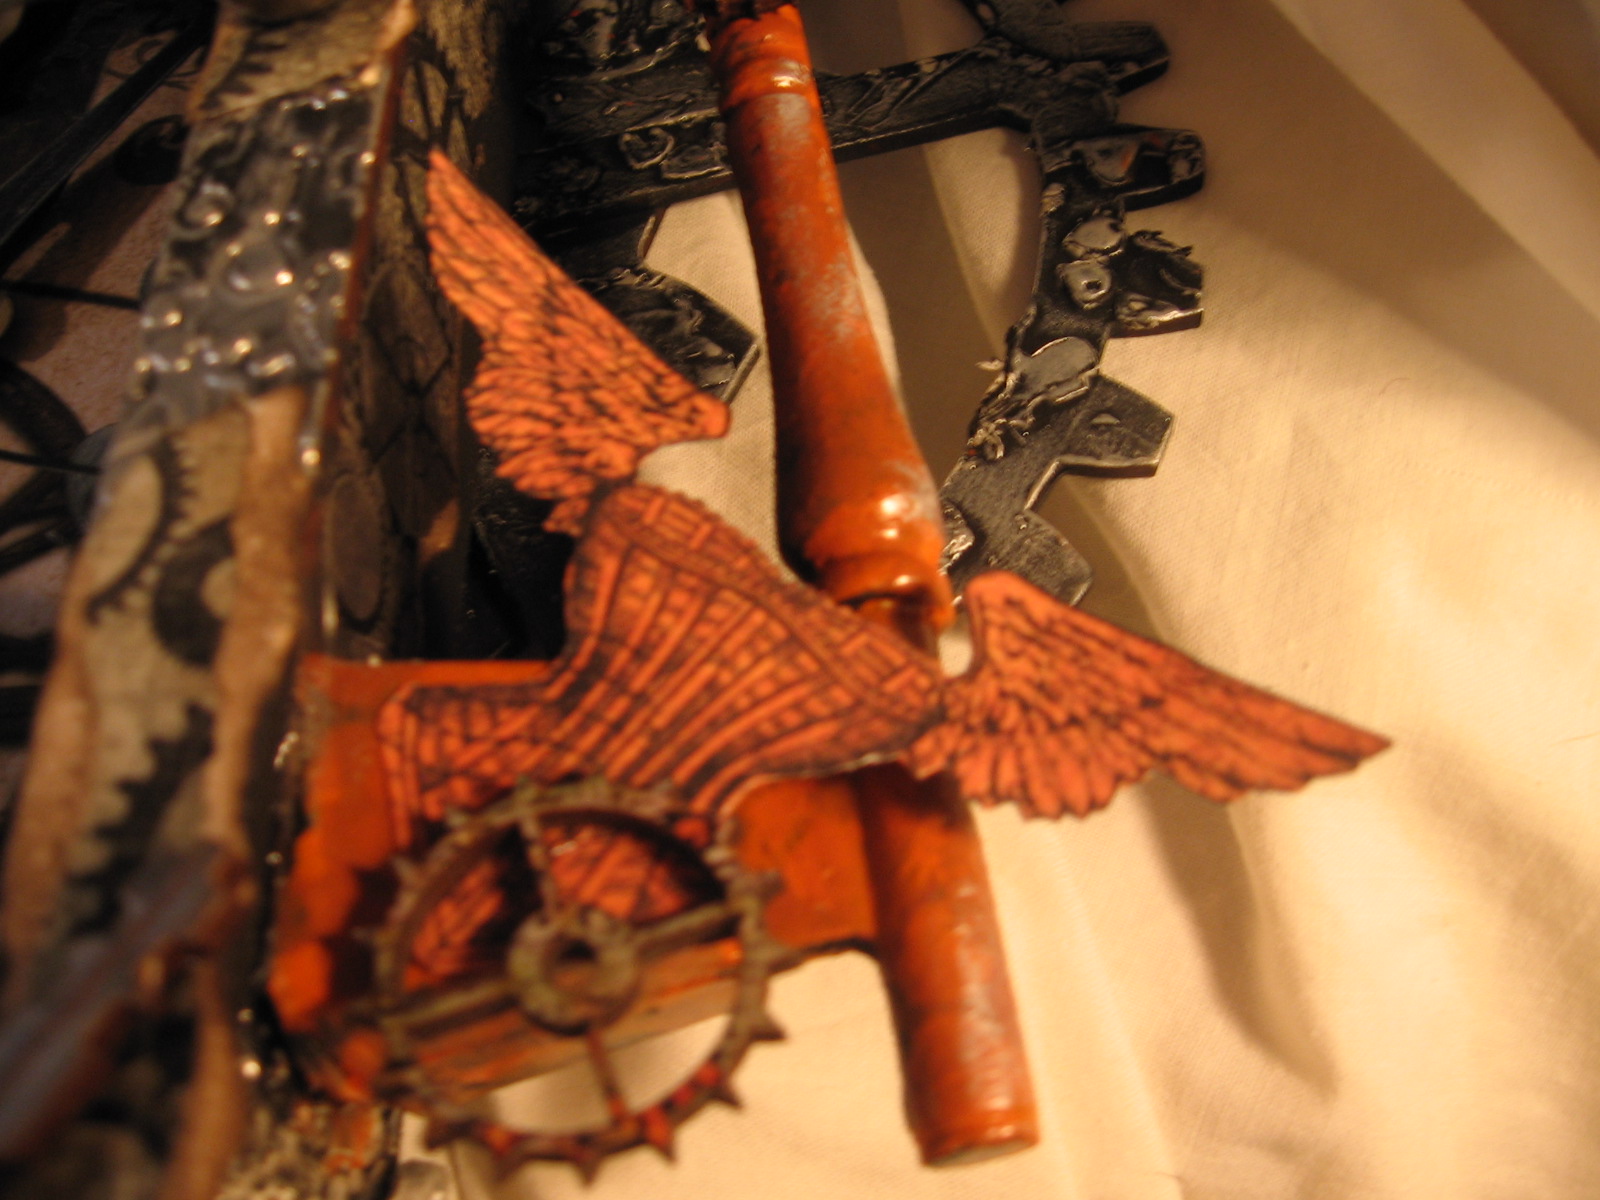
you can see the Mad Hatter there with his cup all ready for some nice fresh tea!

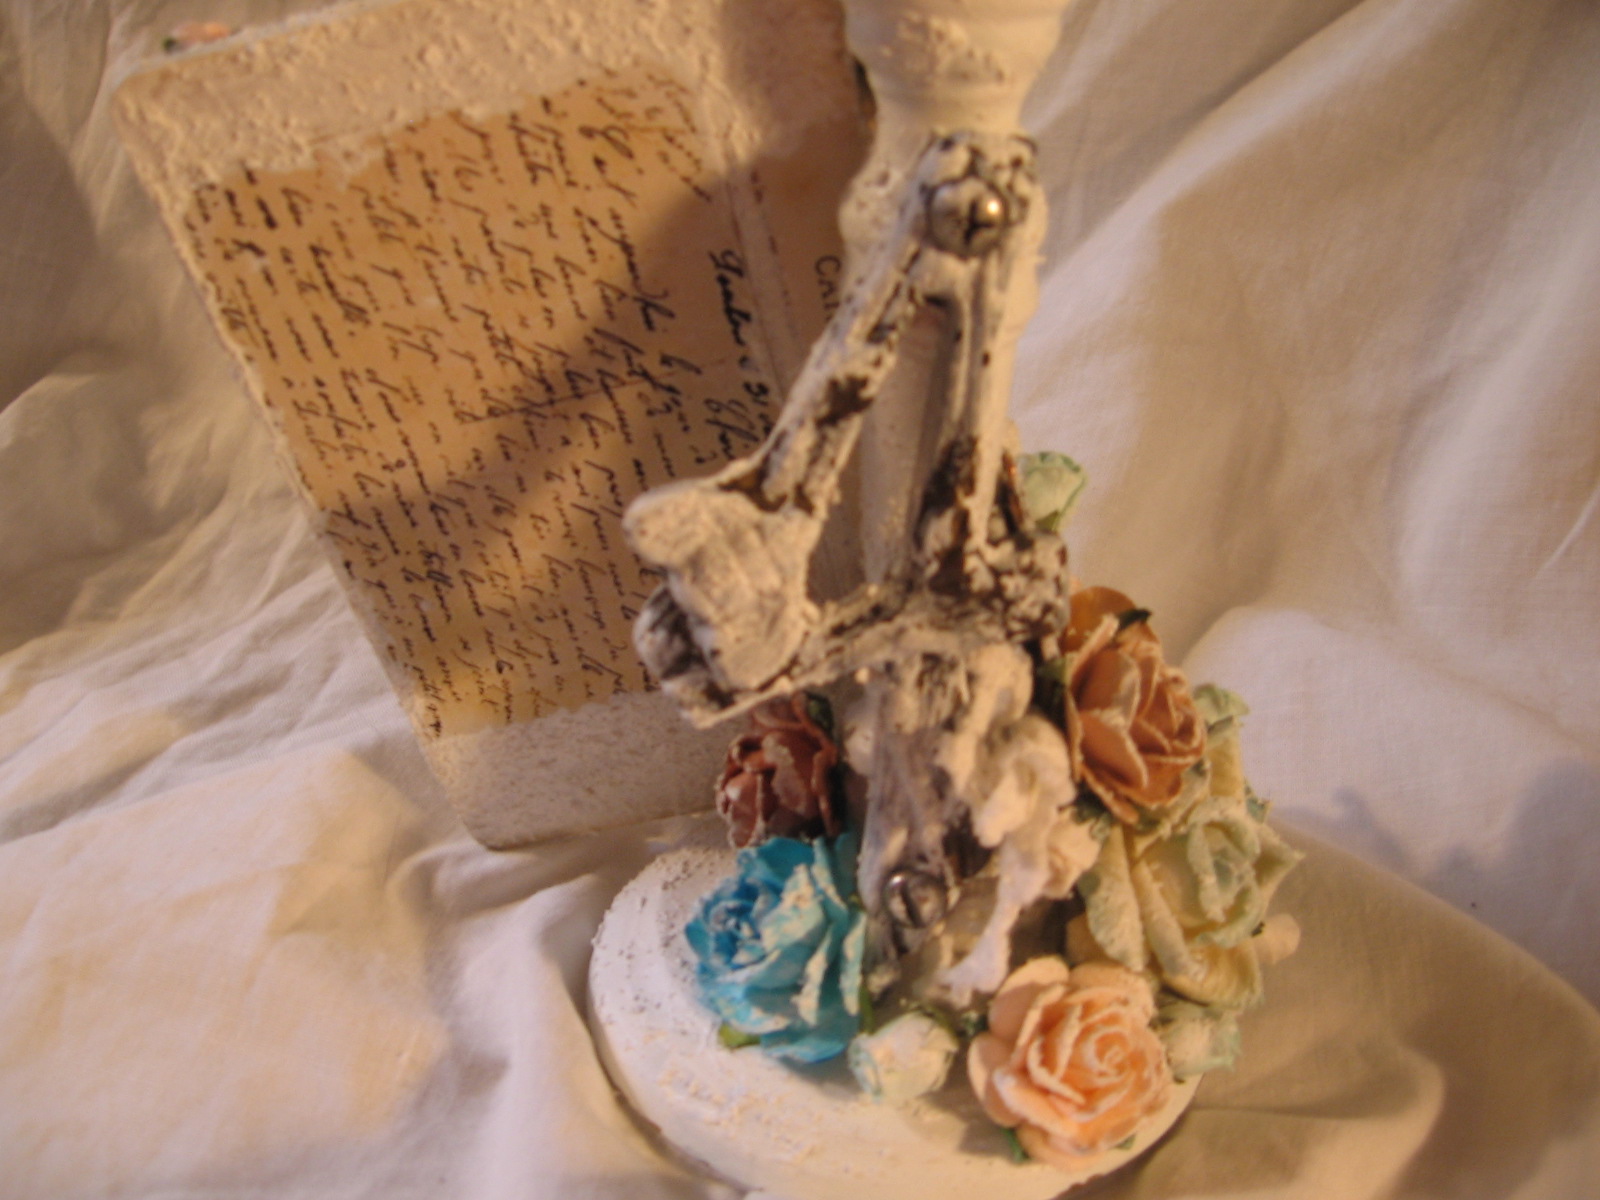
Here I haved used the Carpathian Bluebells again, and this time I sprayed my white mulberry flowers with it and I just love how they have come out! This colour is just stunning, it also gives a bit of a silvery shimmer to it as well, so the flowers look so unique when you spray them!


Here is the clock itself, and I have lightly sprayed some Scintillating Silver in the background around this vintage photo of Alice and her friends.
here you can see more of the gorgeous background technique I created using the Lindy's Sprays.


This is the side view of the clock, you can see how I let some of the sprays just drip and run down the side, I love that effect, these sprays are so versatile!

And here is Alice with the Queen of Hearts, she is much larger here as this is after she drank her potion! You can see more of the beautiful flowers I sprayed here as well.

This is the top of the clock, and here I opened up the Lindy's Sprays and just added some droplets to the top of the clock and I love the effect it gives, its wonderful to play with them, it really inspires my creativity!


 Again here are more of the flowers I have sprayed, I just cant get enough of this look, and the wonderful thing about this is now I usually only buy white flowers, so I can play with my Lindy's sprays and make what ever colour I need to suit what ever project I am working on, how cool is that?!
Close up of flowers

So this is my project for the Lindy's Stamp Gang DT call. I really hope that you like it! I had so much fun making it. I so enjoy working with the Lindy's products and It would be a total thrill to be chosen for the DT, so fingers crossed!! Thank you all so much for taking a peek at my clock today. Please feel free to leave a message or subscribe, I love to hear from you!
Check out the Lindy's DT call here:


Tuesday 23 July 2013

 
Guest DT for Lavish Laces
Shabby Chic Cabinet
 
Hi Everyone! I hope you are all enjoying your summer so far. Today I wanted to share with you my guest DT project for Lavish Laces. I am sure you all know how much I ADORE Jaizella's shop!! I jumped at the chance to be a guest DT for her, and When I got this gorgeous cabinet from Gina's Designs, I knew that this was what I wanted to showcase the beautiful laces and trims from LL.
 
So as you can see, I made a shabby chic cabinet, and I love the colours of this paper, its the Prima Divine paper, one of my favorites. The word Cherish, the Fleur de Lis, Bird and vintage chair on the side are also from Gina's Design.
 
This is the top of the cabinet, and some vintage style stick pins, little sleeping cherub and you can see the gorgeous LL floral lace and flowers that Jaizella sells in her shop.

 
Side of Cabinet, here you can see I have used a tea dyed rosette trim piece, and some of the newer pink lace at the bottom from the LL shop, the flower applique is also from Jaizella's shop.

Close up of the pink lace and applique

 Front of cabinet, the lace inside the doors, the pink rosette trim and the trim at the bottom are all Lavish Laces.

 
Top and front of box. I have used a Prima Trinket in the middle there which says " Love"


Close up of rosette trim and lace at the base of cabinet.

 
 Side View, here you can see more of the applique trim, and the trim on the scissors and more of the beautiful pink trim on the base, all Lavish Laces.
 
Here is the cabinet open, it is really nice and deep and would be great for storing all the gorgeous Lavish Laces!!


Here is my Second project for Lavish Laces, it is an altered word "Dream", and used My Minds Eye paper for this as well as more of the gorgeous Lavish Laces.
http://www.etsy.com/shop/LavishLaces

Here is a close up of the letter D, you can see more of the beautiful Wild Orchid Craft flowers here that Jaizella sells in her shop, I have dyed these ones a gorgeous Blue colour with my Lindy's Delphinium Turquoise. The Eiffel Tower is from Trees to Treasures, and behind the "D" you can see some of the gorgeous slate grey floral lace from LL. The vintage lady there is from The porkchopshow on Etsy/Ebay.


Here again is more gorgeous WOC flowers that Jaizella sent me in my DT kit! I just love these flowers and how amazing is it that she sells the flowers AND lace and trims now, one stop shopping! you can also see a little fairy from the porkchopshow, and inside the letters and all around them is one of my favorite LL trims, its pure cotton and molds well around the letters.
Here is the letter "M" and here I have used a Prima Candlestick, the hot air balloon is from Trees to Treasures Wood Veneer pieces, and more beautiful WOC flowers and you can see a little flower made from LL lace with a cameo at the end of the letter M.


Here is some flowers I have created using the Lavish Laces Trim by stacking the appliques and using some hot glue I created these shabby chic little flowers, I added a pearl to the centre of each of them to finish them off. I also added this beautiful ivory floral lace to use as a hanger so my friend who I will be sending this to can hang it on her wall.
 

So these are my two projects for my Guest DT on Lavish Laces. Please visit Jaizella's site on Etsy, and check out the laces, trims and wild orchid craft flowers she has in stock.

Saturday 13 July 2013


Design Team Project for The PorkChop Show on Etsy and Ebay
 
Hello everyone! I hope you are having a wonderful, fun summer so far! I want to share with you my very first design project for The PorkChop Show on Etsy/Ebay. I really love these little art parts that Scott has designed, he is uber talented and has created some really unique wooden pieces that I have never seen before out on the market. I was thrilled when Scott asked me to design something for him and as we talked back and forth, he asked me what I would like and I thought of maybe going in a steampunk direction.  The wooden Shadowbox is also available in Scott's store you can find it here:
 
 
Altered Tabletop Steampunk Clock
I have used two different paper lines for this piece, the Tattered Time by DCWV, and Steampunk Spells by Graphic45. Below here you can see some of the amazing wood gears that are in Scott's store, they are super versatile and really tons of fun to work with.


Here is a G45 Door knob and I used one of the Porkchop pieces, the keyhole in the centre of it, and if you look closely you can see someone looking back at you!

 
here is a close up of one of the keys, I loveeee these keys, they look so realistic! you can also see the backspace key, which is from the typewriter key set. http://www.etsy.com/listing/150753926/wooden-black-typewriter-keys?ref=shop_home_active

From Scott Lyon, owner of The Pork Chop Show-
 "Hi Kim - Wow!l thanks so much for all your work.  Your shadow box clock is totally over the "steampunk moon"! Love it and love how you have collaged all the elements together. I liked what you said about the wood cuts too.  I'm always looking for new ways to describe my wood cuts..... and " I think you give some great example of what to do with the "porkchop pieces""
Thanks so much Scott for all your support and for an amazing DT kit that you sent me! It was so much fun working with all these unique pieces!

 
Here are a few more of the gears, they come in all sorts of different sizes, colours and shapes!


inside of the clock, yes it works!

 
I love this little Porkchop Part! its a vintage tv with one of the typewriter keys, I used to show the number 6 on the clock.


Here you see the vintage clock, pointing hand, lock and a few other embellishments and vintage findings. The large key at the side is from my stash and is actually a candle snuffer that I altered.


 So here is my working Steampunk Tabletop clock made with many PorkChop Parts!  I had a total blast making this, and please do run along to Scott's store and have a look at all the amazing items!
This Clock is also for sale on my etsy! Please feel free to take a look here:
Thanks for stopping by!

Thursday 4 July 2013

DT Projects for Kitty's Scrap Post

DT Projects for Kitty's Scrap Post
Digital Kit
"Une Belle Vie"
 
Happy 4th of July to all my American Friends! Today I want to share with you a few of my DT projects for Kitty's Scrap Post, which is my good Friend Luisa Diaz's blog. She makes the most beautiful digital kits!! This month it is a Parisian inspired kit called "Une Belle Vie" (A Beautiful Life). The kit is only $10.00 US, so its great value for money. First up, is an altered mailbox. This box was just the top originally, it was a navy blue with some funny geese painted on the side, so it has really gone under a transformation! 
 
 
I used several pieces from the digital kit here, I just adore this paper kit, its so versatile! It even included a couple of envelopes that you can see below here, and I have stamped on them and added some pretty pink and white butchers twine.


Here is the base of the mailbox, I used a brass candlestick and painted it with my homemade texture paste and added some Wild Orchid Crafts flowers, a brass key, and this altered wooden postcard with another image of the Eiffel Tower from the digital kit.
 
Here is a close up of the side of the box, you can see the beautiful pale blues and tan colours of the paper, it also had this scroll image on it, so it was the perfect place to add the MAIL letters to. The lace is from Lavish Laces and from my stash.

 
Here is the opposite side of the box, which has a beautiful image of a vintage key with wings and another Eiffel Tower. I cut the name of the paper out and added it to the side as well, attaching it with a Tim Holtz paper clip.

 
Here is part of the base, I used a vintage door number I got from a thrift shop, more of my homemade texture paste, and you can see the back of the wooden post card there with more script writing from the digital kit. It looks like a real post card!


And here is a full view of the post box.
 
My second DT project is this altered letter S I made for a friend. I used another piece from the kit here and you can really see the blue and aqua colours in this piece. I fussy cut out the hot air balloon and the gorgeous colourful bird from the kit.


The flowers are from Wild Orchid Crafts and Craftsupplies1 on etsy. The curved windows are Prima resin pieces, zipper is also from Prima.


I added this sign from Recollections, I got at Michaels ages ago.
 
And Finally my third piece is this altered clock from Kaisercraft. It has lots of fun things going on!
 
 This paper is so beautiful, it has a full image of the Eiffel Tower, and I fussy cut out the hand holding the rose, the cherub and the two roses at the top behind the cherub. The pictures in the middle of the clock are also from the kit, they are just gorgeous images of a vintage lady, birds another Eiffel Tower and a cherub with clocl


Here is another piece I cut out, the vintage lady and I added a wing to her for fun! The gears and wood bits are from ThePorkChopShow on Etsy.
Here you can see more of the images they are beautiful!

 
 Here is the Cherub at the top, I got her from a thrift shop a while ago, and more the wood gears, and flowers. 

 
so these are my DT projects for the month of July for Kitty's Scrap Post, you can find the link here:
Thanks for stopping by today, please feel free to leave a comment
I love to hear from you! Have a great day!