Friday 26 August 2016

A Fairy Nice Tag for ScraPerfect Design Team


Good morning friends, Kim here today to share with you my next design team project for ScraPerfect!
 
I am very excited to share with you my "fairy nice" tag I have created using lots of ScraPerfect items. 


I started off with a large wooden tag which I painted with gesso and then used some sprays and stencils to give some texture to the background. I then used some pumpkin pie ink from Hero Arts and a script stamp from Joggles to finish off the background.


 Once the background was dry, I got out some rub-ons from Prima. These rub-ons have a adhesive on the top of them so they are a perfect fit for the ScraPerfect transfer foils! I added some of the Bronze Transfer Foil to the adhesive rub-ons all over the tag.
 
 
I also used some of the black transfer foils as well, featuring a butterfly and thistle design.
 
 
Once the transfer foils were complete, I got out some watercolour pastels and choose a coordinating colour to go around the outside of the tag to give some highlights to the edges.
 

Now it was time for the Best Glue Ever! I had this really pretty fairy image, that I downloaded from a free graphics site, and I needed to glue her down on the tag. The glue worked amazingly well for this. Sometimes when you glue down paper images, they tend to ripple, well not with this glue!! It went down so perfectly and not one single ripple either!


 Here is a close up of the fairy, so you can see for yourself, there is no rippling at all with the glue and the image is perfectly adhered to the tag.
 

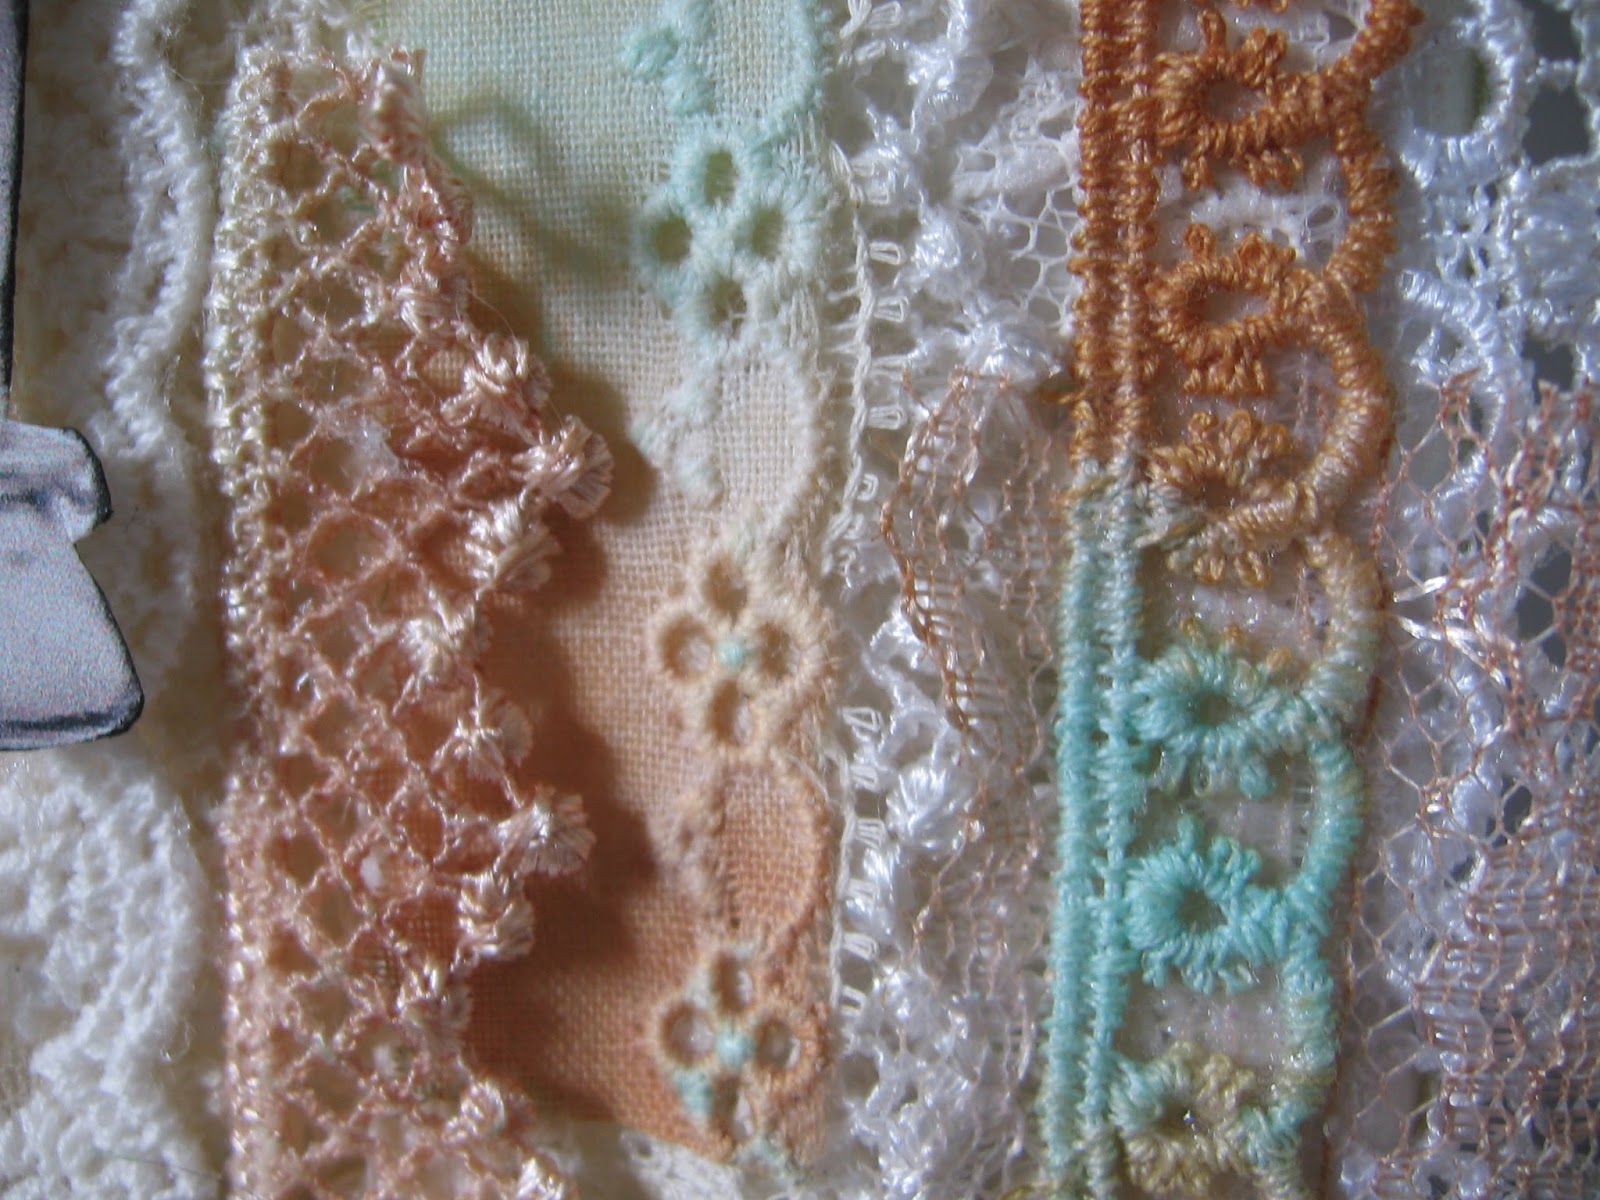
Since The Best Glue Ever worked so well on the image, I decided to experiment and see what else it could do. So I used it to adhere some of the Prima Art Stones and also some of my vintage laces that I used at the bottom of the tag. The result? Perfection! The art stones and the laces held down great!


I added some flowers, metal embellishments, pearls and a butterfly to the base of the tag, to give it a shabby look. I used the Best Glue Ever for the flowers as well, and they also held down really well with the glue.


I also added a vintage applique, flowers and more vintage laces to the top of the tag. You can also see some of the art stones on the left, which add great texture.


Here are some close up photos for you to see the dimension and fun embellishments I used to create this tag.


I also went around the image of the fairy with a watercolour pencil and water brush, to make her stand out a little better on the tag.


I hope you have found some inspiration today with my project, and will give some of these techniques a try.
Please check out the ScraPerfect Store and Blog for more info on these products!
Thanks for stopping by, have a great day!


Friday 19 August 2016

Vintage Parisian Wall Hangings A Shabby is Chic Boutique DT Project.

Good morning friends, Kim here today to share with you my latest project for Shabby is Chic Boutique on Facebook. This time I have made a couple of wall hangings inspired by Paris!
 
 
I used 4 x 5 inch canvas boards for this project. I started off with some script paper from my stash as a back ground and then got out some of the Paris Napkins from SCB, which you can see below.


I fussy cut out the Eiffel Tower, and the post mark and some script from these two napkins and adhered them on top of the script paper. After that, I applied some sprays and also some crackle medium to make the whole piece look aged and very vintage. I kept layering on sprays to get inside the cracks until I was happy with the result. I also used some gelatos to give highlights to the Eiffel Tower and some colour to the background.
 
 
After the base was dry, I decided to try my hand at making some roses out of Wendy Vecchi Embossing paste. It was a lot easier than I thought, just taking a palette knife and making some swirls. The embossing paste was very smooth and easy to work with. I used more of the same sprays to get some colour on the roses, and as a final touch, added some micro beads for further texture.


I wanted to have a nice focal point at the top of the piece, so I used some of the IOD moulds from Prima and some air dry clay to make the top pieces. Once dry, I used some of the Art Alchemy paints to give them some colour and I then added a beautiful cameo from Shabby is Chic Boutique Store to the top.


 Finally, I added some of the gorgeous aqua tulle trim from SCB to the bottom of the wall hangings and some jute twine to the top so I could hang them up on my wall.


 I hope you have found some inspiration from my projects today, and will give something like this a try, it was so much fun to create!
 
Thanks for stopping by today, and please check out the Shabby is Chic Boutique Store on Facebook!
Kim :)


Friday 12 August 2016

Imagine Wings Canvas for ScraPerfect Design Team

Good morning ScraPerfect fans! Kim here today to share with you my next design team project. This time I have created a mixed media canvas using lots of ScraPerfect products, so let's get started!
 
 
I started off with a 3 inch by 9 inch canvas. I love the elongated shape of this canvas, and that is what gave me the idea to paint a wing on it, its funny how things inspire us!
 
 
I drew a sketch of a wing and then used some Prima Art Alchemy paints, layering on each colour and drying each layer in between.  I started with a green gold tone, then layered on some blues and pinks on top of that. After the paints were dry, I got out my watercolour pencils and started to give some highlights and shadows to add depth to the piece.


Once I was happy with the look of the wing, it was time to play with my Best Glue Ever. I also used the No Clog Writing Large Cap to put on top of my glue bottle, so I could go around the areas of the wing that I wanted to highlight with the foil.  Once the glue was dry, but still tacky to the touch, that is when you can play with the foil.


 I used the Crimson Rain, Turquoise Rain and the Blue transfer foils from the Small Combo Set which you can find here in the ScraPerfect store. I just placed the foils randomly all over the wing, I love how it came out and added not only sparkle, but also lots of dimension as well.
 
 
Here is a close up of the wing and the lovely texture from the transfer foils. When everything was dry, I gave the whole canvas a coat of clear gesso to seal everything in.


I am super happy how this came out. The ScraPerfect products really helped me out  in creating this piece of art.


I hope you have enjoyed my project and tutorial today. Please check out the ScraPerfect store for all the items I have used in my project today!
Thanks for stopping by and have a magical day!


Wednesday 10 August 2016

Mixed Media Canvas for Fernli Designs Facebook Challenge!

 
Hello friends, and happy Wednesday! Today I am sharing my project for the Challenge over at the Fernli Designs Facebook group. This month the challenge is called "All about Words". You can find the challenge by clicking this link: 
 
 
I have a quick and easy tutorial for you this time, so lets get started!
I really wanted to use up some of my lace remnants I had in my stash and this was the perfect project for just that thing.
 
 
I started off my laying my laces in a vertical fashion, starting on the right and working my way to the left. I laid each piece of lace on top of the last one, being sure to show some of the pattern of each lace. I left some of the laces long and hanging over the edge of the canvas to give a vintage feel to the piece. Once that was done, I decided it needed some colour. I got out some of my sprays and used three different tones, 2 Distress Sprays and 1 Prima Bloom Spray in soft teal.


I glued the coloured pieces of lace down on the canvas. Making sure once again to have some lay over the edge of the canvas to give a shabby look.


Next, I used some of the Alpha's from Fernli Designs and gave them a coat of the Prima white crackle. I then set them aside to dry.
 
Next, I worked on some of the gorgeous wings from Fernli Designs and gave them a coat of holographic embossing powder. This gave them a great sparkle!
 
 
 I found a picture of a vintage girl from the internet, and fussy cut her out, and then added some dimensional tape to her back so she would be popped up off the canvas.


Now it was time to glue down the pieces. I started off with the wings, making sure to measure them so they were centred on the canvas and would fit right behind my vintage girl.
 
 
I added my girl with some diamond stickles to her dress and bow. I added a finishing touch to her with a little wooden heart from Fernil, which I painted with the Soft Teal Bloom spray to match the laces.


I then glued down the letters, which spell out "home",  as part of the Fernli challenge is to have words on your project, so these worked out great!
 

Here are a few close up shots for you to see. I love the texture the lace gives!


 .....And here is my finished little lady, isn't she cute?


Thanks for stopping by today, and I hope you will check out the challenge on the Fernli Designs Facebook page and also please check out their store too, there is some amazing items in there!
Have a wonderful day!


Other Items Used
Royalty Free Image Vintage Girl
Fabritac Glue
Laces From my Stash
Prima Soft Teal Bloom Spray
Prima White Crackle
Ranger Distress Spray Stains, Antique Linen and Tea Dye
Ranger Holographic Embossing Powder
 Diamond Stickles