Friday 22 July 2016

ScraPerfect DT Announcement and Art Card Project

Hello friends! I am very excited to announce that I am one of the newest members of the ScraPerfect Team! I am so thrilled to be working with such a great company, and of course also with such talented designers as the ScraPerfect team!
 
 
So a little about me to introduce myself to you all, and then I will share a little project I created using the amazing items from ScraPerfect.
 
I have been a crafter for a long time, I love to create, share and help to inspire others. When I was a child I wanted to be an animator for Walt Disney, but alas that was not meant to be, so I have found my own way to make the world a little more colourful. 
 I also love to make cards, ATC's, altered projects. mixed media canvas', and really dabble in most things creative. I also have a great love for art journaling! I am a trained floral designer as well, and owned my own flower shop for many years. 
I am a Mom to 4 gorgeous grown up kids and 3 amazing grandchildren. I can usually be found getting my hands messy in my art studio along side my trusty companion Miss Blue the cat, and of course my wonderful husband Doug.
 
Ok, now on to a quick project!
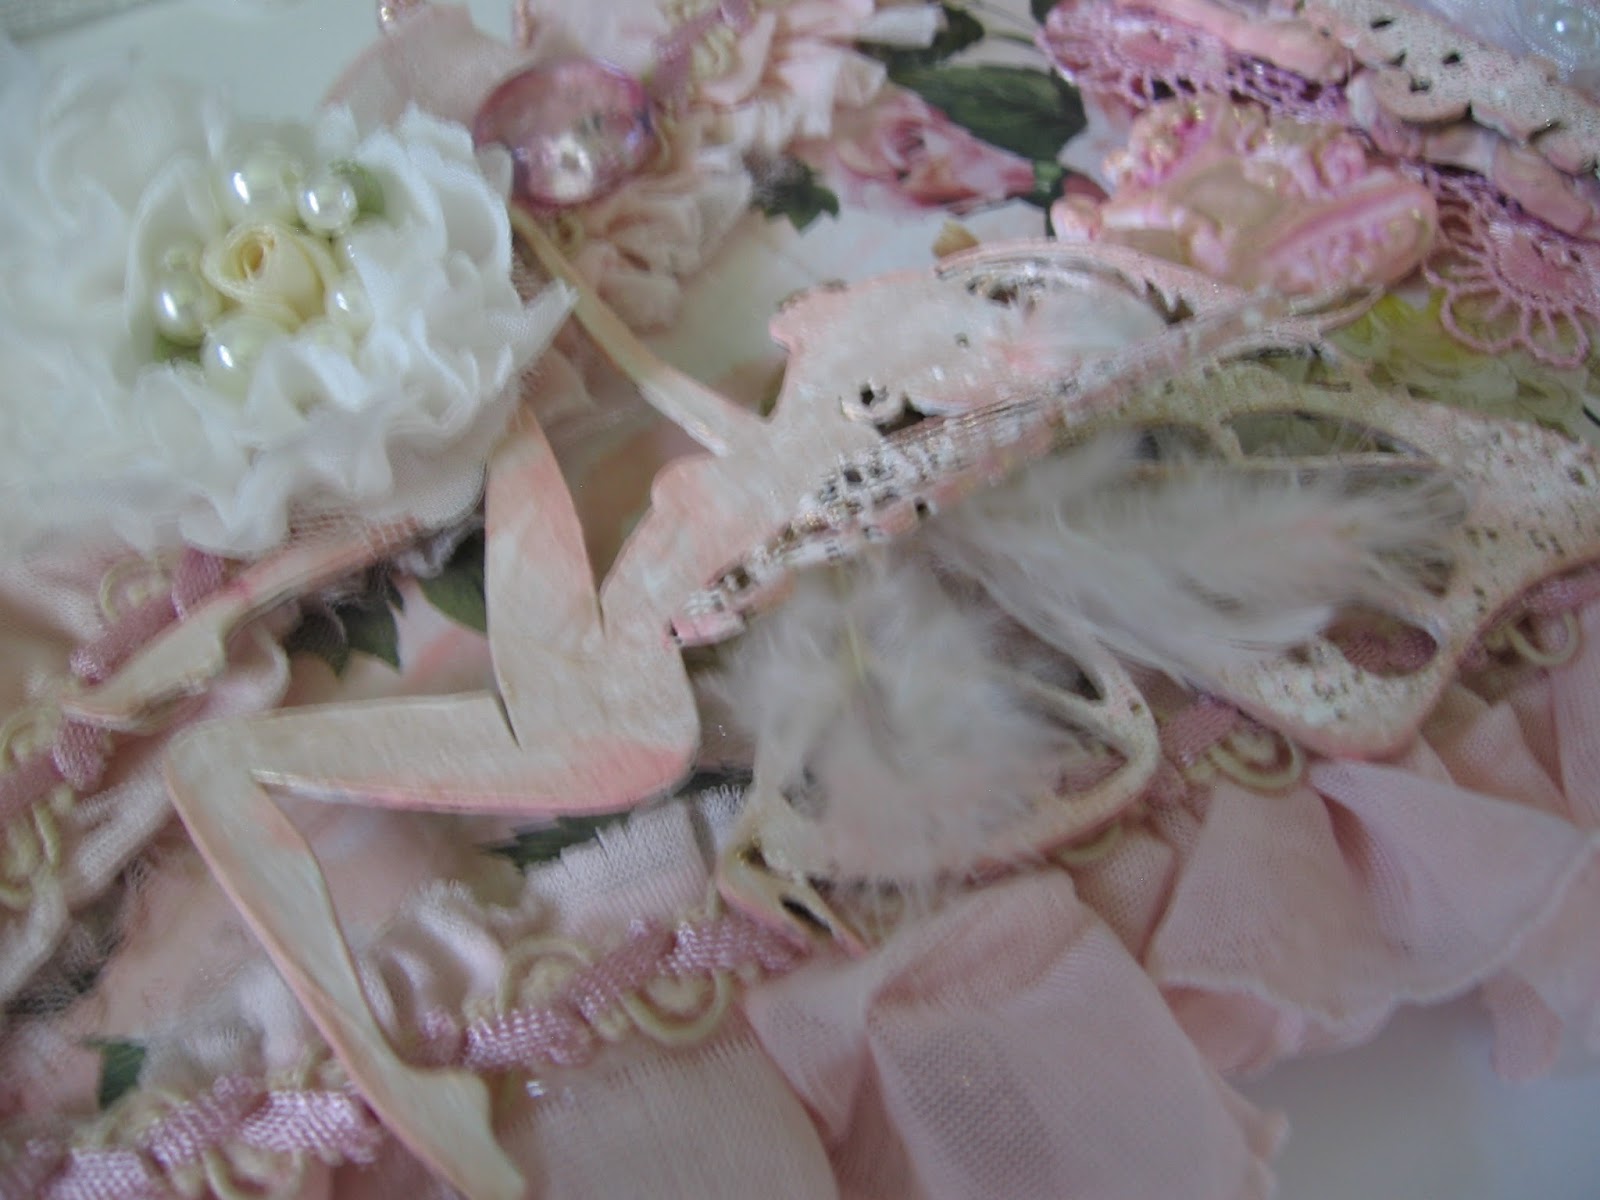
I created this Art Card to send to a friend, and it was the perfect opportunity to use some of the great items from ScraPerfect!
 
 
I got out The Best Glue Ever and went over the hair and the flowers on the fairy's wings with the glue. You have to wait until the glue has dried clear, to have it work with the Foil, that was the hard part, the waiting...I am an inpatient crafter lol.
 
 
Once the glue was dry, it was time for the foil. I used the Crimson Rain on the wings, and the Turquoise Rain on her hair.
All you have to do is lightly rub the foil over the places where you put the glue, and Voila! you have a very easy and cool foil accent for your project.
 

Once I was finished with the foil, I wanted to add some embellishments to the card. This was the perfect opportunity to use the Embellie Gellie. This stuff is very cool and so easy to use. You just put a little bit of the gellie on the end of the stick and place it where you want your embellishment. I used some very tiny blingy crystals, and it worked perfectly for this.


Here is a look at the card with the bling and the foil technique. She will be "winging" her way to a dear friend soon.
 
 
Thanks so much for stopping by today, for more info please check out my blog HERE
 I am so thrilled to be part of the ScraPerfect team so please check out the ScraPerfect shop for lots of great crafting items.


Saturday 16 July 2016

Mixed Media Art for Shabby is Chic Boutique DT

Good morning Shabby is Chic Boutique fans. Today I am doing something fun and different with my lovely items from Shabby is Chic Boutique Store. 
 
 
As you can see I have created these 4 x 5 inch canvases, using lots of mixed media and items from the SCB store. I started off with using this  gorgeous rose napkin from the store. I cut out some of the roses, and also used some of my Prima paper, which I tore into pieces as well, and then adhered it down to the canvas with matte medium.


Once the glue was dry, I too some of my embossing paste and gave a texture coat with it in various spots on the canvas to create dimension.

 
Now it was time to play with my embellishments. I used the Love Key from SCB, and also the small spoon with crown. I am also using lots of Prima Clay items that I created using the IOD moulds. I gave the all a coat of gesso and then used some sprays and the Prima Metallic Paint in Rose Gold on top. The final touch was spritzing them with water and adding some Carmel alcohol inks to make them look more dimensional.
 
 
Now it is time to start layering on the pieces to the canvas. I also added the heart doily and the white mini doily from SCB.

 
My finishing touch was adding some micro beads to the canvas to add more texture, and I also added some gorgeous Prima flowers as well.
 
 
The gorgeous little girl cabochons in the middle of the canvas are also from SCB!


Thanks so much for stopping by today, I hope you will give a project like this a try, it was so fun to do!
Please check out all the great items in the Shabby is Chic Boutique Store!

Friday 15 July 2016

Reach For The Stars Art Journal Page Joggles DT

 Good morning friends, Kim here today to share my art journal page I created for Joggles Design Team!
I had so much fun with this page, it was really a step outside of what I normally do, but I really enjoyed making it, so let's get started!
 
 
Here is a list of supplies you will need to recreate this page :
 
 
Black Card Stock
Prima Art Alchemy Paints Ancient Coin and Gold Rush
Elizabeth Crafts Design Balloon Dies
Script Stamp
Blank Ink for Stamping
 
I started off creating an ombre effect with the Dylusions paint. I used a baby wipe, and these paints go on so easy this way, it is a super fast way to start your back ground!
 

I started at the top of the page with the darkest colour, then went to the next colour tone, blending them as I went. I finished off the bottom of the page with the white paint and blended back upwards to give a smooth look to the page.
 
 
Next, I got out my Love Twist Stencil and again used a baby wipe to put some paint on the page. I didn't want the paint to be too heavy and using a baby wipe, I was able to achieve this.


Once the paint was dry I went around the hearts with a White Sharpie Fine Tip Marker to give them more definition.  I also stamped around the edge of the page with the Grunge Stars Border Stamp in a matching blue colour, and defined the stars with the white sharpie as well.


Now it was time to play with some Sticky Snippets! I really love these, they are plain labels in a variety of shapes and also in letters, and you can do any mixed media technique on them you wish. Once you have the desired colours and effect on them you can just peel off the shaped labels and add them to your projects as you wish. I did my Sticky Snippets, using the small stars set, in some yellow distress spray and some gold paint. I just dabbed here and there with the paint and then splattered some white gesso all over the page.


Once you peel off the labels you have your shapes and your mixed media technique! Below here you an see how the stars turned out, not bad if I do say so myself!

 
I gave the same technique to the Sticky Snippet Alpha's and mounted them on black cardstock to make a more dramatic effect.
 

 Now it is time to die cut out some fun balloon shapes for our little fella to hold.  I used three colours of Distress Inks for this, and shaded one side a bit darker than the other, to give the illusion of light and dimension.
 
 
I glued down the balloons in a nice pattern, and added some strings with my black micron pen. I also got out the white sharpie again and added some highlights to one side of the balloons.


Now its time to work on See-More! I love this stamp he is so much fun and although I had to snip off this big thumb (Sorry See-More!) to make it look like he was holding the balloons, I promise he didn't feel a thing. I coloured him in using my Spectrum Noir Markers in various colours until I was happy with this colour tones and funky hair.


I glued him down and added some loopy lines to make them look like balloon strings. I then added a star to the bottom of his feet to make it look like he was standing on the point of a star.


I doodled around the stars, hearts and some of the white gesso splatters for interest, and also stamped around the page with a script stamp from my stash in black ink.


Here is the finished page. I love this page, it makes me smile, and I had so much fun creating with the Sticky Snippets. I know I will be using these on lots of my projects!


Thanks so much for stopping by today, and please check out all the great things Joggles has in their store!


Wednesday 13 July 2016

Fairy Pennant Banner featuring Chipboard by Southern Ridge Trading Company

Hello friends, I have been super busy in my studio, and I will be sharing lots of projects coming up in the next few weeks. Today, I have created a fun and shabby pennant banner for a dear friend of mine. It is all about pink and fairies!
I am featuring some chipboard today from Southern Ridge Trading Company located here in Canada.
 
 
I started this pennant out by cutting a piece of chipboard at 8 x 5 inches, and covered it with some pretty Kaisercraft paper.  Once it was covered in paper, I layered on some lovely laces from Lavish Laces on Etsy. 

 
Once I was happy with the laces and trims, I got out some chipboard from Sothern Ridge Trading Company. I used the Flourish hair fairy which I just love she is so gorgeous!  I also used the word Imagine from the Word Mix 1 set.  I put gesso all over the chipboard and then gave them a light coat of some Prima Art Alchemy paint in Rose Gold colour. After the paint was dry, I used some Frantage Shabby Pink embossing powder on both pieces and finally, edged them with a Prima pink chalk edger go give them dimension.

 
For the fairy, I wanted her to be more dimensional, so I used one of the butterfly from the Butterfly Mix and cut off one of the wings and propped it up on the fairy with some glue. Behind the wing, I added some soft white feathers and that finished her off nicely.


I added a glad bobble to the fairies hand, which I coloured with pink alcohol ink. I also placed a white rosette beside her with some pearls and ribbon roses in the middle.


I added some gorgeous Prima flowers to the top and also some of the lovely IOD moulds from Prima which I gave a similar paint treatment as the chipboard, to keep everything similar. 
 
 
At the base of the pennant I added some butterfly appliques from my stash, which I sprayed with a dusty rose colour of spray. I then added some feathers behind them and topped it off with another pretty Prima flower.


 I hope you like my project today, and please check out Southern Ridge Trading Company! They are a Canadian chipboard company, and that is great for us crafty Canucks!
 
Product List
Prima Art Alchemy Paint, Rose Gold
Lace from Lavish Laces on Etsy
Paper from Kaisercraft
Prima IOD Moulds and Clay
Gesso
Maribou Feathers
Prima Flowers