Sunday 31 May 2015

Gina's Designs Birthday Blog Hop Winner!!

Congratulations to the Winner of the Gina's Designs Birthday Blog Hop!
 
  Glenda Vermaak won the Mixed Media Fragments Set that I am giving away here on my blog!   Congratulations!!!
 
 Please follow the steps below to claim your prize!
 
1) Please email Gina at Contest@ginasdesigns.net...
2) Place "Birthday Blog Hop Winner" in your email Subject line
3) Please state what blog you won on and the shape set you won
4) Please provide your mailing address
 
The Grand Prize winner has been announced over at the Gina's Designs Blog, so run over to see if it is you! Click here to see!
 
*****If we don't receive your email by Friday June 5th at 5pm CST a NEW Winner will be chosen****
 
Thanks to everyone who hopped along with us, and stay tuned for more from Gina's Designs Lasercuts!

Sunday 24 May 2015

Autumn Skyline Mixed Media Canvas for Gina's Designs Lasercuts

Good morning friends. Today I would like to share my mixed media canvas. I was really inspired by colour for this canvas and wanted to work with lots of bright colours. I got out my Dylusions paints and mixed them with some texture paste to give the effect of trees in the background.
I took a smaller brush to draw in some lines to give the impression of tree branches once the other colours were dry.  I used the same black paint to paint the chipboard as well, I wanted the contrast of the black skyline up against the colourful trees.
 I used some foam tape to pop up some of the buildings to give the piece more dimension.
I hope you have found some inspiration yourself today! Thanks for stopping by!

Other Items Used
Dylusions Paint
13 Arts Texture Paste
Foam Tape

Friday 22 May 2015

Gina's Designs Birthday Blog Hop Giveaway!!!!! (Closed)

Welcome to Gina’s Designs 3rd Birthday Blog Hop!
The Birthday Blog Hop will run from today, May 22, until May 29 at 8pm CST.  You should have just come from Gina's Store. If you didn't, don't worry! Just pop over to Gina's Designs Birthday Blog Hop post and follow all the blogs in order.

We are having two great giveaways associated with this blog hop.

The first one is the Birthday Prize Giveaway!

The Birthday Prize package includes:
To be entered into the Birthday Prize giveaway, you need to:

1. Stop at all 15 designers’ blogs for a secret word.
2. After you collect all of the 15 words, create a sentence.   
3. Email your answer Contest@ginasdesigns.net for a chance to win the
 Birthday Prize!
 This is why you will want to make sure you stop at each blog. That prize package is fantastic! 

Now the second giveaway will be done on EACH of the designers blogs.

 The shape set I am giving away here on my blog is  the Mixed Media Fragments 1

I love these new fragments from Gina's Store. I helped to design these pieces and they were inspired by my love of mixed media. These pieces really help to create fun textures and shapes on any mixed media project, this is why they are some of my most favorite pieces!

To Win this Mixed Media Fragments Set all you have to do is:

 
To be entered into my blog's giveaway,
1.  Subscribe to my blog. 
2.  Leave a comment on this blog post.
THAT’S IT! So easy!

So many great ways to win some fabulous chipboard pieces!

 My word for the Birthday Prize giveaway is "Media"
The next blog you will want to visit is Angela Drummond's

If you get lost along the way, here is a list of all the blogs you need to visit to collect your word.
 

Tuesday 19 May 2015

Mixed Media Canvas for RebeccaBaer.com


Hello friends and happy Tuesday! Today I would like to share my mixed media canvas I created with some gorgeous Rebecca Baer Stencils.
I was in the mood for some soft pastel colours and with this canvas just kind of went with the flow and feeling of the stencils.  I started off with the Large Flight of Fancy Stencil and some of my sprays.

 Once the first layer of sprays were dry I got out some Tim Holtz tissue paper and used the Stencil Gel that Rebecca Has to put it down.  I love this stuff it works great and dries quick too!  Next I layered on the Marrakech Stencil with some more of my sprays is a light blue tone, I continued to build up the layers on the canvas until I was happy with it.
 Next it was time for some modelling paste, and I used the Heritage Flora stencil and the Flexi Spreader from Rebecca's Store.  Once that was complete I got out some chipboard for embellishments, painted them and then I wanted some texture on them, so I thought that the delicate patterns from the Graceful Harmony Stencil would work great onto of the chippys!
 You can see below how it turned out, I really love the effect and it shows just how tiny and delicate these stencils are to go on something as small as this frame and flourish. The stencil showed up great on top of the white paint and really added the dimension I was looking for.
 I used some watercolour paint in a matching colours to pick up on the dimension.
Here is a close up of the finished piece of chipboard, I love the effect!
 As I had the Graceful Harmony Stencil out I used another pattern on it for the side and one corner of the canvas. I love the delicate effect it has.
 After I was finished with the stencilling it was time to add my embellishments.  I used more chipboard wings, resin frame, metals and flowers to complete the look I was going for.

I hope you have enjoyed my project today. Rebecca has such great products in her shop, I am sure you will find something that will meet your artistic needs!

Thanks for stopping by today!


Sunday 17 May 2015

Good morning friends! Today I would like to share with you a layout I created with Gina's Designs circus set. I really love the feeling and colours of a circus, and I was very inspired by this Ferris Wheel piece in the set.
 
 
I started off by creating some texture in the background of the layout and used my sprays and paints to achieve this. I then layered on some more paper from the Dream in Colour collection from Webster's Pages. This set has lots in it, including the balloon I used on the corner of the merry go round picture on the top right of the layout.
 
 
 I used some Ranger paint daubers on the Ferris wheel in copper and silver to give an aged effect and used a brighter blue for the seats. I used more paper from the paper line to add the sentiment "Dream in colour" which frames the number 5 from the number plates set from Gina's Designs.
 
 
Lastly I added one of the word elements which says dream, and some flowers and metals to finish off my project. I really love this circus set, it is so much fun to play with!
Thanks for stopping by today!
 
Number Plates

Other Items Used
Webster's Pages Dream in Color Paper
Petaloo Flowers
Shimmerz Sprays
Ranger Paints
Prima Metal Zipper
 

Tuesday 5 May 2015

 
Good morning, and happy Tuesday!  Today is my day to share my Design Team project for RebeccaBaer.com  I am so thrilled to be part of this amazingly talented team. I am also so inspired by my team mates!  This week I wanted to do something colourful and Springy, so I got out some paints and sprays in all my brightest colours and began to play.
 
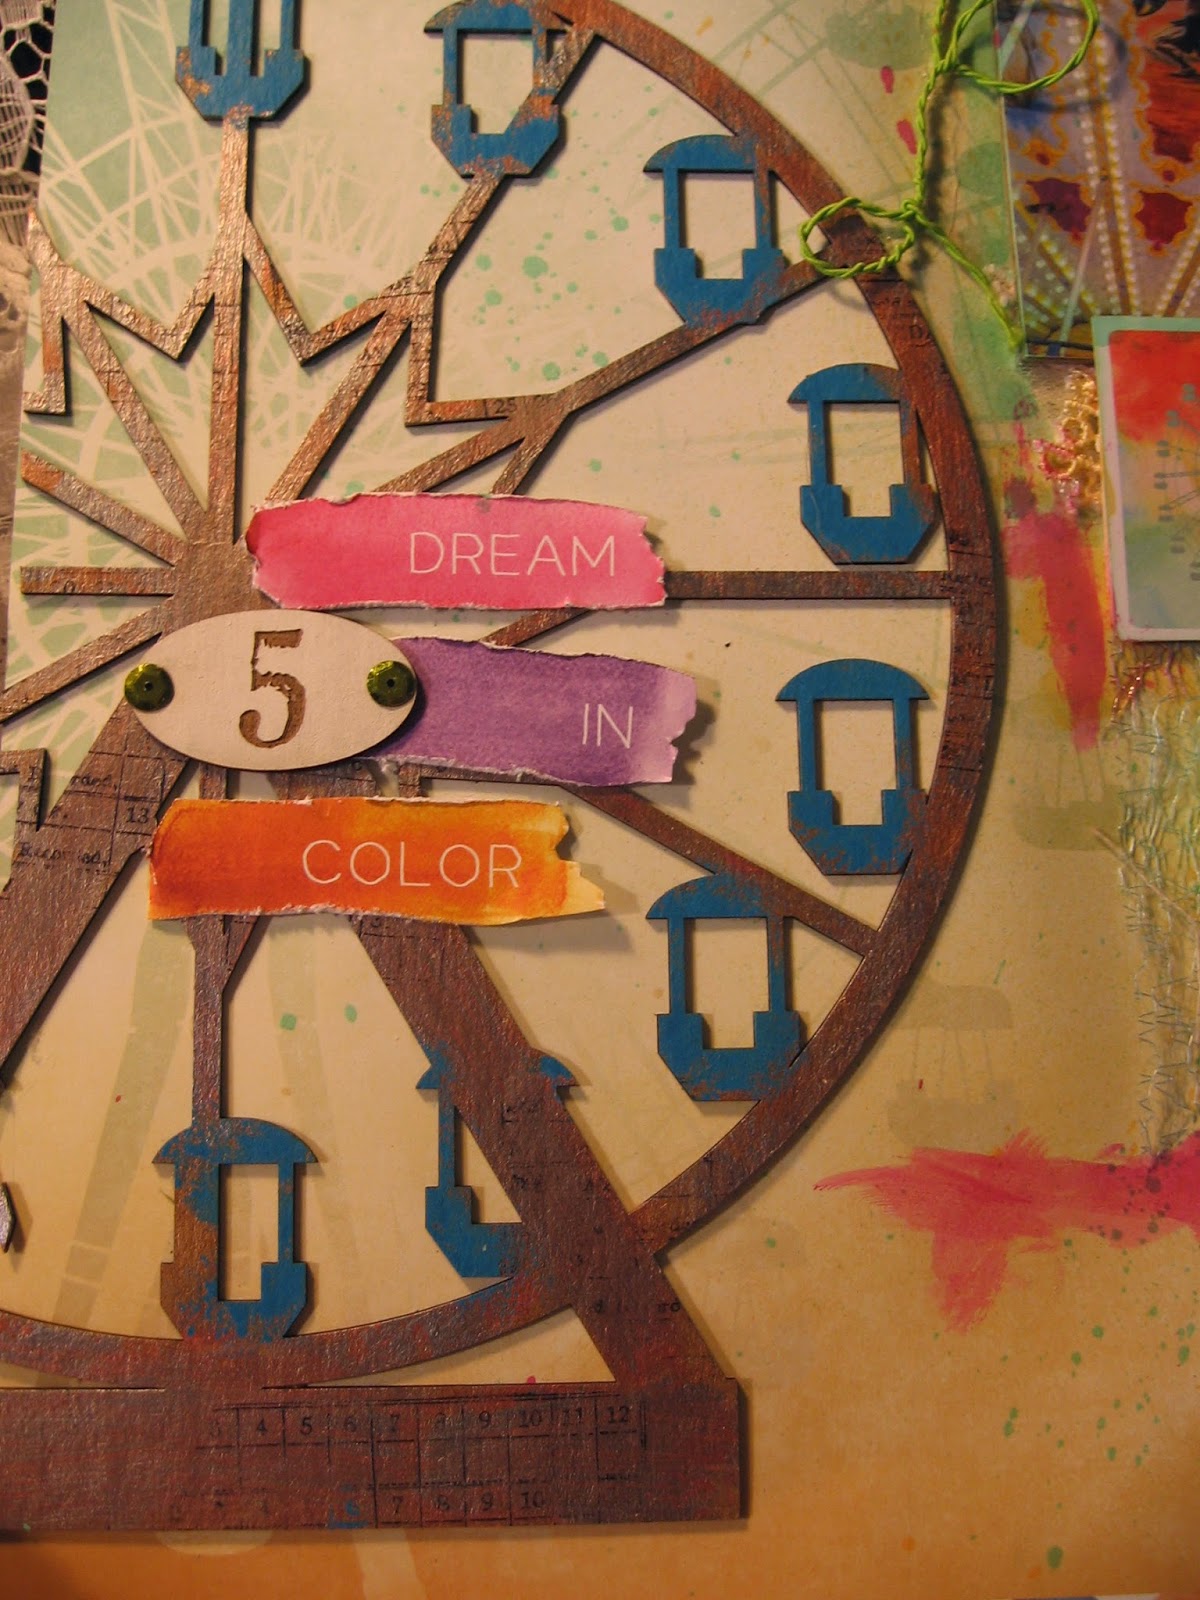
I used 2 of my favorite stencils from Rebecca's Store the dragonfly fantasy stencil, and the honeycomb stencil on a 12 x 12 piece of white cardstock. I layered on sprays, paint and a script stamp I had in my stash.
 
 You can see here on the right the finished paper. At the moment it doesn't look like much but I have plans for it!
 
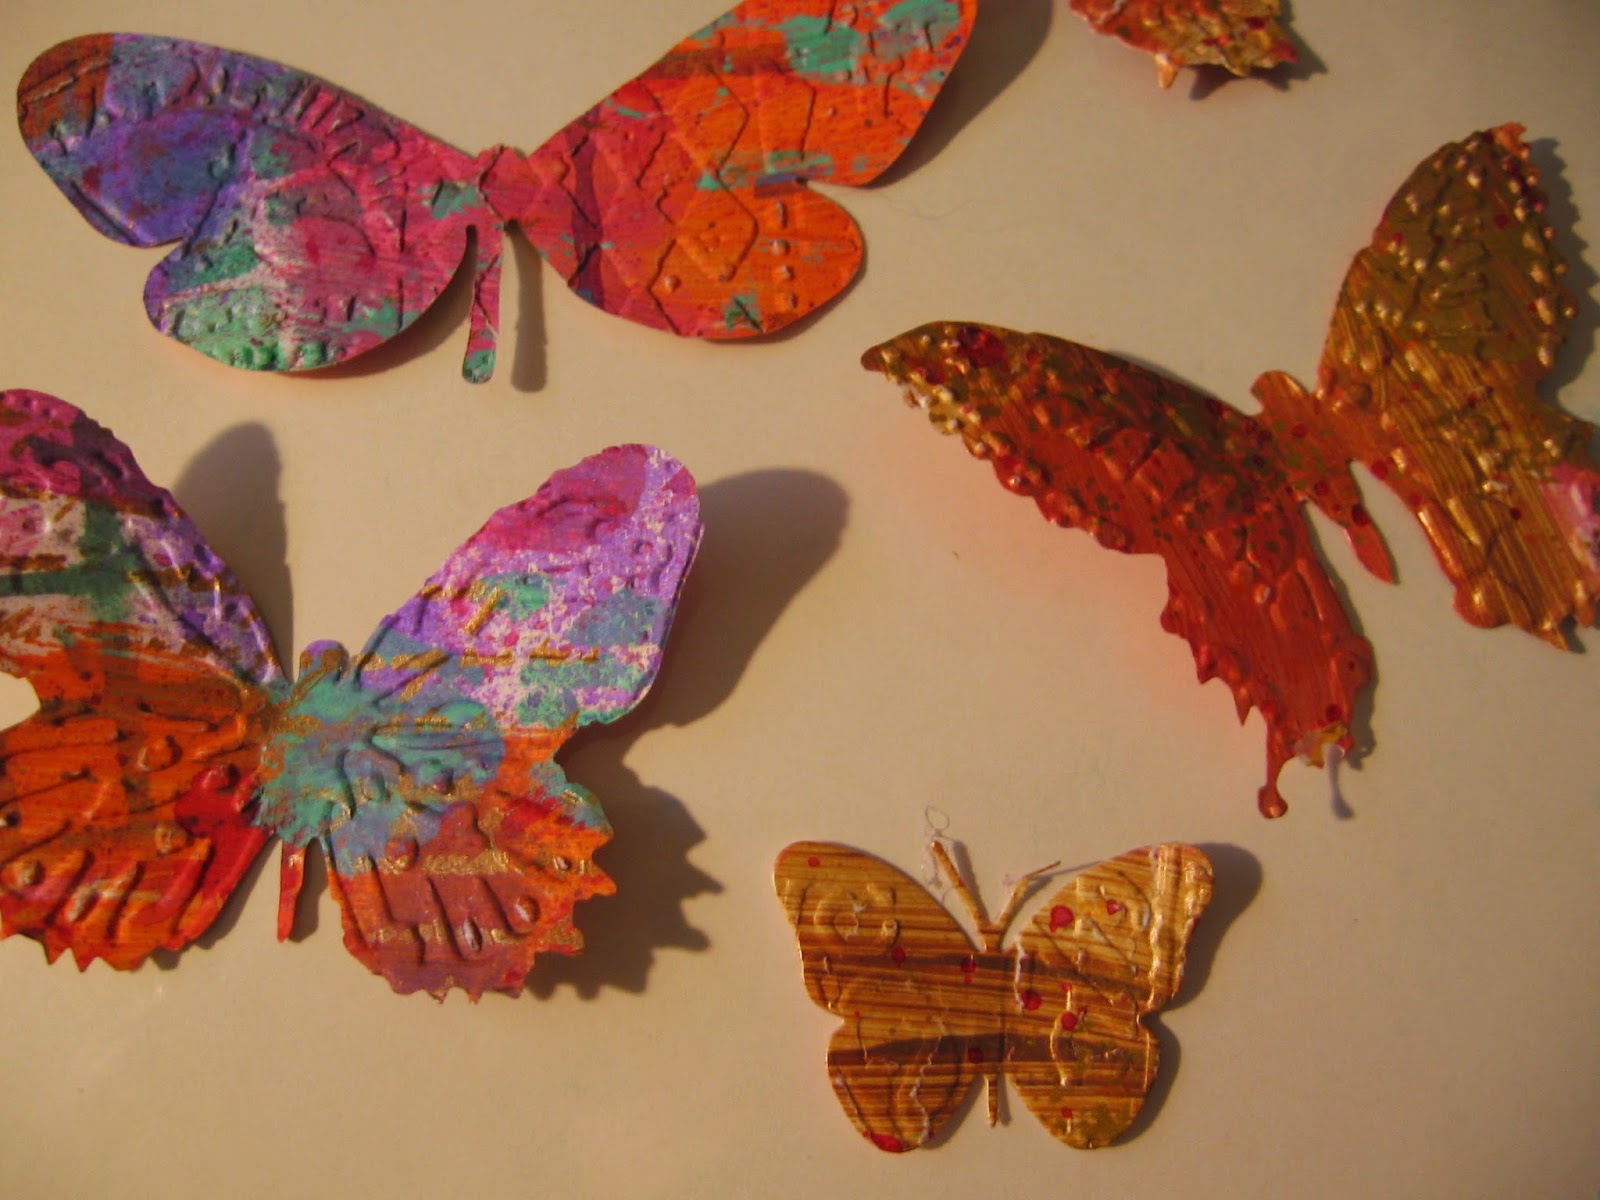
After the paper was done on both sides, I cut the paper down to some manageable sizes, and ran it thru some different embossing folders. Next, I got out some of my favorite dies and placed them on either side of the paper to get a different colour effect. Below right you can see the effect of the embossing and die cutting of the paper. 
I next got out my Distress ink in black to highlight the embossing, and also grabbed my Gilded Stenciling and Stamping Adhesive, which I love. This adhesive is so wonderful! You just paint it on with a brush and let it dry. Once dry, the adhesive is now tacky and will hold your glitter, gilding paper or mica flakes.
 I got out my Distress Glitter and Mica/Glitter mix and added them to the tacky adhesive. It really allowed the butterflies to sparkle!
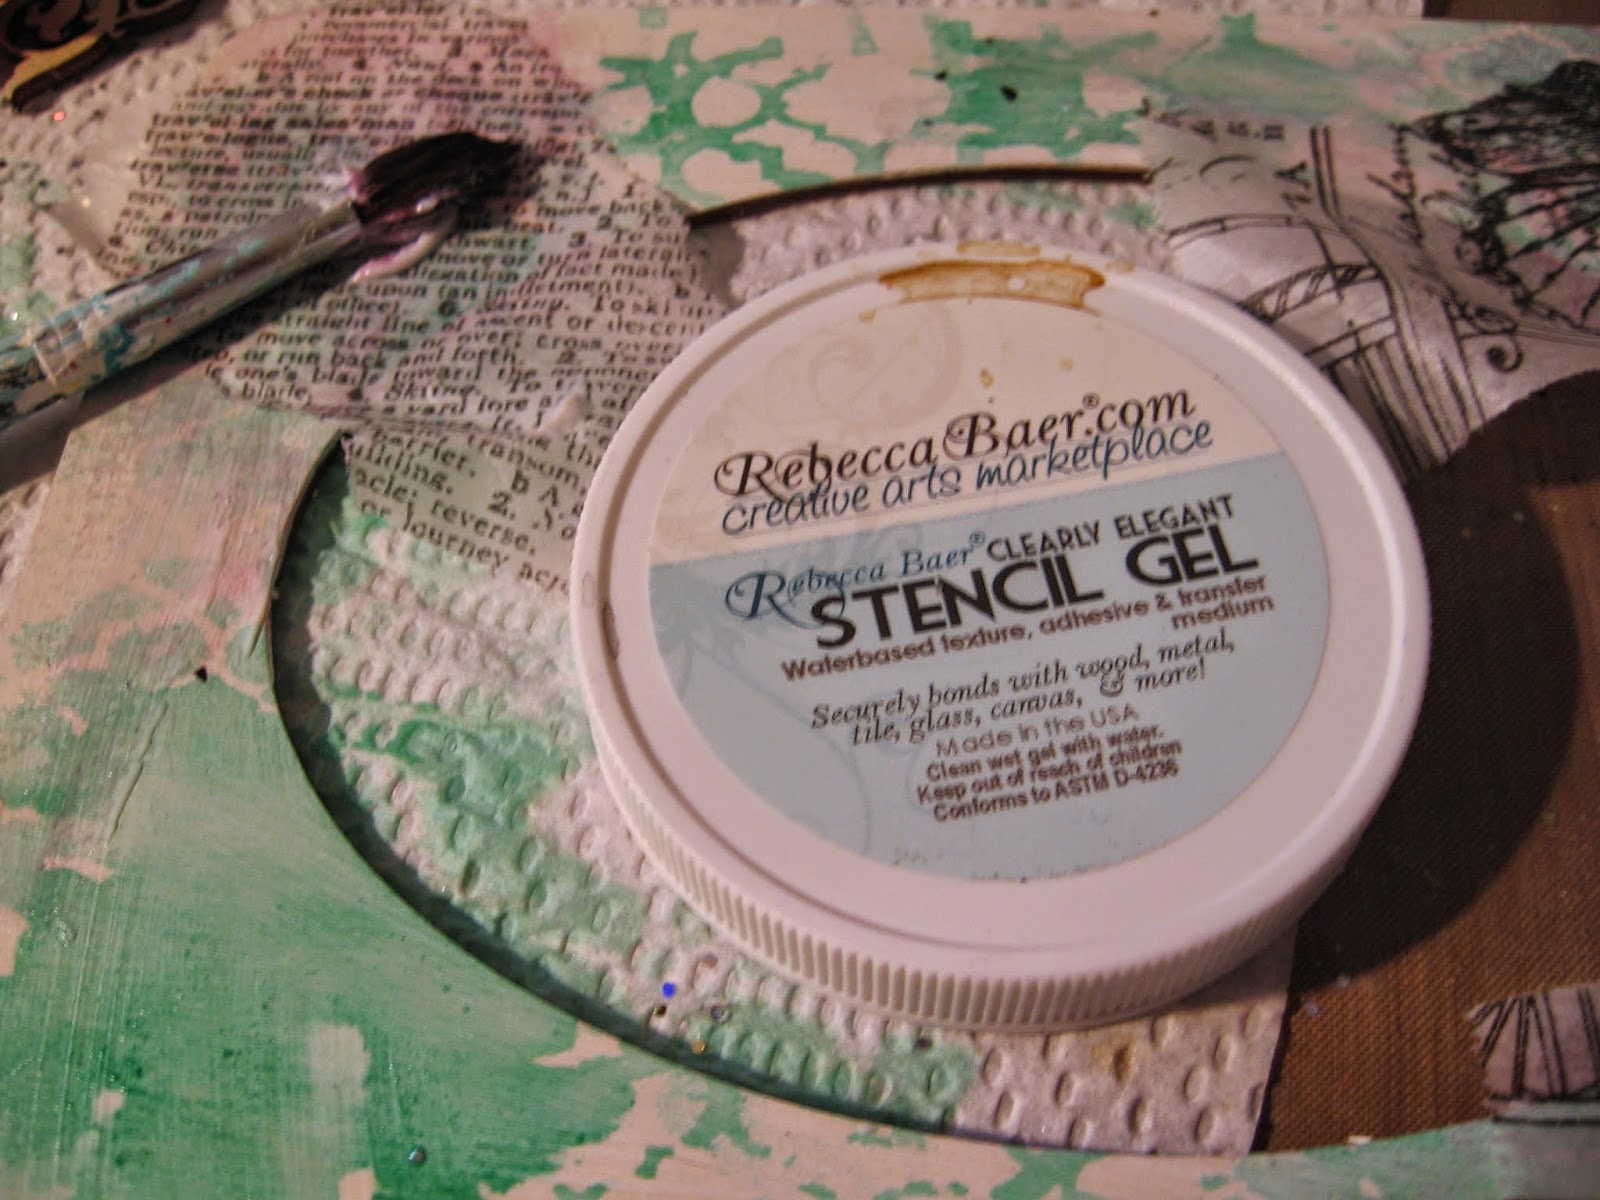
 Now it was time to work on the frame itself. I got out the Marrakech Stencil and some Cracked Pistachio spray. Next I reached for my  RebeccaBaer.com Stencil Gel and some Tim Holtz Tissue paper. I ripped random pieces of the tissue paper all over the frame, the gel works wonders for holding down things like this, it is quick and easy to use, and dries fast.
 Lastly, I used the Heritage Flora Stencil and some white crackle paste over most of the frame. After it dried I added some more light pink sprays to pick up on the crackle effect, you can see the results in the bottom right photo.
Here is the finished product! I am just thrilled with this little frame. It so reminds me of Spring. I had so much fun creating this piece, and I hope I have shown you how versatile these amazing stencils and products from RebeccaBaer.com are.


Thanks for stopping by today!
 
Other Products Used
Prima Metals
Wood Frame and Chandelier from Michaels
Paints from Ranger
Sprays from Shimmerz and Lindy's Stamp Gang
Flowers from Petaloo
Dreamweaver Crackle Paste
Tim Holtz Tissue Paper
Dies from Stampendous, Tim Holtz and Diemond Dies
Distress Ink Black Soot
Distress Glitter
Stampendous Copper Lux Mix