Showing posts with label Prima Bloom Spray. Show all posts

Sunday, 9 December 2018

Captured Heart White Rose Crafts DT Project


Good morning friends, Kim here with my next design team project for White Rose Crafts

This time I have altered a tin heart I found at my local dollar store.


I have used lots of great items from the White Rose Crafts Store


You can see the full process video for this project on my YouTube Channel


Thanks for stopping by today, I hope you have found some inspiration here!

Magnolia Lane Paper (Sold Out)
Prima Tales Of You & Me Watercolour Paper (Sold Out)


Monday, 6 March 2017

Shabby Owl Tag for Shabby is Chic Boutique on Zibbet

Good morning friends, Kim here today with my next project for Shabby is Chic Boutique on Zibbet.
This time I have altered a large tag using a gorgeous napkin gifted to me by my friend Amy Love.
 
 
I first started off by giving the tag a coat of gesso on both sides. Then I cut the napkin to fit, and gave it a coat of Sparkle Mod Podge.


I used some Prima Art Alchemy Paint in rose gold and aqua rose around the image of the owl, then got out my script stamp and Stayzon Ink and stamped around the image as well.
 
 
After the ink and Prima Art Alchemy Paints were dry, I also some Prima Bloom spray, in soft teal around the image.

 
Once the sprays were dry, it was time to get out some gorgeous laces from SCB! I layered on the white and teal tulle trim first at the base of the tag, then some of the scallop trim, mini fringe and finally the gorgeous white and sequin trim at the top.
 
 
For the top of the tag, I used 2 of the larger scallops from the scallop trim, and placed a blue acrylic flower with bling in each of them to pick up on the colour of the seam binding I placed thru the hole of the tag.
 
 
At this point, I got out the Deco Fun Bow maker, which SCB now carries, and used it to make an easy but elegant bow for the base of the tag. I used the script trim from SCB, and one of the smaller laces from Deco Fun to make the bow.


Once the bow was made, I added some of the new Square Bling from SCB to the center to give it some sparkle and shine! I also added some flowers from my stash in matching colours to add softness to the tag.


 A finishing touch was some teal sequins from my stash for more sparkle.


Once again, here is the finished tag.

 
I hope you will stop by the Shabby is Chic Boutique Store today and make one of these tags yourself, they are really fun to make!
Thanks for stopping by!


Saturday, 10 December 2016

Father Christmas and his Reindeer A Shabby is Chic Boutique DT

Good morning friends! Kim here today with my next DT Project for Shabby is Chic Boutique on Zibbet.
 
This time I have altered some Christmas ornaments that I got at my local dollar store. First up is my shabby and wintery Father Christmas.
 
 
We have all seen some funky looking Christmas decorations at our local dollar stores, and this fella was no exception to the rule. He was originally very, and I mean very tanned looking. This Santa is just a plastic head that came with some tinsel for a beard and a very funny looking hat. Really, he needed lots of work, and I wanted a challenge, so here we go!
 
 I totally repainted his face and eyes, to give him a softer and more rosy cheeked look. I used some chalk paints from my stash to repaint him, and then gave him a coat of Mod Podge to ensure that the pain would not come off the plastic.
 
 
I used a vintage table cloth, which I cut up for his hood and draped it over his head. I added a bit of stuffing to the top of his head so it would sit up nicely on him. I also used lots of laces from the SCB store on him and cut them up and made him look shabby and wintery.


I used various laces, seam binding, wool, unbraided rope trim and a bit of the original tinsel beard and totally revamped his beard for him, I think it really makes him look handsome now!


While I was at the dollar store, I also picked up some glittery white branches and berries.  I cut them up and added them to the side of his face for some dimension and also added some seam binding and some ribbon from my stash too. I used some of the tinsel that was from his beard to make a bow with as well.


He is really kind of adorable, and will have a nice place to hang in my home this Yuletide season.
 
 
Now on to the reindeer! 
When I spotted these at the dollar store, they were silver plastic with a giant glitterly red Pointsettia on them, oh ya, and some red polka dot ribbon!  Not my style at all!
 
 
I gave each of the reindeer an over haul with some white chalk paint to start off with. Then, I choose to make two of them pink and one of them in a shabby Aqua colour. These little beauties are going as gifts to some crafty friends of mine, and I needed to make them in their favorite colours.


Once I had the white paint on them, I used some of the Prima Art Alchemy paints on them and also some Prima Bloom Sprays in coordinating colours.
 
 
I then added some laces, trims, pearls and flowers from my stash to their backs to give them a festive look.

 
I am pretty pleased with how they came out, from their silver coats to this Shabby look, I think its quite a transformation.


Next time you are at your local dollar store, take a second look at some of the items they have, they are inexpensive and can be transformed into something that looks rather expensive. Challenge yourself to try something like this, I had lots of fun, and as we all know the holiday season can get very expensive and this is a good way to cut costs down and give a gift that can be appreciated every year!
 
Thanks for stopping by, and please check out all the great items from the SCB Store!


Friday, 18 November 2016

#25 Stardust Way For The Fernli Designs Christmas Challenge


Hello Fernli Designs fans! I have a fun project to share with you today and some exciting news!
First the news! I have been asked by Lou, the owner of Fernli Designs to work full time for her for the next 6 months, and I am so happy!! I start in January, and I am excited and thrilled to be working with such a great company as Fernli Designs. I have done guest work for them in the past and always been thrilled with their amazing products.
 
Now onto my fun little project #25 Stardust Way. Some of you may remember I did an altered house not too long ago, which you can find here
 
I decided my little house needed a neighbour on the next street over, and this tall fairy house from Fernli Designs fit the bill quite nicely!


I started the house off with some lovely Christmas themed paper from Kaisercraft, called Christmas Wishes, which you can find HERE
I love this paper, its so pretty, lots of pastels in pink, aqua and whites all my favorite colours.
 
 
I papered all of the outside and the inside as well. This paper is so gorgeous!  As you can see in these photos, I also added some Fernli 5 Pointed Stars which I painted white and then glittered with some Martha Stewart glitter.  You will see more of these stars around the house as we go along on our little house tour!  Some white resin frames, an ornament from the paper collection and more Stickles added a bit more glam to the outside of the house.


I used the ornament sheet for the walls inside, and as you can see, I also added a pink bottle brush tree, which I decorated with some pearls and Stickles in the Diamond colour.  I also added a battery operated light to give off some nice warm glow at night time.
 
 
Now on to the roof. I started off with some white chalk paint for the roof, then took some lace pieces from my stash and layered them on the roof. I then added some soft aqua fuzzy trim to pick up on the aqua in the paper, and then I added some beaded bridal appliques to each side.
 
 
The finishing touch to the roof, was more of the 5 Pointed Stars, which I stacked one on top of the other, varying in size. I painted and used two different kinds of glitter on them, then glued them with hot glue together and placed them on the roof.  I also used some glittered holly leaves and berries from a Christmas Pick I got at Michaels.


I added a seam binding bow to add more shabby goodness!
 
 
I added some beautiful beaded trim around the edge of the roof, from Kraftsupplies4U.

 
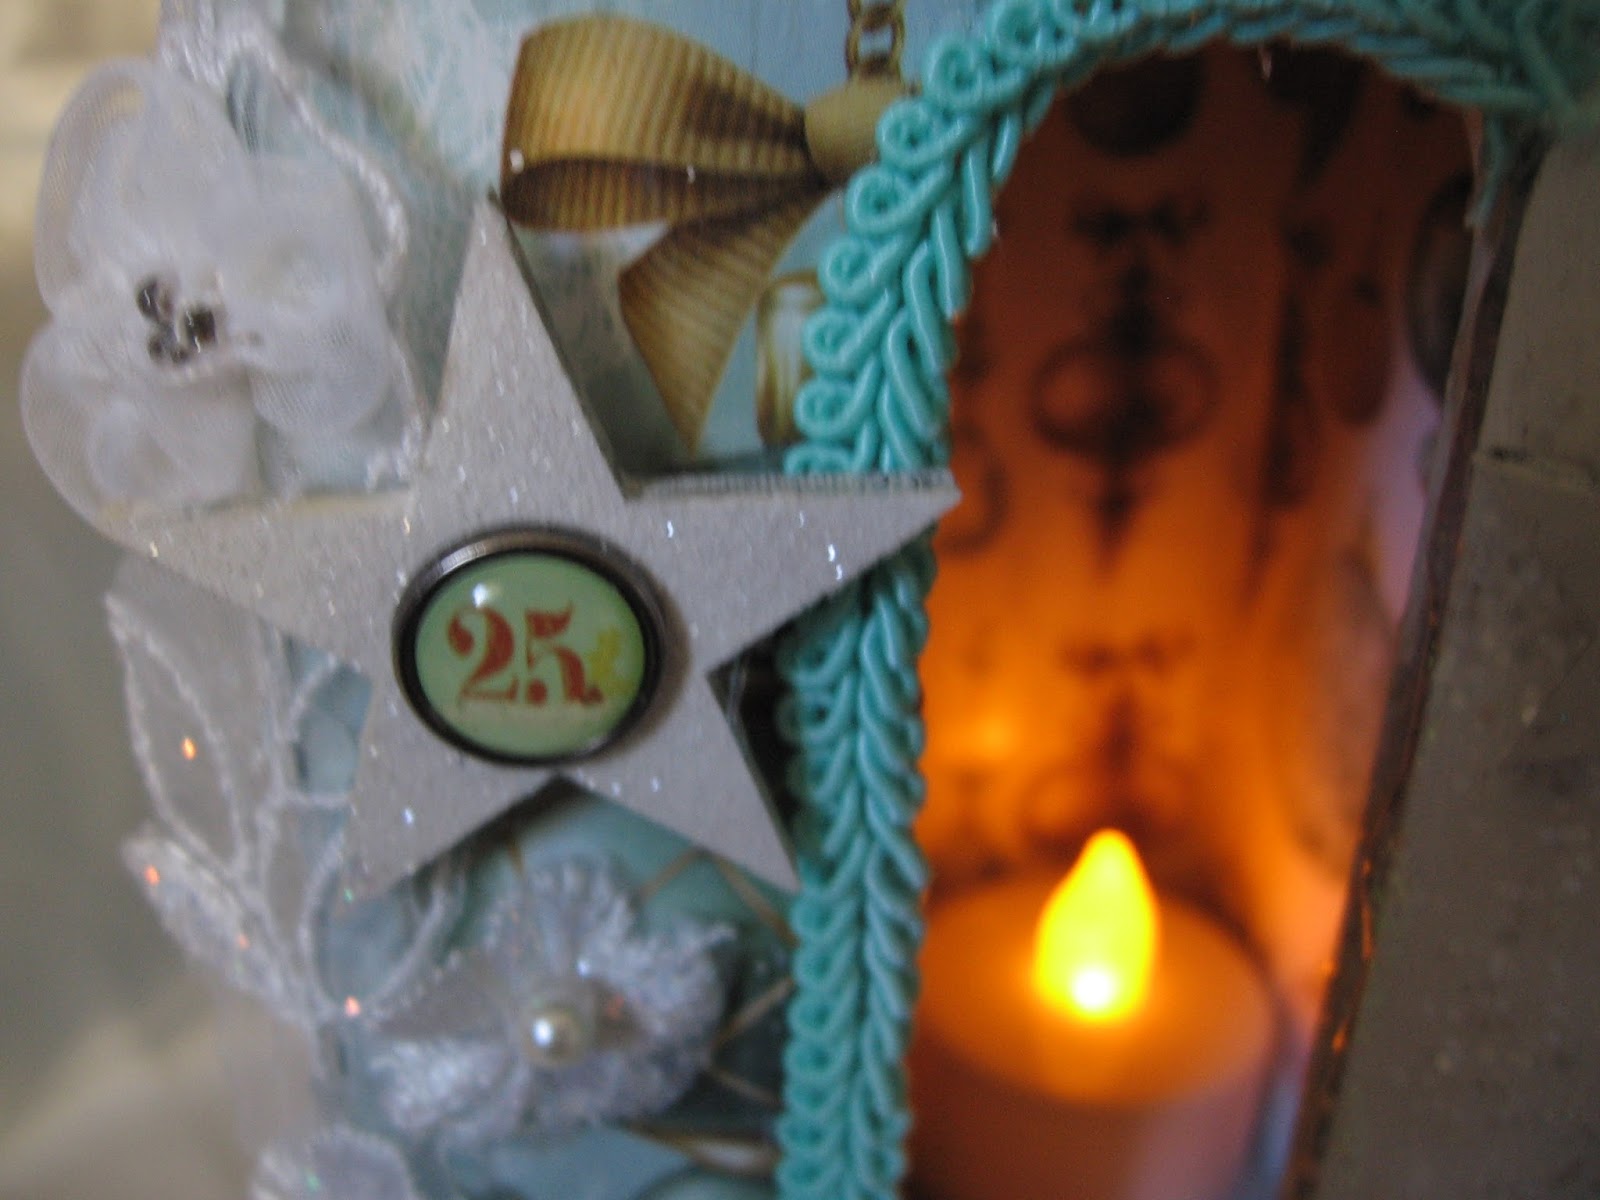
Here you can see another star with the house number, which is a brad from my stash. I used some white Chinese braid around the door, which I sprayed with some Prima Bloom spray in Soft Teal, so it would match the house colour.


The house comes with a door, which I painted in the same white chalk paint, glittered and added another star and pearl door knob.


I added another resin frame and cut another little image from the paper line to place above the door, and topped it off with one of the tiny stars from the 5 Pointed Star Set.


 The last little touch I did on the house was add some lovely flower trim from my stash, I love this trim it looks like flowers growing on a vine. I added more Stickles to the leaves and petals to pick up on the sparkle!


Here is a couple of more shots of the house!


 I hope you have enjoyed my project today and found some inspiration here today. Please check out the Fernli Designs Christmas Challenge which you can find by joining the Fernli Designs Facebook Group and then go to the It's Christmaaaaaassssss!! Challenge!
 
Thanks so much for stopping by today and don't forget to check out the Fernli Designs Store for all these items and lots more too!