Showing posts with label Ranger Distress Spray Stains. Show all posts

Friday, 4 November 2016

Starry Christmas Ornaments For Joggles Design Team

 
Good morning Joggles fans! Kim here today to share with you a fun Holiday inspired project featuring Sticky Snippets!


Here is a list of items you will need for this project:
 
 
Here is a list of items you will need for this project:
Prima Bloom Spray Turquoise, Peony and Cotton Candy
Light Patina
Rose Gold
Ancient Gold
Aqua Rose
Pink Blue
Vintage Pink
Blue Gold
Paper Mache Stars
Digital Images
Martha Stewart Glitter
Glue
Trims from your Stash
 

 Now its time to play with our Sticky Snippets! I layered on the sprays, drying each layer in between until I was happy with how it looked.

 
I used the Distress Spray in Pewter to do a cross hatch effect on the Sticky Snippets.


 Here is a close up! I also did a page of the stars in some pink tones, but my camera for some reason didn't save those photos, but it is the same technique I did on the blue Sticky Snippets.


Now, its time to paint your stars. I used a couple of coats of the paints to give a lovely shimmer.


 After the paint dries, place your images on the stars and cut them to the shape.

 
Now it is time to Mod Podge the images down, giving them a nice even coat.
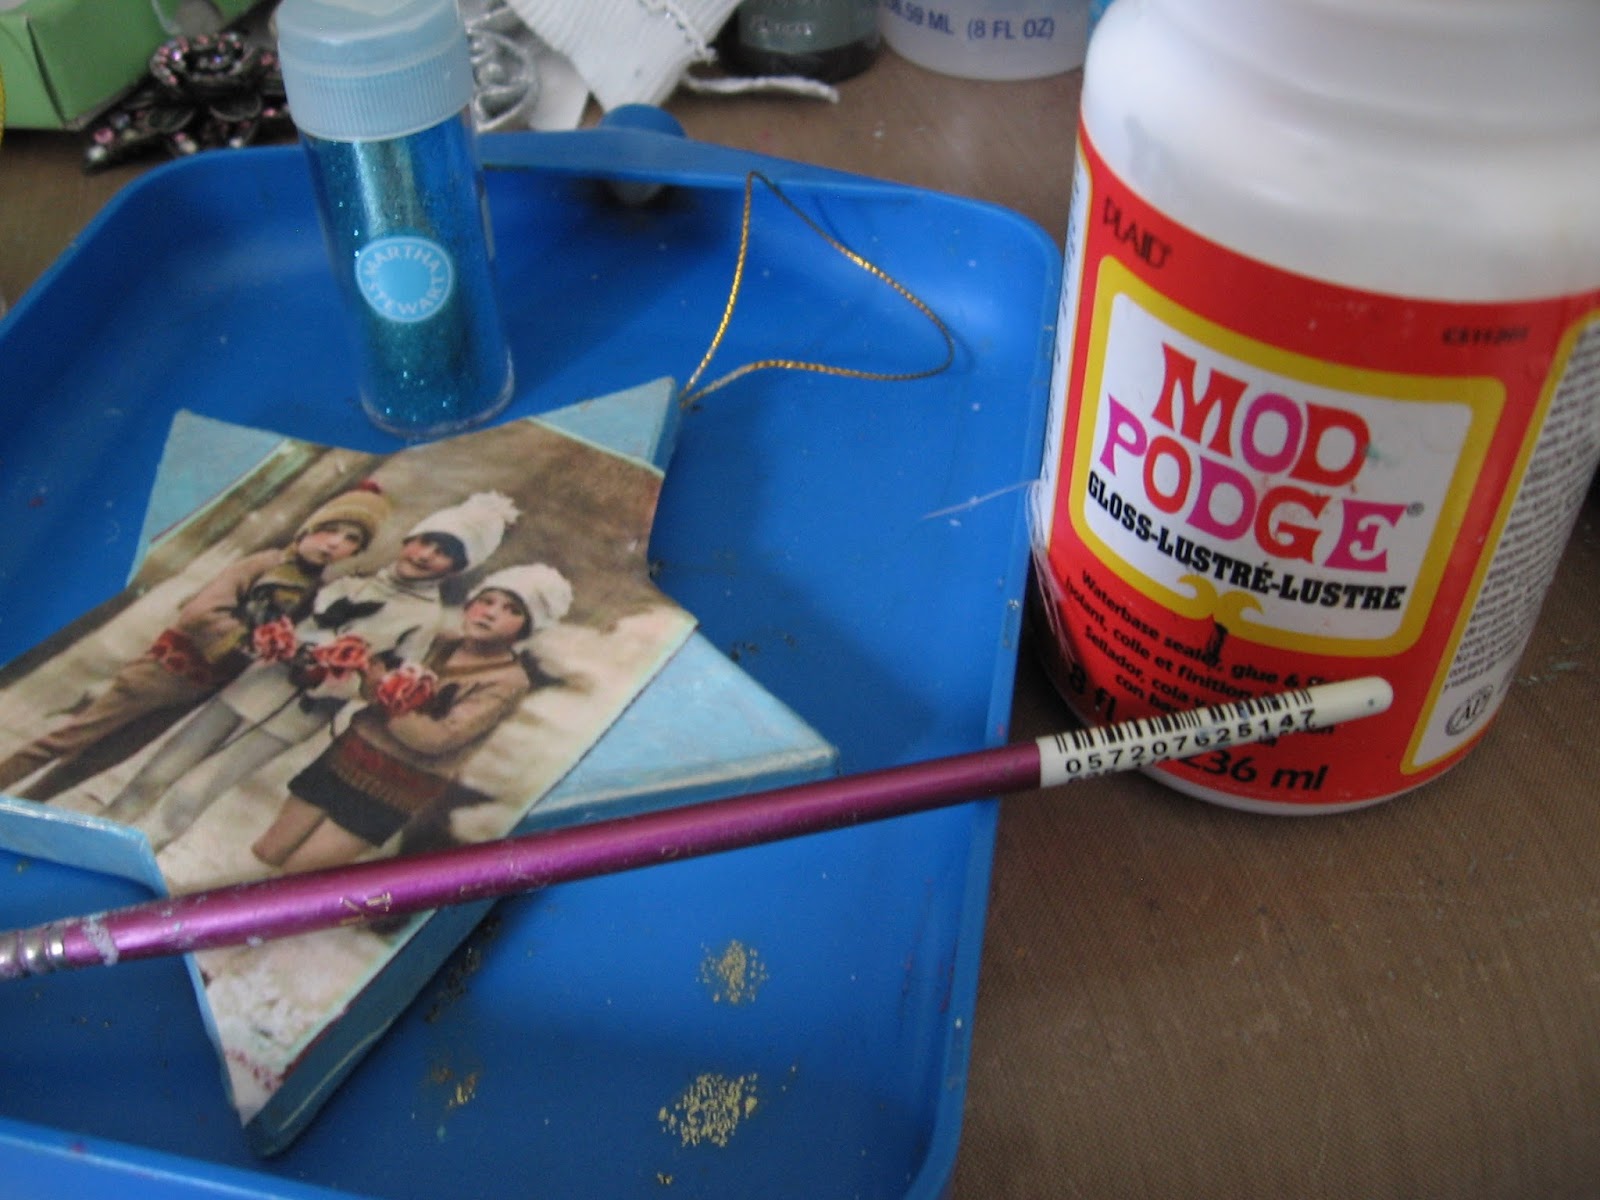


I also went around the edges of the stars with the Mod Podge and added some Martha Stewart Glitter to the edges.

 
Once the front was dry, it was time to take our Sticky Snippets and add them to the back. I love these, as each star comes out completely different!

 
Once I was happy with the placement of the stars, I gave them a coat of Mod Podge to ensure an extra strong hold that is sure to last for many Christmases to come.


Remember to cut some of your stars in half to make them look like they are falling off the edge of the star.


 Here are the finished stars, all decorated up and ready for my tree! 

 
I did decide once I had put the Sticky Snippet Stars on the back that they needed a little more sparkle, so I added another coat of Mod Podge and sprinkled more of the Martha Stewart Glitter on while it was wet. The result is some lovely sparkly stars!


I hope you will give this project a try, these Sticky Snippets are just great for the holiday season, they come in so many shapes and sizes.
 
Please stop by the Joggles store for more info about the products I have used here today.
Thanks for stopping by!


Friday, 20 May 2016

Art Journal Cover Featuring Stencils by Joggles DT Project


Hello Joggles fans! I am so very excited to share with you my next design team project for Joggles! This time I have altered the cover of my art journal and used one of my favorite stencils from Joggles.
 
 
Here is a list of products you will need for this project.


Joggles Products Used
 
 
Other Items Used
Art Script Stamp
Resin Frame & Key from My Stash
Prima Resin Pieces
Petaloo Flowers
Turquoise Butterfly, Chipboard Number, Copper & Teal Micro Beads From my Stash
White Thread
Martha Stewart Paint - Beach Glass
 
To start off your journal cover, I gave it a coat of gesso. Once that was dry I gave it a coat of aqua coloured acrylic paint. I also gave my embellishments a similar treatment and set them aside to dry.


Next it was time to start the layering process. I took some of the Tim Holtz Tissue Wrap and ripped pieces up and laid it down on the top of the journal, I used Mod Podge to adhere it down. Then using the Secret Garden Stencil and some texture paste I laid the stencil down and kept rotating it to give a different look to the pattern all around the journal. I love the effect it gave. Texture paste is such a great way to add dimension to your projects.
 
 
Now it was time to get out the Distress Spray Stains, and again, you can use what ever colours you like, Joggles has such a great range of them in their store, you will be spoiled for choice! 
I let the colours run down the front of the journal, letting the texture paste help to gather the colour.
 
 
I started off with the lightest colour of the sprays, working my way up to the rust coloured spray. I also took the lid off the sprays and splattered some of the colour on the book to give a distressed and grunge type of feel.
 
 
After the sprays had dried, it was time to add embellishments and some micro beads for further texture. I laid out my embellishments in a way I liked then used hot glue to adhere them to the cover.
 
 
I got out the Mod Podge once again and a tiny paint brush to add the micro beads in coordinating colours. I stamped the word "art" with black StazOn, on some paper and adhered it to the frame. I then added some white thread under the resin frame for some fun and whimsy, and also added my chipboard number plate and metals as well to finish this part of the journal off.
 
 
I hope you have enjoyed my project today, I am pretty happy with the outcome. Now it can be ready for my next art journal page inspiration!
 
Other Items Used
Art Script Stamp
Resin Frame
Prima Resin Pieces
Petaloo Flowers
Turquoise Butterfly, Chipboard Number, Copper Micro Beads From my Stash
White Thread