
Hi friends, today I have a fun die cut window card to share with you all. This was my first try at creating a window card, but I am please with the results. I hope you will be too! I was totally inspired by Jennifer McGuire on this project, I have posted a link to her inspiration video at the bottom of the post.
I created this 4 1/2 x 5 1/2'' card using white card stock as the base. I got out the Flight of Fancy Stencil from Rebecca's Store and the larger Artiste Stenciler Brush to apply my Distress inks.


I taped down the stencil with the RB Mini Masking Tape to ensure that my stencil wouldn't move as I wanted a nice crisp image. I applied several layers of the ink and

Once that was completed it was time to die cut. I used my inked piece and used more of the RB Masking Tape to hold down my die, (this stuff is invaluable to me now, I just love it) and ran it through my Big Kick.

I cut out the circle first with my circular die and then cut the word out of the circle, I just found it easier this way.

Once I had the circle and the word cut out, I used more of the tape to hold the top half of the circle in place and then attached the word across the middle of the tape. I wanted to make sure I had the pattern lined up on the card as well so it was an easy way to ensure I had the word lined up.
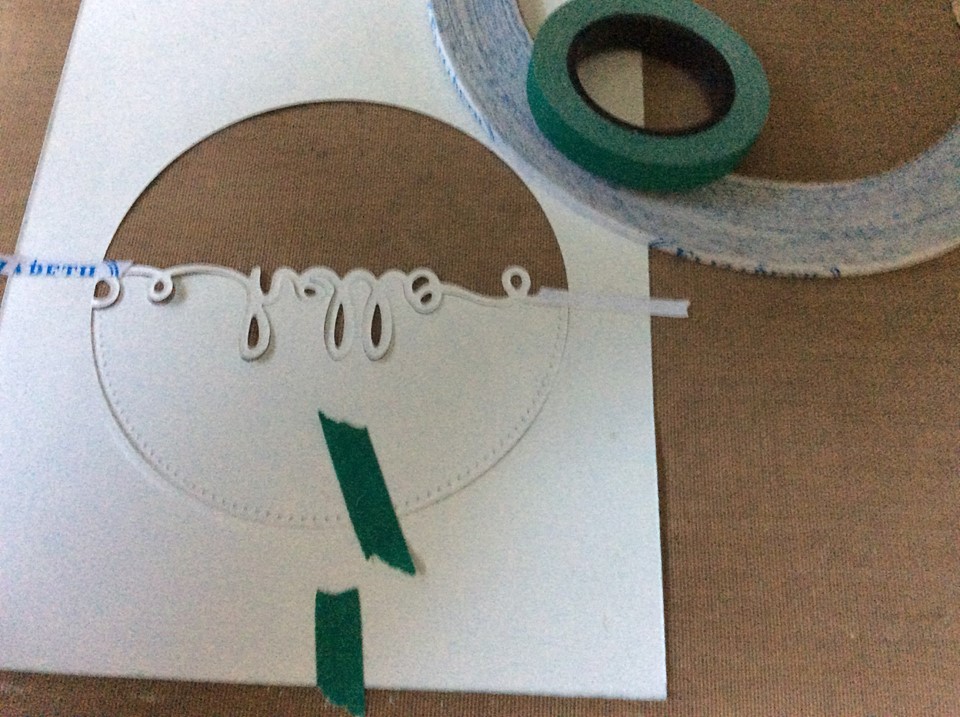
Now that this part was ready I added some foam tape to pop this part of the card up and set it aside.


Once that was completed I got out my second piece of card stock and used my embossing paste and the same stencil to create some texture on it.


I lined up the patterns from the embossing paste card and the Inked up card to ensure the patterns matched, I wanted it to look like one continuous pattern on the card. The die cut hello just floats nicely in the middle, I added a tiny bit of clear foam tape for some stability on the back of it, and some silver sequins to finish it off.

This card does have a lot of steps to it, but I felt it was worth it for the fun look I got.

Also, this card created an extra circle die cut, and I used it and the tiny die cut pieces to create a small note card to go along with this card.

I hope you enjoyed my project today and will check out all the great items in Rebecca's Store and also the DT blog as well.
Thanks for stopping by!


Other Items Used
Evergreen Bough Distress Ink
Sizzix Hello Die
Die-Versions Circle Die
Wendy Vecchi Embossing Paste
Doodle Bug Designs Sequins
Big Kick Machine
Jennifer McGuire's Inspiration Video
No comments:
Post a Comment