Showing posts with label Distress Inks. Show all posts

Tuesday, 8 October 2019

Magical Wee Books A White Rose Crafts DT Project


Good morning and happy October! I have some fun and magical wee books to share with you today, using some amazing products from White Rose Crafts.


I started off using some black cardstock from my stash and created my own wee little book using a chipboard base. I glued the chipboard to the cardstock on both sides and this formed the base of the books.


I used the American Crafts "Haunted Hollow" paper for the top of the books. This paper had different book covers on it, so it was perfect for this project.  I also used some Frayed Burlap Distress Ink to each of the books to make them look old and grungy.


I also used the Dress it up Halloween set, and used three of the little embellishments to decorate the covers of the tiny books.


I used old book pages inside the books to make them feel authentic and sewed in the signatures to each of the books. So, now they are real tiny books that can be open and read!


I added some of the ScrapBerry Witch Hat charms to the spines of each of the books so everyone knows just who they belong to!


I decided the books were not spooky enough so I added some "cobwebs" made with hot glue to each of the books, now they look old and like they have been sitting on someone's shelf for a very long time.


The finishing touch was some Imagine Crafts Sheer Shimmer Spray, this gave my books the magical sparkle they needed.


I hope you have enjoyed my wee magical books today, thanks for stopping by!


Tuesday, 11 June 2019

Slender Journal For White Rose Crafts DT


Good morning friends, Kim here with my next DT project for White Rose Crafts
I was inspired by a video I saw by Creative Cafe Girl on Youtube, and also by a video by Roxycar11 on Youtube. They both were themselves inspired by a magazine article which featured this style of journal, and I wanted to give it a try too.


I am using the Art of Nature paper by Scrapberry for the base of my journal. The pages are 9 x 4 inches so very long and slender. I used some tea dyed sari silk to bind my pages together.


Once the pages were together, it was time to decorate. The Art of Nature paper from Scrapberry is so fun and pretty, it was a pleasure to decorate this journal!

The paper has lots of cut outs to use for journaling cards and sentiments.


I added some of the Tim Holtz paper dolls, and some butterfly ephemera for the wings on my people.


Here is the journal spread out once all the pages were decorated. 


I created an extra little note pad to journal in out of some coffee dyed paper and a piece of left over 
scrap paper from the collection. It is tucked in behind the two ladies for easy removal.


You also have the reverse side to decorate as well. I used some of the amazing laces in the WRC store to add some shabby chic touches to the pages.


All of my sentiments and embellishments got a coating of Brushed Corduroy Distress Ink to make 
them look more vintage.


I had so much fun making this slender journal, I hope you will give it a try too!
Thanks for stopping by today, I hope you have found some inspiration here.


Thursday, 3 January 2019

Where Will Your Dreams Take You? White Rose Crafts DT Sketch Challenge


 Good morning Rosies! Kim here today with my next DT project for White Rose Crafts.
We are starting off the New Year with a sketch challenge! 

I am using the gorgeous Graphic 45 Princess collection for my card today. I started off with one of the Neenah A2 parchment card and envelopes from the WRC store.
I then layered on lots of pieces from the collection, in the style of the sketch challenge, and edged all the papers with the Distress Ink Vintage Photo from WRC.


I added a fun little wooden crown from my stash and used some of the Nuvo Drops in White Blizzard to give the crown some sparkle!


I hope you will give this fun sketch a try, and check out all the great items in the White Rose Crafts Store!
Thanks for stopping by today, I hope you have found some inspiration here!


Sunday, 11 November 2018

Fairy Nice Tags for White Rose Crafts Design Team


Good morning everyone, Kim here with my next DT project for White Rose Crafts. This time I have created some fun mixed media tags!


These tags are really fun to make and with all the great items from White Rose Crafts,  these tags are a super quick and easy project!


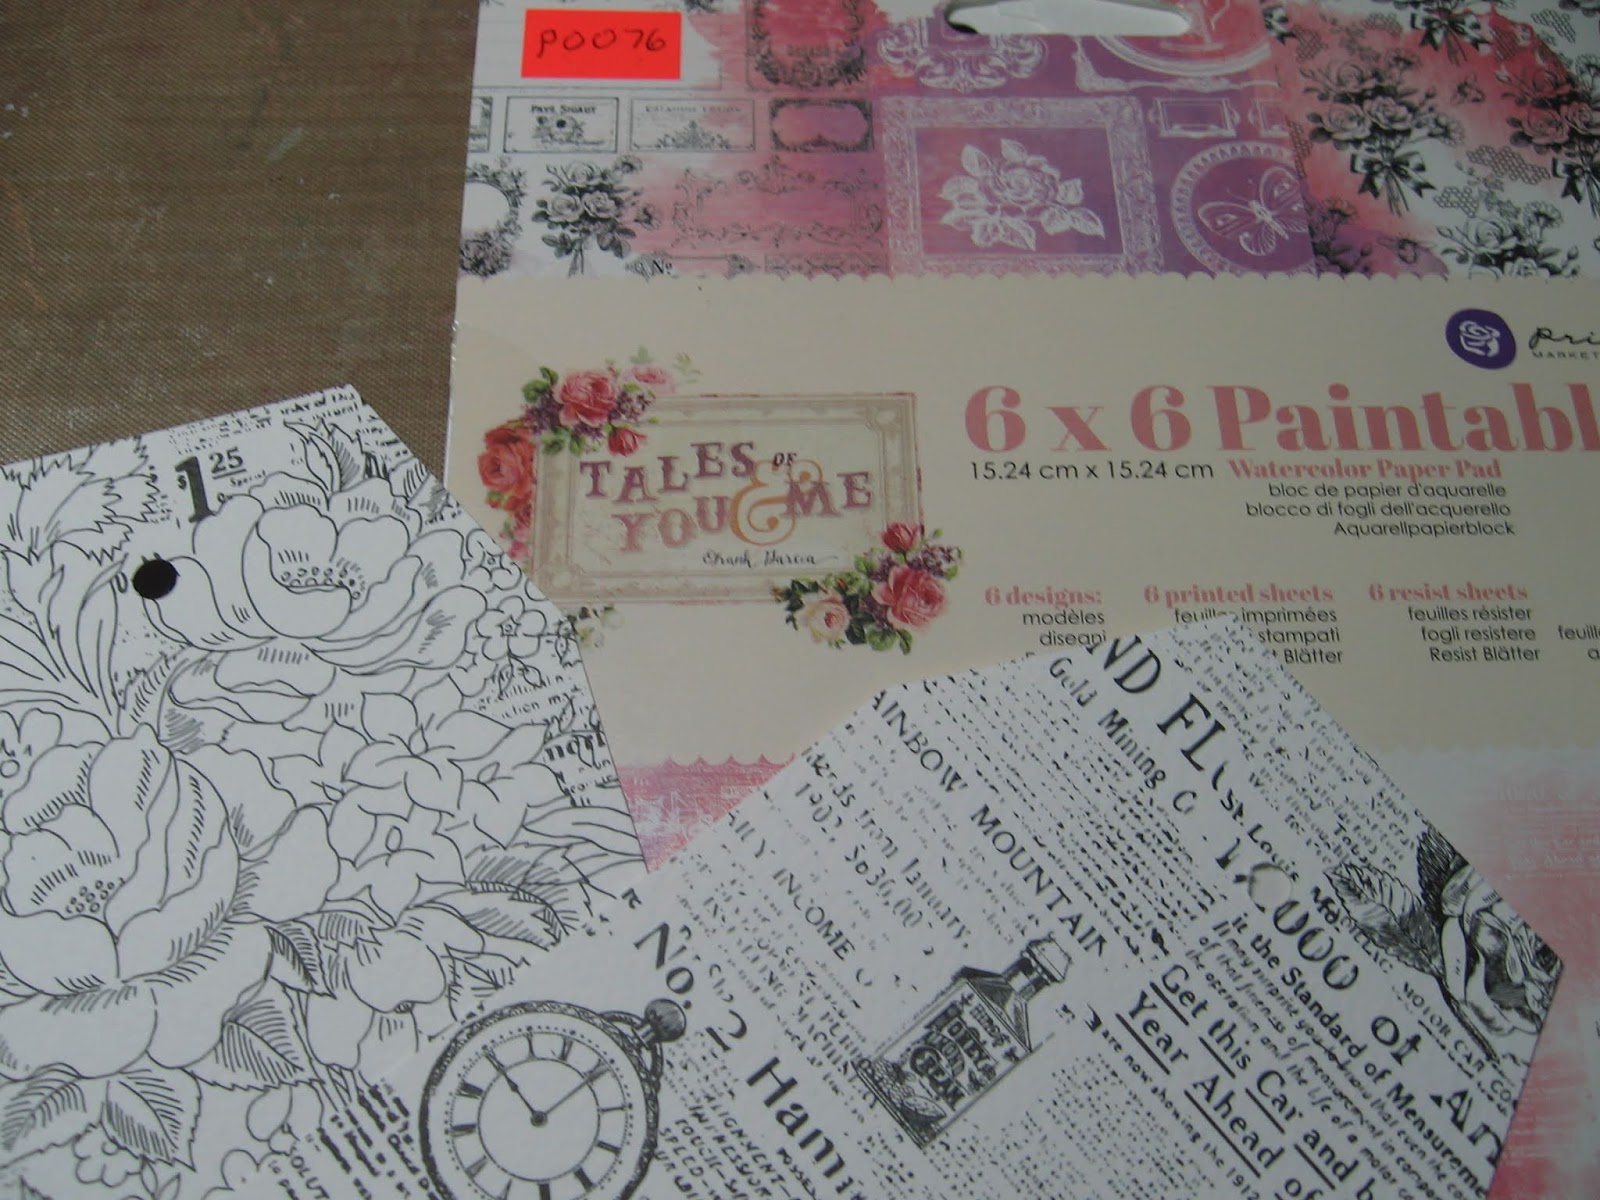
I started off with the 6 x 6 Paintable paper from Prima and cut out my tag shapes.


Next, I used my Distress Oxide in Tumbled Glass and Distress Ink in a darker blue colour for contrast. I smooshed them onto my craft pad and spritzed them with water so the paintable paper would pick up on the inks and give a lovely water colour effect on the tag.


I heat set the colours and then used the Gathered Twigs Distress Ink around the edges of the tag to give them a vintage feel.


The next step was to tear up some paper, I used the Victorian Kitchen 2 paper as I loved the soft muted colours in it and decopaged the paper to the tags.  I also added some drywall tape as well, as I love it for mixed media and it adds some great texture.


Now its time to work on the ephemera. I am using some butterflies and Tim Holtz dolls from my stash and edging them in more of the gathered twigs Distress Ink.


I did some scribbles on the background for some extra fun.


I added some distressed twine around the tag for texture.


 Now its time to add my ephemera to the tag. I also used some Dovecraft glitter glue to the wings and the dolls to give them some sparkle!


I hope you like my project today and have found some inspiration here!
Thanks for stopping by.


Other Items Used
Twine
Tim Holtz Paper Dolls
Butterfly Ephemera
Tim Holtz Words
Drywall Tape


Thursday, 11 October 2018

How To Create Faux Tiles With Embossing Folders & Distress Oxides White Rose Crafts LLC DT


Good morning White Rose Crafts fans! Kim here today with my very first Design Team project, and I am so excited to share it.  I have altered a simple wooden frame, and used some fun techniques with lots of WRC goodies!


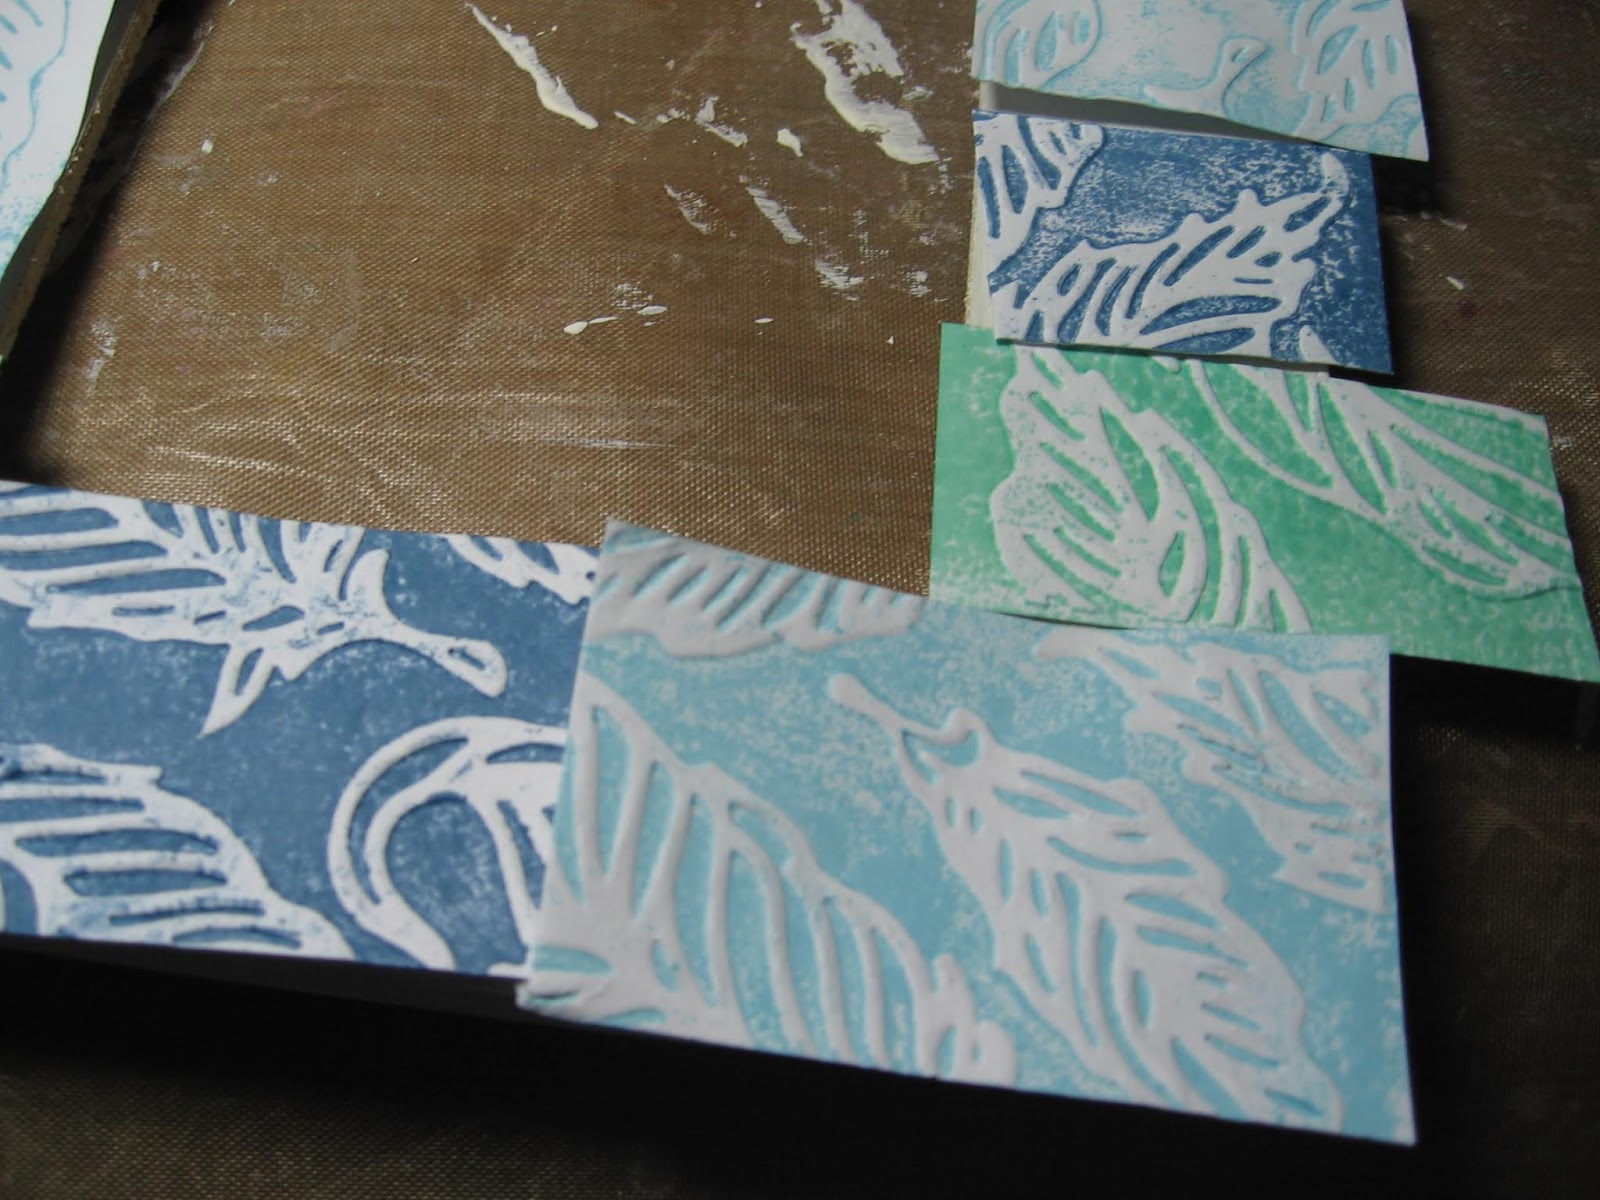
The first step is to choose your Distress Inks and Oxides which you wish to make your tiles into. You rub your inks directly on the flat side of your embossing folder. I am using an Elizabeth Craft feather embossing folder which you can find in the WRC shop.


Ink up your folder generously, I used Faded Jeans for this, and you may have to re ink it and run it through a second time, but be generous with the ink. I prefer the worn look, but for a more solid look on your paper you can run it through as many times as you wish. I used Cracked Pistachio and Tumbled Glass in the Distress Oxides


The result when it is embossed is that you have the dark space which you inked and when embossed, the white from the card stock will be raised up. Its a really cool effect and has so many applications!


The next step is to prep the frame, which I used some Americana Decor paint, but you can use what ever colour you like. 


Once the paint was dry, I took my paper and cut it up into squares and rectangles to make my faux tiles. I laid them out in a pattern I liked and alternated the size and colour of the tiles.


I glued the tiles down with a strong glue and cut off the excess and then sanded the frame to ensure the tiles looked even and smooth around the edges.


I wanted to make some embellishments that matched the feathers from the embossing folders, and decided to make some paper ones rather than use real ones. I did this by adding some thin wire in between two pieces of paper and then cut them into feather shapes, fringing around the edges. I then used my Distress Oxide in Tumbled Glass to give the feathers a bit of colour.


I added some of the Amercian Crafts Ivory Glitter Ribbon to the top of the feathers, and then
I added some glitter from my stash, and a Doodles Paper Playground Sparkle Blend called Vixen, to the feathers for some fun sparkle.


Next I added some pearls from my stash  and the gorgeous Recollections Flowers from WRC in coordinating colours.


I wanted to keep the centre of the frame simple, so I used a piece of paper from the Winter Moments by Craft O'Clock Paper Collection, and also the Breathe Stamp from the Kelly Creates Quotes 1 Stamp Set.


I felt the tiles needed some "grout", so I used some of my texture paste and a small brush and added it around the frame on each of the tiles.


I think the effect is something fun and different, and it gives you a new way to use up those embossing folders and create a fun home decor item.


Thanks so much for stopping by today, I really hope you have found some inspiration here!

White Rose Crafts Products Used

Other Items Used
Wooden Frame
Texture Paste
Paint by Americana Decor - Colour Lace
Pearls