Showing posts with label lasercuts. Show all posts

Sunday, 17 April 2016

Mixed Media Canvas "Authentic" A Fernli Designs GDT Project

Good morning Fernli Designs fans! I have my new project to share with you this week, it is my final Guest Design Team project for Fernli Designs. I have had so much fun this month creating some fun projects, so lets get started!
 
 
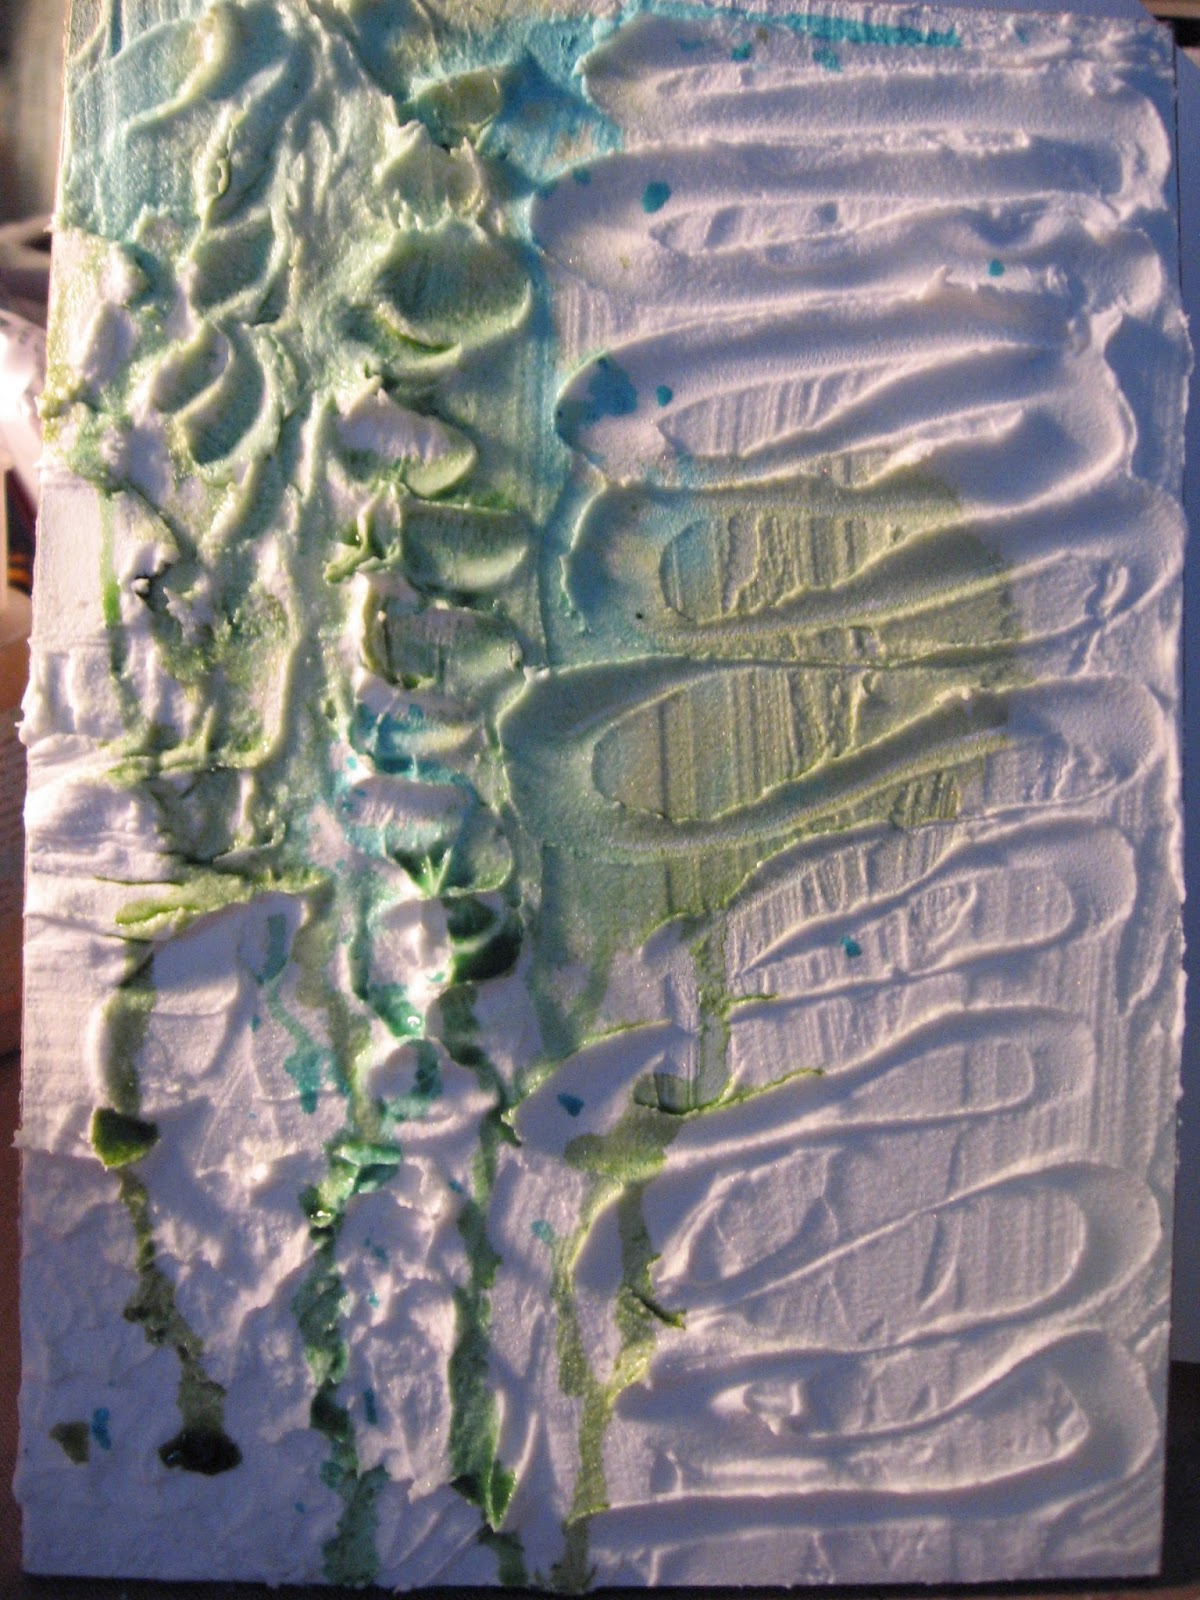
I used a 5 x 8 inch Gesso board for this piece. I love using gesso board it is a nice hard surface that takes a lot of mixed media products and stands up well. I started this piece with some embossing paste by Wendy Vecchi, and did a sort of free style on the board with it, creating waves and patterns.
 
 
After the paste had dried, I got out some of my favorite colours of Lindy's sprays and added them to the canvas. I set the board aside to work on the embellishments next.

 
I used a good selection of Fernli Pieces for this canvas, and started off with one of the pieces from the Circle Layers and laid the Celtic Style Flower on top. I dry brushed the wooden pieces with a light blue paint, and then used a white pearl paint, again dry brushed on top of that.   I topped it all off with a few metal embellishments from my stash and added some linen twine to the sentiment to make it look tied to the board.


I used the Wings type 2 with the same dry brush technique, but this time also added some of the moss green spray to the wings as well. I then used some glossy accents and silver micro beads on top to give texture to the wings.  I used a resin cherub head and gave her a funky metal mask for some whimsy.
 
 
The Flourishes 2 piece was added to the bottom of the wings and head, and I added a metal piece and small charm on top of it for interest.


 I added a metal crown to the top of the piece and added some tiny Fernli corners to the edges for a finishing touch.


I hope you have enjoyed my project today, and will give some inspiration to you to try mixed media!
 
Please don't forget to check out the Fernli Designs Store and keep up to date with the rest of the Fernli Team on their Blog.
 
Fernli has also been very gracious and has offered a Discount Code for the month of April to me.
 
  KSF10OFF - this will give 10% off all orders over £25 (not including shipping) You can use this from April 1st to April 30th
 
 
Fernli Corners

**Please note credit to this source for inspiration of this project https://www.youtube.com/watch?v=ew7Z2JTlcXU ***

Sunday, 10 April 2016

Altered Craft Caddy Guest DT Project for Fernli Designs

 
Good morning Fernli Designs Fans!  I am so excited to share my second guest design team project for Fernli Designs. This time I have created one of their fun storage caddies. This one will hold glue or paint or even paint brushes. This is the wonderful thing about these caddies, they are so versatile.
 
 
I assembled the caddy and gave it a coat of beige paint and mod podged some fun heart themed paper on top of it.
 
 
Next, I got out lots of Fernli goodies and gave them a coat of blue paint with some of the matching beige paint as well so they would match the caddy.

 
After the paint dried, I gave them a coat of glossy accents for some shine, and also added some gold micro beads for added shimmer and texture. I set these aside and let them dry completely.

 
Once the wooden embellishements were dry, I continued on with the caddy, put on the paper and gave it a trim with some white Chinese braid, and a small ivory trim along the edges.


Now it was time to add the embellishments I created. I used the goggle wings  (one of my favorite Fernli pieces),  and the smallest clock from the Treble Clock Faces set as a focal piece on the front of the caddy, adding some seam binding to the goggles to mimic he ties that would attach them to a head.
 
 
I added metal corners and a few flowers to soften the look, and lots of tiny metal gears to the front of the caddy. I added some of the tiny hearts, and then a metal sentiment and that finished off the front.


Now it was time to work on the side embellishments. I added the Linked Hearts and the Heart Flower Scroll to the sides of the caddy for some fun and interest. I then added a fun metal door knocker to the top to look like the handle had been riveted on. 


Lastly, I added two of the one inch hearts to either side, inside the caddy.
 
 
I hope you like my finished caddy, it will be a great addition to my craft room for sure!
Thanks for stopping by today, I have a complete list of Fernli Designs products listed below for you.
 
Fernli has also been very gracious and has offered a Discount Code for the month of April to me.
 
  KSF10OFF - this will give 10% off all orders over £25 (not including shipping) You can use this from April 1st to April 30th


Sunday, 3 April 2016

Mixed Media Butterfly Box A Fernli Designs Guest DT Project

 
Good morning my friends! I am so excited to be guest designing for the month of April for Fernli Designs! I have been a huge fan of theirs for a long, long time! I love the wood lasercuts they carry in their store so much, as they have such a huge selection and versatility to them. 
 
 
Today I have created a mixed media butterfly box with a tutorial, so you can craft along with me.
 
 
I started off with the Circle Box, which is so easy to put together, as are all the Fernli Pieces, and also the Butterfly 3.  I love this butterfly as it has two layers and you can really create some fun dimension with it.  I painted the box and the bottom part of the butterfly a pretty turquoise colour all over and then set them aside to dry.


Next, I painted the butterfly top black and then gave it a coat of Holographic Embossing Powder, this gave it a lovely sparkly shimmer! I used some blue Tinsel Embossing powder on the base piece of the butterfly once the paint was dry.


I glued the butterfly together, and papered the box with a lovely butterfly themed paper and started to add my embellishments. You can see the beautiful shimmer in the butterfly from the embossing powder!

 
Next it was time to focus on more embellishments and these tiny hearts are so perfect to alter for embellishments of any kind. I painted them in the same turquoise paint and then gave them a layer of Glossy Accents on top to give them a lovely shiny finish.


Now it was time to think of the front of the box. I used some gathered black lace from my stash and a black and white trim on top of that. I used the Small Vine corners, painted them the same colour of turquoise and then added the glossy hearts to them. A black cameo in the centre finished it off.


I added some metal embellishments to add interest and flowers to add dimension.


 I am thrilled with the outcome. Fernli items make it so easy to craft and have fun while you are doing it! 
 
 I hope you have enjoyed my project and tutorial today, and don't forget to check out the Fernli Designs Store and keep up to date with the rest of the Fernli Team on their Blog.
 
Fernli has also been very gracious and has offered a Discount Code for the month of April to me.
 
  KSF10OFF - this will give 10% off all orders over £25 (not including shipping) You can use this from April 1st to April 30th
 
 
Thanks for stopping by today!