Thursday, 23 October 2014

Fun with Shimmerz!

Hello friends!  I have a fun tutorial to share with you today featuring Shimmerz Products. I have used the Inklingz watercolors, and some of the Vibez and Coloringz  Sprays. I have had this design in mind for quite a while, and with all the seasonal changes going on right now, I felt it was a good time to get it started.
 
I started off with four 5 x 7 canvas boards. First, I wanted to start off with some of the gorgeous Inklingz and my Pentel Waterbrush Pen, honestly I don't know how I ever lived with out this great little tool! I got out one of my favorite Inklingz, called Blue My Mind, and gave the canvas an all over coating of this beautiful color.

 I then got out some of the Vibez, Jenny Be Blue, and sprayed some on my craft mat. Again I used my water pen with the sprays and created an illusion of clouds with the spray and pen. I added some more of the Inklingz to the canvas until I was happy with my wintery background.
 Once I had done that, I used my white Sharpie pen to create dots for snowflakes which you can see on the left hand photo. The right photo is the Summer canvas and some of the lovely Inklingz I used to create a more summery sky.
 With the Summer Canvas I used the same techniques with the Inklingz and some of the Vibez spray and water pen to fill out the trees and make them look like they have leaves.  The trees are a from a stamp I had in my stash.

 
And here is the final four! I entitled this series "Seasons"


Thanks for stopping by and taking a peek, and do check out all the gorgeous Shimmerz Products you can find them HERE
 
Shimmerz Products Used
 
Other Items Used
Stayzon Ink Black
White Sharpie Paint Pen
5 x 7 Canvas x 4
Avery Elle Lettering Stamps
Tree Wooden Stamp

Friday, 10 October 2014

Sweet Dreams ~ A Rubbermoon DT Project

Happy Friday friends, it's Kim here! I have a fun project to share with you today using the Art On The Block Kit from the Rubbermoon shop. I really love these kits, as you get enough goodies to make three little houses and it includes some fun chipboard from Gina's Designs.


I chose a fun theme for this house and made it kind of based in a night time dream state. Things are a bit out of scale and wonky!  I topped the house off with the Man in the Moon stamp which I stamped and inked in a lovely yellow pigment ink, then added some diamond stickles to make it sparkle.


I added some embossing paste to the background using a circle stencil from my stash to give the house some texture. I then added some of the chipboard windows from the kit, which I embossed.


 I then used the Love This Face stamp for the attic window. which I really do love!! It gives the illusion of someone peeking out, and has a real dreamy look to it. In the window below, I used the same embossing technique and added some lace to give the look of curtains, then stamped the Bow Wow stamp inside it.


For the front door I used a fun technique using some black embossing powder and the Dots & Circles Stamp to make an impression in the hot embossing powder, it worked amazingly well!


Once I had made my impression with the stamp, I used my silver Gilder's Paste and rubbed it on to give it a metallic look.  After that I got out some sapphire blue Inka Gold and my water brush and highlighted the impressions with it.


Here is the final look of the door, its a fun and different way to use your stamps!  You can also see in the background I have used the Stardust stamp for more added texture and design.


I hope you enjoyed my project, thanks for taking a peek.


Sweet Dreams everyone!


Rubbermoon Items Used


"Home" Wall Plaque A Gina's Designs DT Project


Hello Friends, Kim here today to share with you my wall hanging I have created. I used one of Gina's Extra Large Tags for this, and turned it on its side to use it.  I covered it with gesso then I added my basecoat paper, distressing it in some spots and then using my chalk inks along the edges.


I have used some of Gina's pine trees here, as my home is surrounded by them and I wanted to add them to this wall hanging. I used various paints to achieve the look. Layering different shades of green to make them look more dimensional.
I used some crackle medium on the chipboard borders and the little houses, they turned out just great, and really go well with the paper.


I have used lots of great goodies from Craftsupplies1 on here including the flowers you see above and the metal key and trim. They really added a lot to the project and the blue tones in the flowers  picked up on the tones in the paper and paint.


I love mixing Gina's chipboard with Craftsupplies1 goodies, they really go well together. Please go and check out Craftsupplies1 on ETSY and ZIBBET to see all the amazing things they have in stock!
Thanks for stopping by today!

Gina's Designs Items Used
Houses Shape Set (coming soon)
Layered Border - Victoria (coming soon)

White Floral Trim
Sky Blue Roses
White Daisies
White Roses
Steampunk Key
Metal Filigree

Other Items Used
Kaisercraft Basecoat Paper
Mermaid Color Chalk Paint by Paper Artsy
Crack it! Crackle Medium
Epoxy Heart
Paints and Wooden Letters From My Stash

Friday, 3 October 2014

Graffitti Inspired Box A Gina's Designs DT Project

Hello and happy Friday friends! Today I would like to share with you my graffiti inspired memory box. I had a lot of fun with this and I hope the friend it is going to will be just as happy with it as I am. Gina has a great selection of these 5 x 7 boxes. This one was a custom order for me, but you can get any of the ATC Shrines in a 5 x 7 size. Just email Gina and ask!
 
I used a simple paint technique on the box itself then covered it with some Kaisercraft basecoat paper. I love this paper as I looks like brick walls.  This was the beginnings of my graffiti look.

 
Above here you can see the top of the box. I have used one of the stackable labels from Gina's and some sticker words on top of it. I painted the label a soft blue and then distressed it with some Prima chalk ink.

 
On the back, sides and inside of the box I did a lot of mixed media work. I used various stencils and stamps to make it have a very urban feel. You can also see at the top right corner I have added one of Gina's Steampunk doilies and a metal hinge on the side as well.

 The new chain and gear frames are so much fun to work with. I embossed them with some platinum embossing powder. The background you can see more of my texture paste in script and boxed letters.
 
I hope you will stop over to the store today and pick up one of these memory boxes, they are super fun to alter!
Thanks!
 
Gina's Designs Items Used
 
Other Items used
Kaisercraft Basecoat Paper
Metal from Butterbeescraps
Petaloo Flowers
Crafters Workshop Stencil
Artist Cellar Stencil
Dina Wakley Stencil
Lindy's Stamp Gang Spray
Ranger Embossing Powder
Gilder's Paste Rust
 

Friday, 19 September 2014

Desk Organizer, A Gina's Designs DT Project

Happy Friday friends! Today I would like to share one of Gina's great organizational items she has in her shop. This is the Desk Organizer 1 and I am super happy with how it came out. This allows me for more storage on top of my desk, which is always a good thing!
 

As you can see there is lots of spaces for storing brushes, pens, inks, markers and anything else you like. This organizer has roomy spaces to put all your art supplies and also some drawers that are nice and deep as well.


The Organizer has 2 drawers in front which is good for storing all those extra little items you need to have handy when you are creating, I filled mine with some 1 inch ink cubes that I have been looking for a place to keep, this worked out perfectly!


Below here you can see the side and back of the organizer. I used one of my favorite paper lines to decorate it, then added some of the Tulip borders and a fun butterfly to finish it off.


 Below here you can see the front of the drawers which I added some metal filigree pieces and a handle and also I stamped the word "ART" on a piece of paper and framed it up with one of the Filigree Frames. I embossed the frame with some Stampendous shabby white embossing powder.
 
 
I have already filled my my desk organizer and it is a really handy thing to have on my desk top, it doesn't take up too much room but has tons of great spaces in it for storage, check out all the great storage solutions in Gina's Store
 
Gina's Designs Items Used
 
Other Items Used
Tim Holtz Wallflower Paper
Metal Pieces & Handles from Butterbeescraps
Art Stamp from Stampendous
Butterflies and Flowers From My Stash
Stampendous Embossing Powders
Martha Stewart Sky Blue Paint
 

Tuesday, 9 September 2014

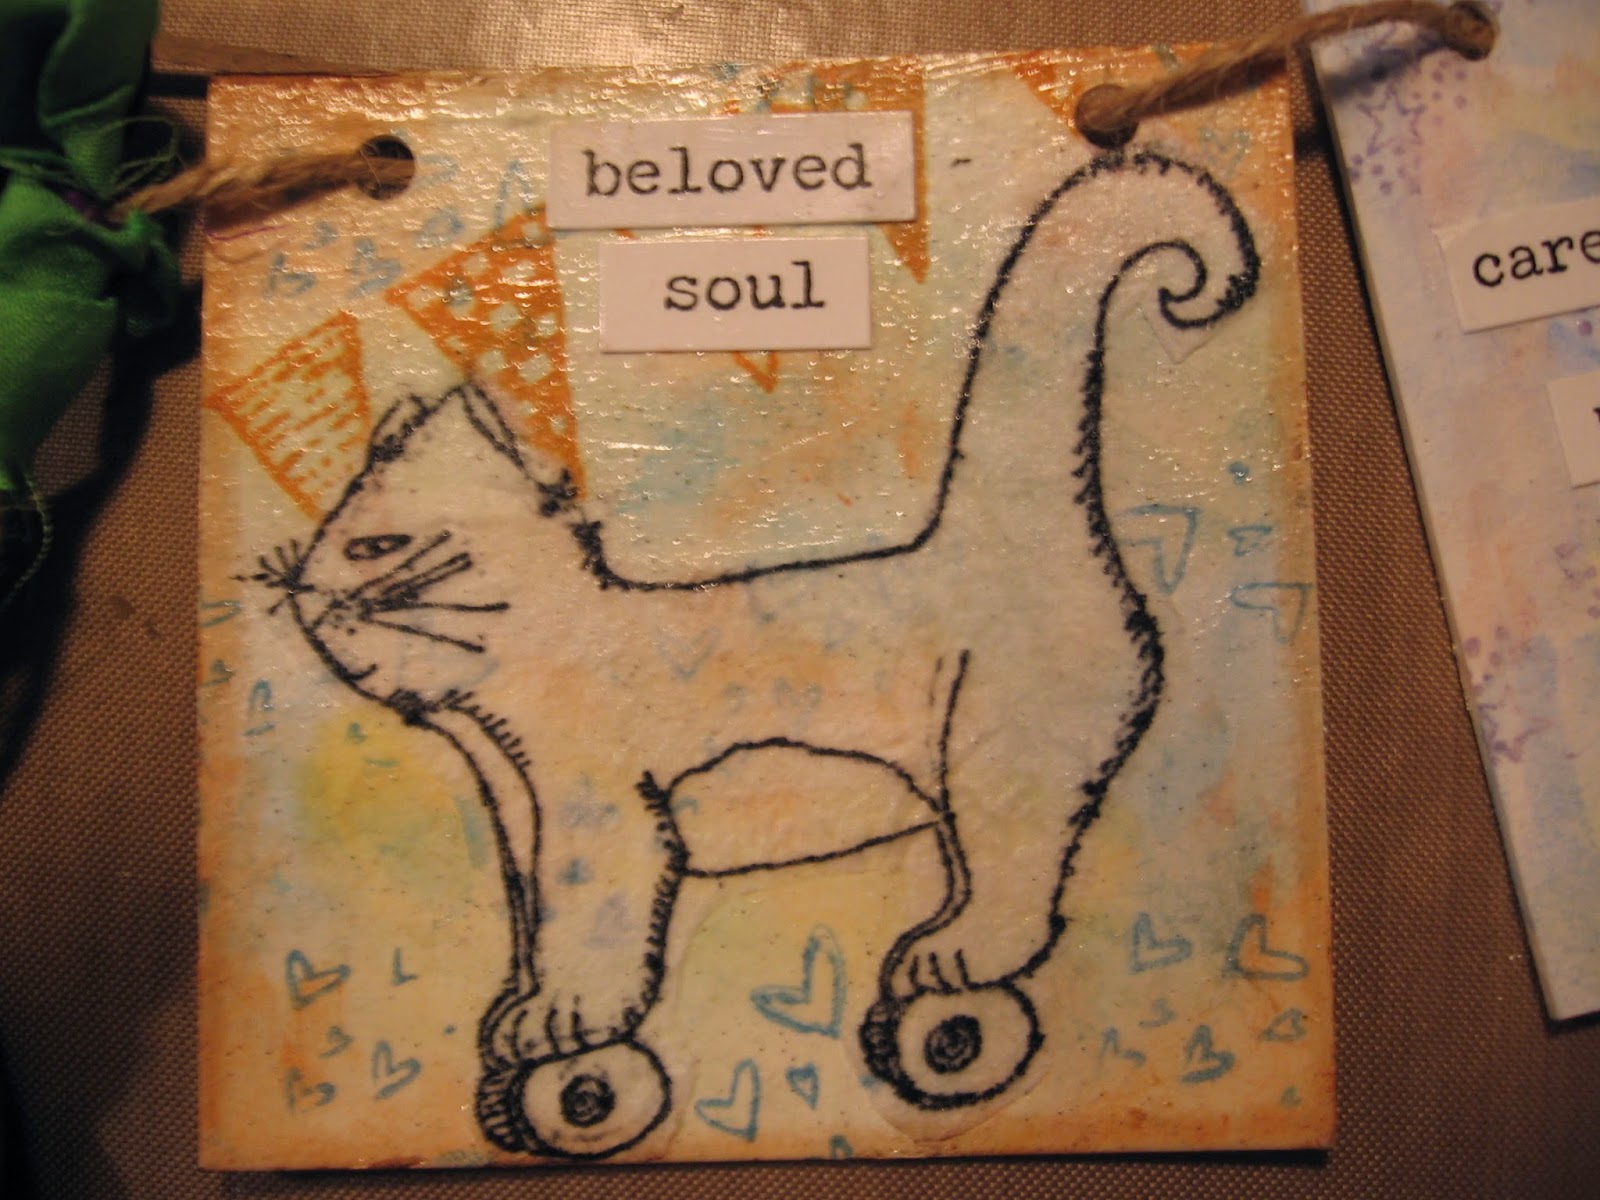
Hello my Artsy Friends! Today, I would like to share with you my Kitty Cat banner. I am a cat person (as you can tell) and thought it would be fun to play with some of the great cat stamps that RubberMoon has in their store.


I had a lot of fun with this banner and used my beloved cat Miss Blue, who is a pure bred blue point rag doll, as my inspiration for the stamps and the sentiments.  I used various colors of ink to achieve my background, and have a short tutorial below to show how I achieved the look.

 
After I was happy with the watercolor look of the inks, I used various RubberMoon stamps in the background to finish off the look before I stamped on my focal images of the cats.


Here is my banner put together and complete....


I used my Pentel watercolor pen and some colorful inks in various colors. First I dipped my brush in the inks and did random areas of the Inchie Art Squares Tile.  I really love these tiles, they really are super sturdy and make for a great base for my banner.
 
After I had added all my colors it was time to stamp my images.


I have used a very non-conventional item to put my stamped image on...toilet tissue!  Yes, that's right, I have used some ordinary toilet tissue. I love the effect it gives! I wanted the Cat stamps to stand out from the background stamping I did and this was a great way to achieve the look.  The tissue took the stamp great and then I fussy cut it out and mod podged it onto the art square. The finished result is something different and fun!


I hope you have enjoyed taking a peek into my studio today, and will try out some of these techniques and sweet kitty cat stamps from RubberMoon, they are just purrrfect!
 
 RubberMoon Items Used
Inchie Art Squares
Flower Cat
Ashley Cat
Impurrfect
Hot Wheels
Roller Derby Kitty
If Cats Could Talk They Would Lie To  you
Bunting Large
Stardust
Scattered Hearts
Loopy Hearts Border


Other Items Used:

StayzOn Ink

Hero Arts Inks

Pentel Waterbrush Pen

Silk Sari Ribbon

Lawn Fawn Jute

Creative Imaginations Sentiments


Meow - Enjoy Your Day!