Showing posts with label Embossing Powder. Show all posts

Tuesday, 29 October 2019

Mixed Media Tag White Rose Crafts DT


Good morning friends, Kim here with my next DT project for White Rose Crafts. This time
I have created a large 10 inch chipboard tag, using lots of products from the WRC Store.


I covered the chipboard tag with some vintage music paper and some scrapbooking paper from my stash. I then used a Couture Creations stencil from the WRC store. I used some sand texture paste to give it lots of texture.  I also sprayed some of my Lindy's sprays in the background for some colour.


I embossed the clock chipboard piece next with Ranger Rose Gold embossing powder and the Gun Metal embossing powder to give the gears and the clock a two toned metallic look.


As I cut up the clock chipboard piece, I used the gears from that piece and layered tem on top of the Square mini frames, which I embossed with the same Rose Gold embossing powder I used on the clock.


I fussy cut out some of the flowers and dragonfly from the Graphic 45 Flutter paper to layer in between the chipboard. I also added a Tim Holtz Pen Nib to the dragonfly body for some fun.


The Believe Philosophy tag from Tim Holtz was added to the corner of the frame with more of the chipboard gears. 


The finishing touch was some of the Pink & White Begonias flowers from the WRC Store, and some champagne glitter glass, and mica flakes for some sparkle.


I hope you have enjoyed my project today and have found some inspiration here!
Thanks for stopping by!

White Rose Crafts Products Used

Monday, 15 July 2019

Bravely She Flies Mixed Media Card White Rose Crafts DT


Good morning friends, Kim here with my next DT project for White Rose Crafts.
This is a double fun week, I am tackling the July sketch challenge and also it is Technique week at White Rose Crafts, and all of the team are featuring embossing.
I have made a pretty little card to send to a friend.


As you can see by the sketch, mine is a bit different, I used the little chipboard fairy door from the WRC Store as my focal point and heat embossed it with Frosted Crystal Embossing Powder by Ranger.   I also used some pewter embossing powder from my stash on the hinge for the door.


The base of the card is the Flutter collection from Graphic 45, which you can find in the WRC Store.
I also fussy cut a butterfly and dragonfly from the connection as well.


When everything was done, I gave it all a good coat of Dovecraft Glitter Glue in Crystal.


I hope you will check out the WRC Facebook group and try your hand at the July Sketch Challenge.
Thanks for stopping by today, I hope you have found some inspiration here


Tuesday, 2 July 2019

Imagine Fairy Mixed Media Canvas White Rose Crafts DT


Good morning friends, Kim here with my next DT project for White Rose Crafts.
This time I have created a mixed media canvas using lots of lovely items from the WRC Store.

I started off with lots of sprays from my stash to give a lovely turquoise background to the canvas. I then used the Heart Stencil from Clear Scraps (sold out)  for some texture as well.


I embossed all the chipboard pieces from the Moon Fairy set, and I also added some crushed sea shells in a blue colour to the fairies dress to give it some texture.


I also added some cheesecloth to the background of the fairy moon, to give it more texture and dimension. I sprayed the cheesecloth the same turquoise as I used in the background.


I used the word Imagine from the chipboard dream word set and I embossed it in a white with a turquoise shimmer to pick up on the turquoise in the background.


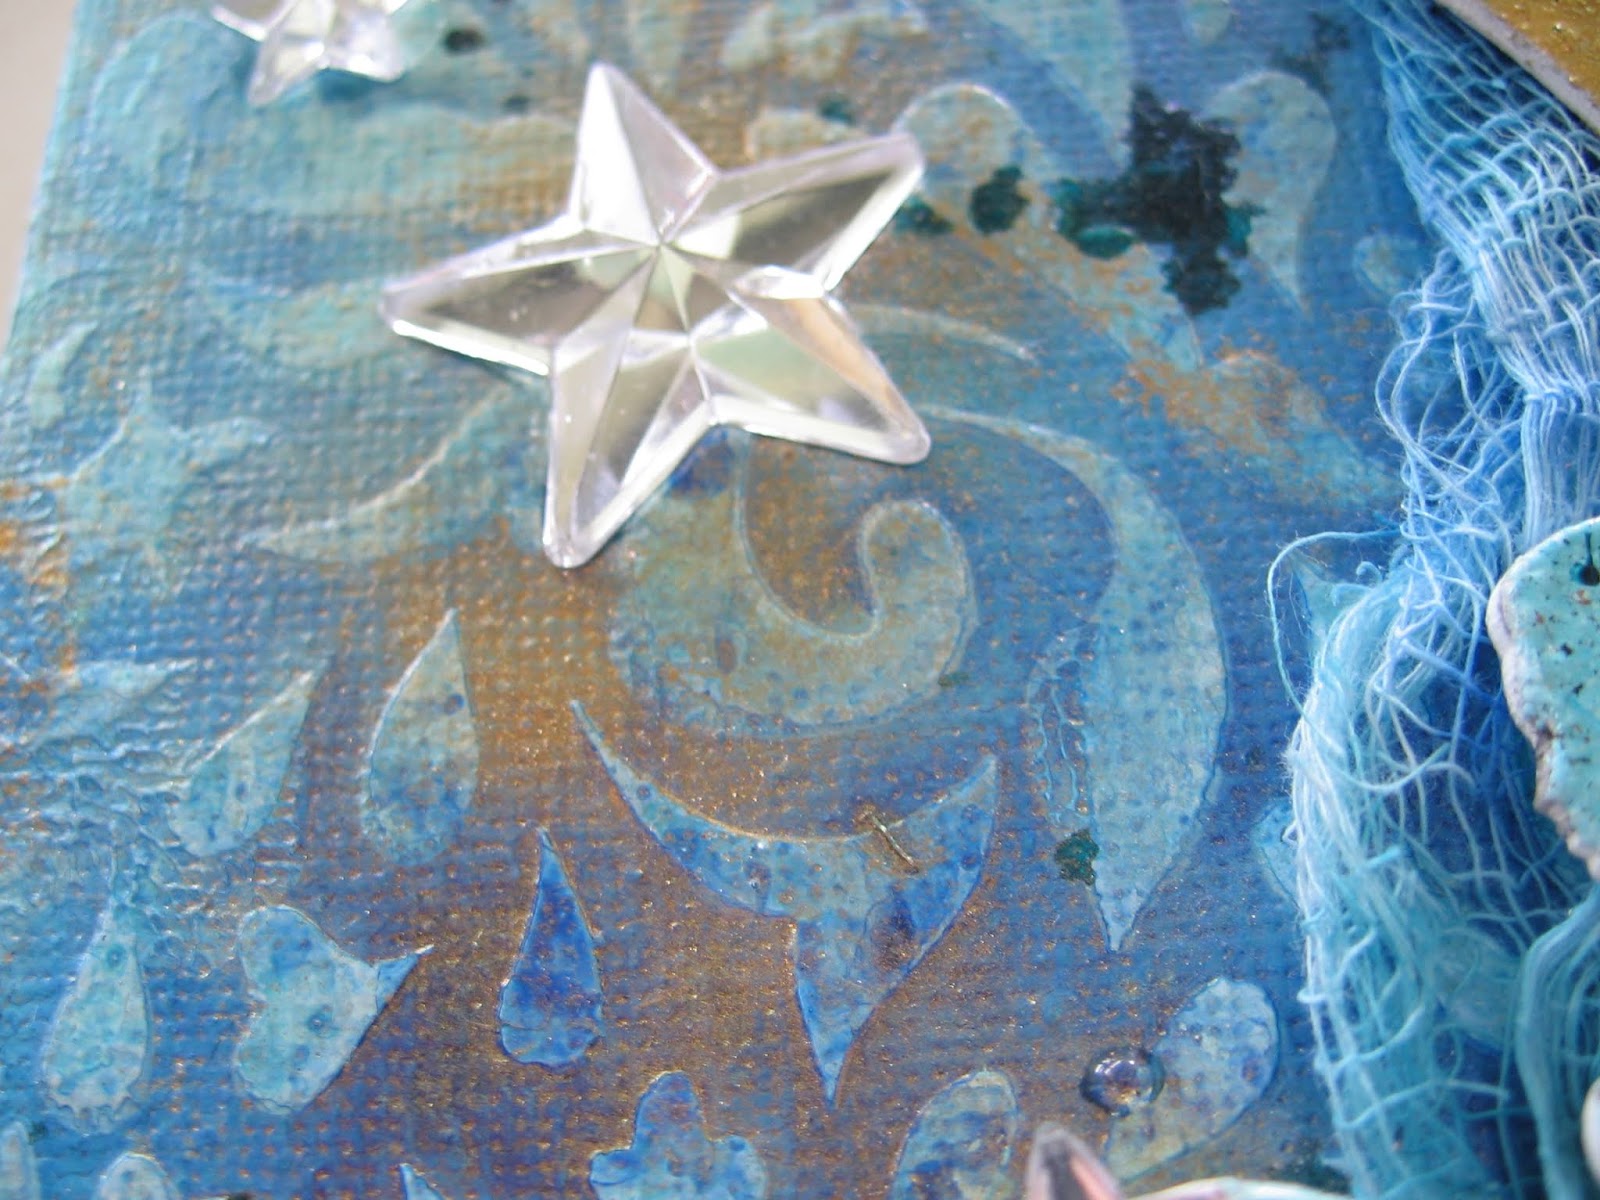
A final touch was some of these amazing Tim Holtz mirrored stars. I really love these, and you get 24 in a pack from the WRC Store.


I also added some gold mica powder to the background so it would pick up on the gold in the moon and add more sparkle.


The stars really added that final touch of sparkle the canvas needed.


I hope you like my project and have found some inspiration here today.
Thanks so much for stopping by!

Clear Scraps Heart Stencil (Sold Out)

Tuesday, 21 June 2016

ATC Challenge Fernli Designs DT

 
Hello friends! Today I am sharing my ATC Tray and 6 ATC's made from Fernli Designs.
Fernli has a challenge up on their Facebook page right now, that goes on all year long.
 
You can find the ATC Tray with Blanks HERE that I used for this project.
Here is a photo of the blank tray and ATC's.
 
 
I started off the tray by giving it an all over coat of gesso, then applied my blue chalk paint. I used some paper from my stash for the back ground and then glued the pieces together. It was simple and very easy to do.
 

The ATC blanks are made with sturdy mdf wood and are also fun and easy to alter. I did a variety of techniques on mine. That is the fun with ATC's you can make them anyway you like, just trust in your artistic flow and create what makes you happy.
 
I papered this ATC and then added some script stamp to it before adding some Prima Art Alchemy paints in turquoise and lime green. I added water to the paints to make them run and then used a stencil for the floral motif in the centre. I added some embossing powder to the top of that while the paint was wet and hit it with my heat gun. Some metal and embellishments finished it off.
 

This ATC is on sticky back canvas, I applied a similar technique to this one, but fussy cut out some roses and added the micro beads for dimension.


 I think this ATC might be my favorite, it is done on watercolour paper with alcohol inks, white Staz On ink with script stamp for the background. I used some of the Prima IOD molds for my main piece in the center. I added a glass cabochon, flowers and micro beads to finish it off.
 
 
This ATC was pretty simple to do, just a vintage image, some stamping, lace, bling and a lovely Fernli corner!


Here are a couple more of my ATC's I created. Each month I will share my new ATC to add to the ATC tray.
 
I added lots of pink sparkle on this one!

I used a Fernli wing and some hearts on this one!


I hope you will check out the challenge on the Fernli Designs Facebook group, they have other challenges as well, and its such a fun group to join in.
Thanks so much for stopping by today!


Wednesday, 13 April 2016

Butterfly Queen Dressform A Crafters' Palette & Shabby is Chic Boutique DT Project

Good morning friends! I am super excited to share with you my project today. I have created a "Butterfly Queen" dress form. This Project features items from The Crafters' Palette Store. and from Shabby is Chic Boutique
 
 
This month for the Crafters Palette we were challenged to make a mono chromatic project, and I love black and white so this was a labor of love for me. It was a good time to get out my items from Shabby Is Chic Boutique to use as well.
 
 I had so much fun with this project, I am thrilled with how it turned out. In the photo below on the left you can see how the dress form from SCB started out, it was plain white, and I used one of the gorgeous napkins, also from SCB I had , and used some Multi Matte Medium it on top of it to glue it down.
 

 After the mod podge had dried, I got out a couple of different types of tulle, a plain white one and one from Crafters' Palette and one from my stash with some pretty white daisies on it. I used my needle and thread and did a running stitch to gather the layers of tulle around the dress form. I also added the flatback hearts to random flower centers as well, which were from SCB. I then used some of the gorgeous Black Venise Trim from SCB for contrast, and lastly, I added a lovely Seam Binding bow to finish it off.
 
 
For the wings I used a wooden butterfly I had given to me in a RAK from a friend in Australia. I have been looking for the perfect piece to use this on, and this was it! I used black paint on the first layer then some Frantage aged bronze embossing powder on top. Finally, I gave it a coat of Gilders Wax, which gave the wings a lovely shimmery coat. The final touch is a cameo from my stash which I framed in the tiny rhinestone trim from my SCB.
 
 
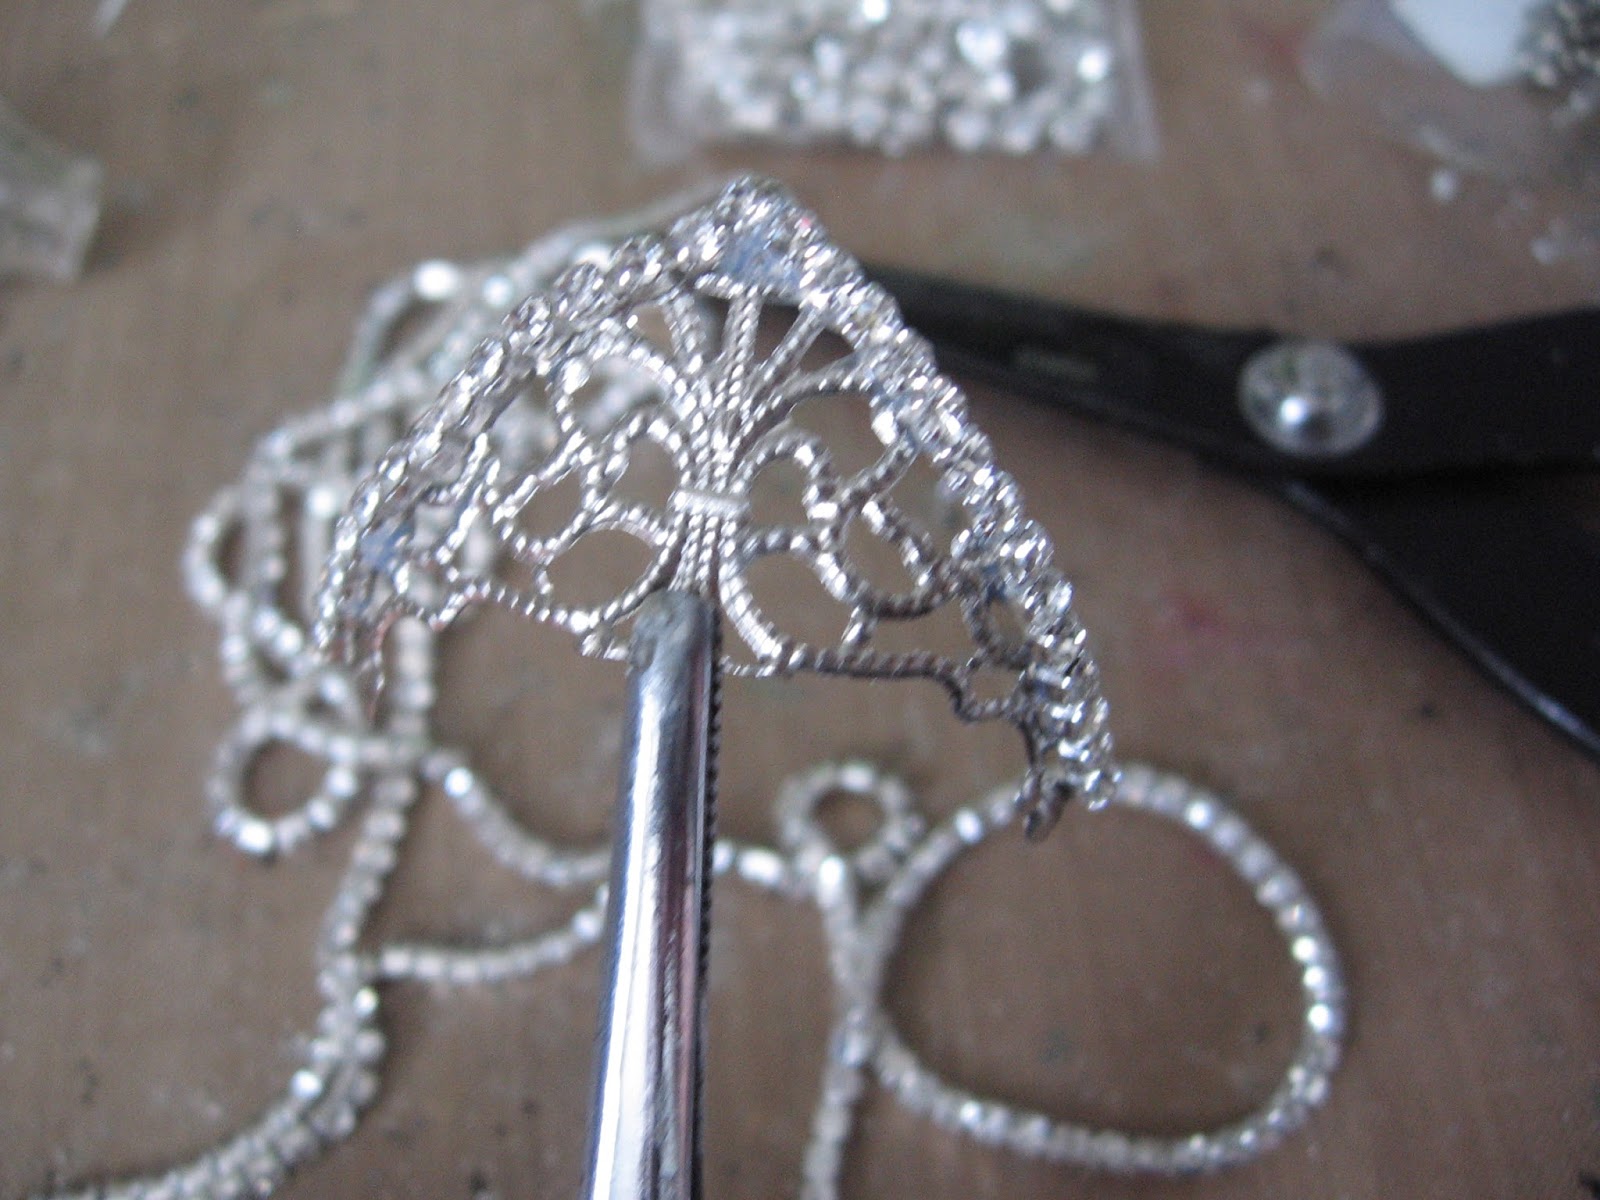
For the crown, I used a metal corner from my stash and using glossy accents added some of the same rhinestone trim from SCB and framed the metal piece to create the mini crown.
 
 
I placed the crown at the top of the dress form, I love how it came out! I also added a key from the key set from Shabby Is Chic Boutique, and then added rhinestones to it as well.
 

 I just adore dress forms and this was so much fun to make!
Thanks for stopping by today, and don't forget to check out The Crafters' Palette Store and blog, and also the amazing items in the Shabby Is Chic Boutique Store!

 
Crafters' Palette Products Used
 
Black Venise Trim
Silver Key
Small Flat Back Hearts
Dress Form
Butterfly Napkin
Rhinestone Trim


Wednesday, 9 December 2015

Mixed Media Christmas Layout with The Crafters' Palette


Good morning friends! It is that time of year again and today I am sharing with you my DT Project for The Crafters' Palette.  This time we were to do up a project and follow along with their map challenge.  Here is a photo of the sketch we were to follow.
I got out lots of fun products from The Crafters' Palette, my Distress Sprays, Paints and some Dyan Reveley Paints as well.

I laid out my pattern to have a loose interpretation of the map challenge, and keep within a Christmas theme. One of my favorite things about this time of year is the book A Christmas Carol by Charles Dickens. I was lucky enough to find some paper that fit this theme while out on my crafty travels so decided to go with that as my base.  I added some lace, chipboard and some old book paper from my stash as well to the piece.


 I added some of the distress paints to the edges of the paper in coordinating colours and to give a more worn and vintage look. I also fussy cut out some of the images from the paper as well and layered them on top of the paper.


I used the Distress sprays and paints to put down a layer of white to mute the colourful tones of the paper and to give a wintery feel. I then began to layer on my pieces one at a time, starting with the book paper. I used multi matte medium as my glue and adhered the paper on to a chipboard base to give it stability and dimension.  I then worked on the chipboard and wooden embellishments.  I used some of the Stampendous Frantage Shabby White embossing powder, this stuff is so great, its one of my favorite embossing powders to use!  I first applied a base of the Dylusions paint in red then while it was still wet, I sprinkled on some of the embossing powder.


 I used my heat gun to set the powder and it turned out pretty cool, with lots of sparkle and dimension!
It was then time to add all my goodies to the paper, using the multi matte medium as my glue. I added some "splotches" of white at the end to mimic a worn look and it reminded me of snow.

  Here is my finished piece!  I had fun getting into the Christmas spirit with this layout. I love the tattered and worn look of it and kept with the more traditional colours of this time of year. I also added some Liquid Pearls in Rose Gold down the side of the paper by the Victorian Lady for a final touch.


I hope you have enjoyed my project and will give this type of layout a try.
Thanks so much for stopping by today, and don't forget to check out all the fun goodies in The Crafters' Palette Store and keep up to date with the Designers as well on the Blog
Crafters' Palette Items Used


Thursday, 5 November 2015

Time to Celebrate with Crafter's Palette!

 
Good morning friends! I am super excited to share my project today! I am now a designer for the wonderful folks at The Crafter's Palette! I am totally thrilled to be using some of the amazing products in their Store.
 
You can find my team bio here and of course check out the other talented DT members while you are there!  I will be doing two projects a month for the team, so stay tuned for those coming up soon.
 
Today's project was based on a theme featuring "Fireworks", in honor of November 5th, Bonfire Night in the UK.
 
I started off my 5 1/2 x 4 1/4 card on white cardstock and wanted to do a resist technique with the Versamark Pen. I drew free hand "fireworks" with the pen and used some of the Fran-tage Embossing Powder on top of it.
 
 
 I heat set the embossing powder, as you can see by the above right photo. Once that was done it was time to get out my Distress Inks. I used four shades of ink to give a feeling of a night time sky.  The Embossing powder creates a resist to the inks and shows up looking like explosions in the sky.
 
 
I used one colour at a time, starting at the bottom of the card with the darkest colour, Black Soot, and working my way up to a lighter colour of blue.  After I was finished with the inks I took a paper towel and wiped over the fireworks to brighten them up and remove any excess ink from them.
 

Next, I needed a lovely full moon for the top of the card and an easy way to make one is by using your Mustard Seed Distress Ink and the 2.5 cm circle punch you can find in the Crafter's Palette Store.  I also used the mustard seed ink to create light in behind the little buildings as well.


Lastly, I die cut a sentiment and added some glitter to the moon, and bling to the fireworks for some sparkle.


 I used some of the 3D foam in black to pop up the houses to add dimension.
 
 
 Here is my finished card! 
 
 
I had so much fun playing with the fantastic products from The Crafter's Palette. I love that they have such a huge selection of things to create with!
 
Thank you for stopping by today!
Check out all the amazing crafty fun at the Crafter's Palette Store and Blog and don't forget their Facebook page too!
 
Crafter's Palette Products Used